
KMC BX101N112
KMC X101 Chain 112 Link Silver Instruction Manual
Model: KMC X101 (BX101N112)
1. Introduction
This manual provides essential information for the proper installation, operation, and maintenance of your KMC X101 Chain. Designed for single-speed, e-bike, internal gear, BMX, track, and fixed-gear drivetrains, the KMC X101 chain is engineered for maximum durability and efficiency.
Key features include:
- Robust construction with unparalleled tensile strength.
- Patented SL-X technology for extended chain life by retaining lubricant.
- Unique stretch-proof treatment to enhance durability and reduce attrition.
- Asymmetrical chamfering to avoid interference.
- Anti-drop design for wider, thicker, and safer performance.
- Lightweight design (375 grams) with shorter length pins and high-grade materials.
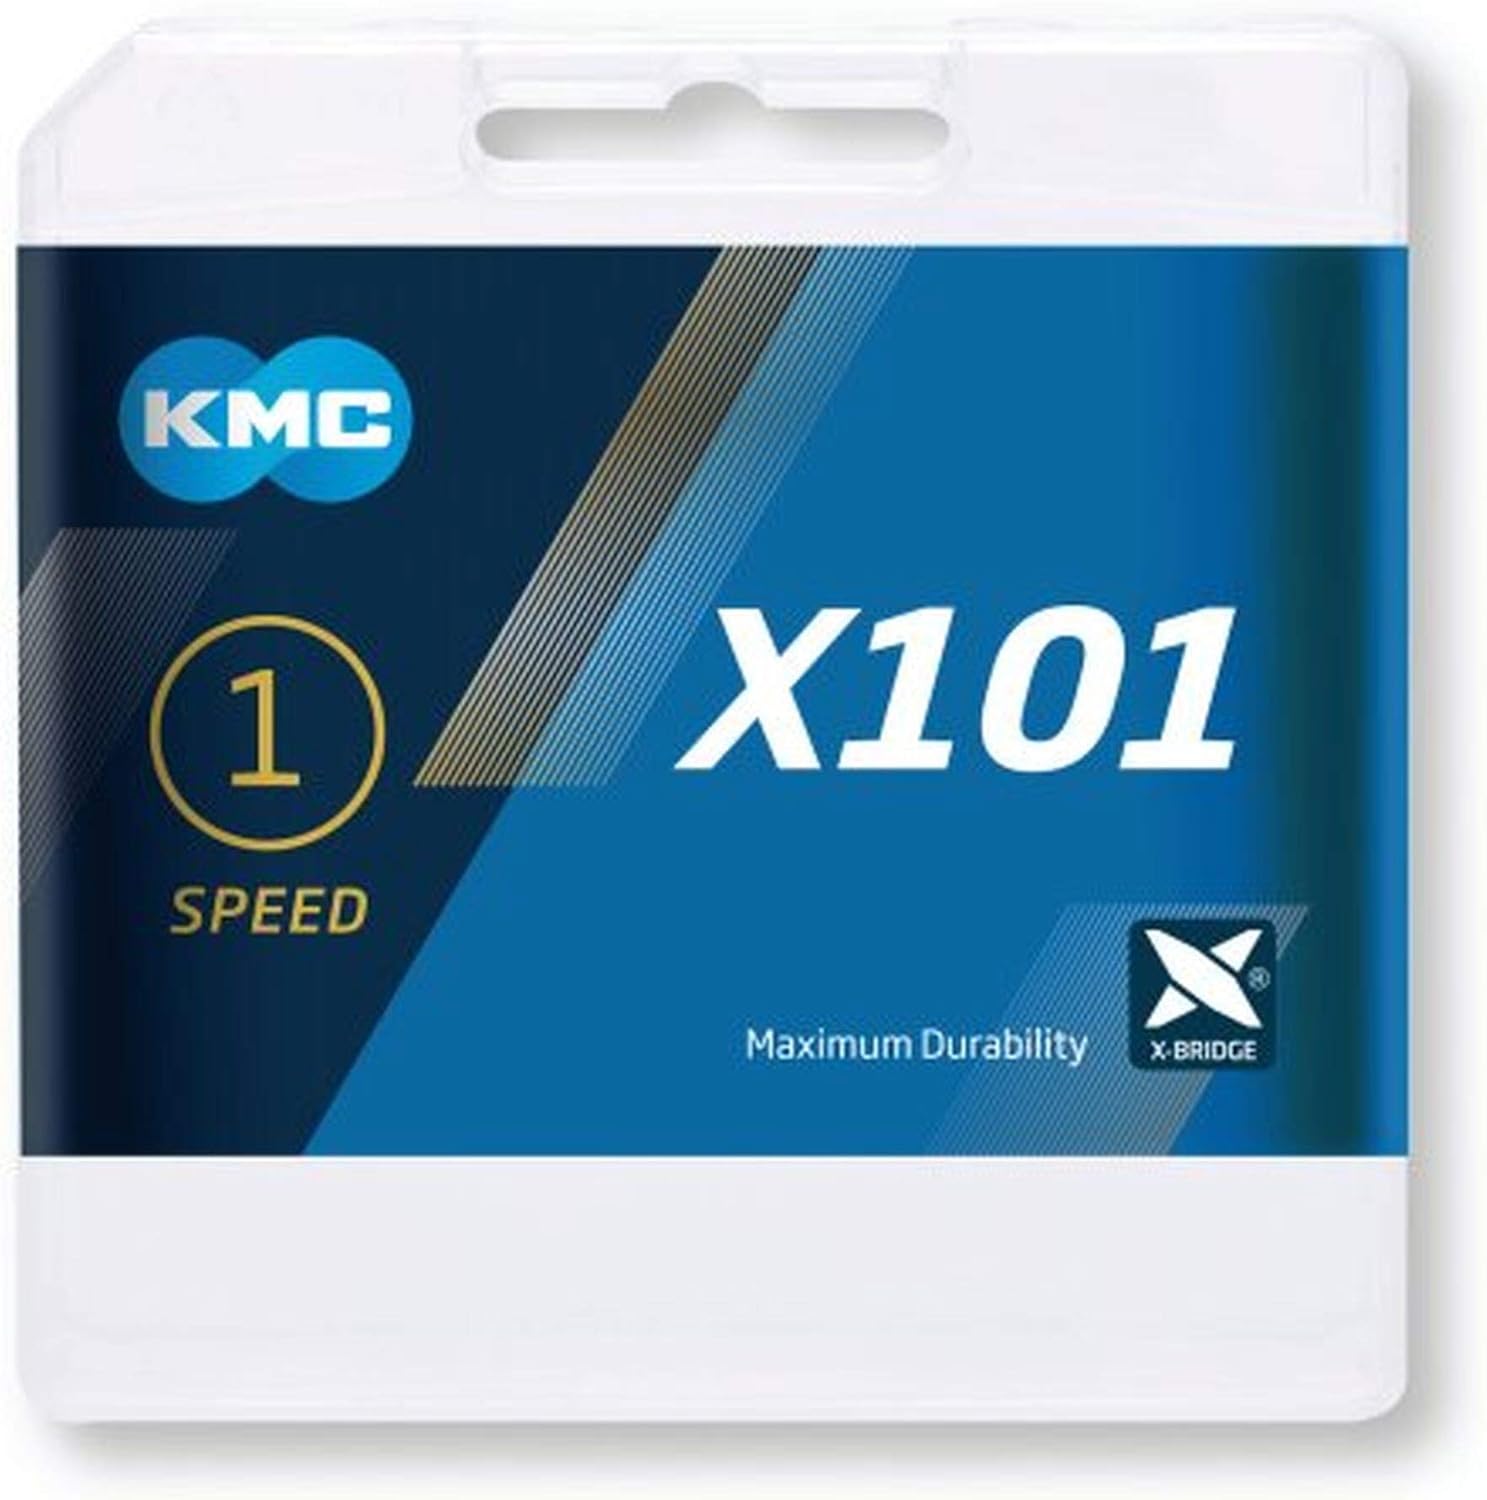
Figure 1: KMC X101 Chain product packaging, showing the KMC logo and "X101 1 SPEED" branding.
2. Setup and Installation
Proper installation is crucial for the performance and longevity of your KMC X101 chain. It is recommended that installation be performed by a qualified bicycle mechanic if you are unfamiliar with chain installation procedures.
2.1 Tools Required
- Chain Breaker Tool
- Chain Pliers (for master link installation/removal)
- Measuring Tape or Chain Wear Indicator
- Lubricant (recommended for initial application)
2.2 Chain Length Adjustment
The KMC X101 chain comes with 112 links and a joining link. The chain length must be adjusted to fit your specific bicycle's drivetrain configuration.
- Place the chain on the chainring and cog. For single-speed bikes, wrap the chain around the chainring and cog.
- Pull the ends of the chain together to determine the correct length. The chain should be taut but not overly tight, allowing for minor adjustments or tensioners.
- Identify the link where the chain needs to be broken. Always break the chain at an outer plate to allow for connection with the joining link.
- Use a chain breaker tool to remove excess links.
2.3 Installing the Chain
- Route the chain through the drivetrain components (chainring, cog, and any tensioners or guides).
- Connect the two ends of the chain using the provided joining link. Insert the pins of one half of the joining link through the inner plates of the chain.
- Align the other half of the joining link over the pins and press firmly to secure. Chain pliers may be necessary to fully seat the joining link.
- Ensure the joining link is fully engaged and secure by wiggling it.

Figure 2: Close-up view of the KMC X101 chain links, highlighting the robust construction and pin design.
3. Operating Considerations
The KMC X101 chain is designed for optimal performance in single-speed, e-bike, internal gear, BMX, track, and fixed-gear applications. While robust, proper usage ensures maximum lifespan and efficiency.
3.1 Intended Use
This chain is specifically engineered for:
- Single speed biking
- E-Bike riding
- Internal gear shifting systems
- BMX riding
- Track cycling
- Fixed gear cycling
3.2 Performance Characteristics
The X101 chain offers:
- Super Rigidity: Ensures maximum power transfer and efficiency.
- Durability: Enhanced by the unique stretch-proof treatment and robust riveting technology.
- Smooth Operation: Asymmetrical chamfering and sealed locking design contribute to quiet and reliable performance.
4. Maintenance
Regular maintenance extends the life of your KMC X101 chain and ensures optimal performance.
4.1 Cleaning
Clean your chain regularly, especially after riding in wet or dirty conditions.
- Use a chain cleaning tool or a brush with a degreaser to remove dirt and grime.
- Rinse the chain thoroughly with water.
- Dry the chain completely to prevent rust.
4.2 Lubrication
Lubricate your chain after every cleaning and periodically based on riding conditions (e.g., every 100-200 miles or after wet rides).
- Apply a thin layer of bicycle-specific chain lubricant to each roller.
- Allow the lubricant to penetrate for a few minutes.
- Wipe off any excess lubricant from the exterior of the chain to prevent dirt accumulation.
4.3 Chain Wear Check
Chains stretch over time due to wear on the pins and rollers. A worn chain can damage your chainring and cog. Check chain wear regularly using a chain wear indicator tool.
- Replace the chain when the wear indicator shows 0.75% or 1% stretch, depending on your drivetrain type. For single-speed, replacement at 1% wear is generally acceptable.
5. Troubleshooting
This section addresses common issues you might encounter with your KMC X101 chain.
| Problem | Possible Cause | Solution |
|---|---|---|
| Chain Noise (Squeaking/Grinding) | Lack of lubrication, dirt/grime, worn chain. | Clean and lubricate the chain. If noise persists, check for wear and replace if necessary. |
| Chain Skipping/Slipping | Worn chain, worn chainring/cog, improper chain tension (single-speed). | Check chain wear and replace if needed. Inspect chainring and cog for wear. Adjust chain tension. |
| Chain Breaking | Improper installation of joining link, excessive force, manufacturing defect (rare). | Ensure joining link is correctly seated. Avoid excessive force during riding. Contact KMC support if defect is suspected. |
6. Specifications
Detailed technical specifications for the KMC X101 Chain (Model BX101N112).
| Attribute | Value |
|---|---|
| Model Name | X101 |
| Part Number | BX101N112 |
| Chain Size | 1/2" x 1/8" |
| Number of Links | 112 links |
| Pin Length | 10.0mm |
| Weight | 375 grams |
| Material | Nickel Plated Steel |
| Color | Silver |
| Strand Type | Single |
| Load Capacity (Tensile) | 5E+2 N |
| Recommended Uses | Single speed biking, e-Bike riding, internal gear shifting, BMX riding, Track cycling, Fixed gear cycling |
| Included Components | 1x Single Speed Chain, 1x Joining Link |
7. Warranty and Support
Specific warranty details for the KMC X101 Chain are typically provided with the product packaging or can be found on the official KMC website. Please retain your proof of purchase for any warranty claims.
For technical support, product inquiries, or warranty service, please refer to the contact information provided by KMC on their official website or through your authorized dealer.
Note: Information regarding specific warranty periods or direct support contacts was not available in the provided product data.
Related documentsBX101N112


Ask a question about this manual
Ask about setup, troubleshooting, compatibility, parts, safety, or missing instructions. Manuals+ will review the question and use this page’s manual context to help answer it.