1. Introduction
This user manual provides comprehensive instructions for the installation, operation, and maintenance of your Akia Screens 110-inch Motorized Electric Remote Controlled Drop Down Projector Screen. Designed for optimal viewing experience, this screen features a 16:9 aspect ratio, 8K/4K HD, and 3D readiness, making it suitable for both office and home theater environments. Please read this manual thoroughly before installation and operation to ensure safe and proper use.
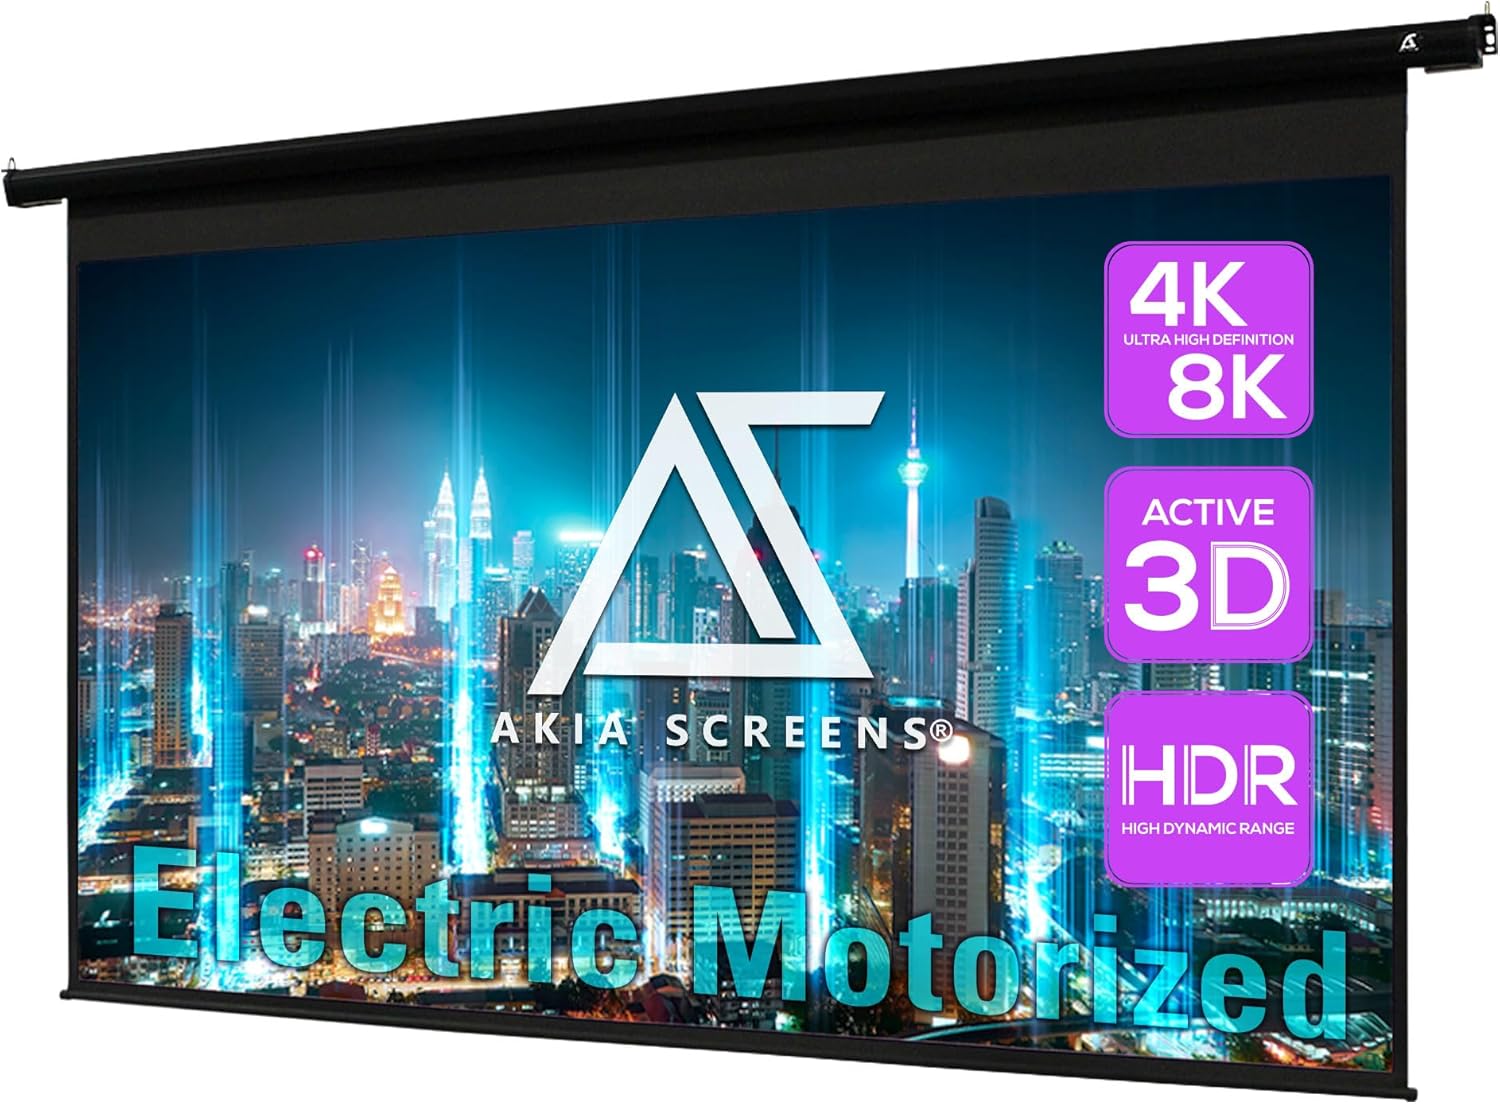
Image: The Akia Screens 110-inch Motorized Electric Projector Screen, showcasing its large display area and compatibility with 4K/8K, Active 3D, and HDR content.
2. Safety Information
- Ensure the screen is installed by qualified personnel following all local electrical and building codes.
- Do not attempt to disassemble or repair the screen or motor. Refer all servicing to qualified service personnel.
- Keep the remote control away from children to prevent accidental operation.
- Do not expose the screen material to direct sunlight for extended periods, as this may cause damage.
- This product is ETL/CE FCC Class B certified, ensuring high quality safety regulation.
3. Package Contents
Verify that all components are present and undamaged before proceeding with installation.
- Motorized Electric Projector Screen
- Long Distance Radio Frequency (RF) Remote Control
- Wireless 12V Trigger Cable
- Installation Kit (for wall or ceiling mounting)

Image: The included radio frequency (RF) remote control and the 12V trigger cable, essential for operating the screen.
4. Setup and Installation
The Akia motorized screen is designed for easy installation on either a wall or ceiling. Ensure the mounting surface is sturdy enough to support the screen's weight (approximately 22 pounds).
4.1 Mounting Options
- Wall Mount: Use the provided brackets to secure the screen housing directly to a wall. Ensure proper stud location for secure attachment.
- Ceiling Mount: The screen can also be suspended from the ceiling using the appropriate hardware from the installation kit.

Image: A detailed view of the screen's durable black metal housing and standard black-masking borders, designed for wall or ceiling installations.
4.2 Electrical Connection
The screen arrives fully assembled and is plug-and-play ready. Connect the power cord to a standard electrical outlet.
5. Operating Instructions
5.1 Using the RF Remote Control
The included radio frequency (RF) remote control allows for convenient operation from a distance. The remote typically has three buttons:
- Up Button: Raises the screen.
- Stop Button: Stops the screen at any desired position.
- Down Button: Lowers the screen.
Ensure the remote has 2 AAA batteries installed (not included).
5.2 Wireless 12V Trigger Operation
The wireless 12V trigger cable allows for automatic synchronization of the screen with your projector's power cycle. Connect the 12V trigger cable to your projector's 12V trigger output (if available). When the projector is powered on, the screen will automatically lower; when the projector is powered off, the screen will retract.

Image: Diagram illustrating the 12-Volt Trigger Cable functionality, showing how the screen automatically drops down or rises up in sync with a projector's power state.
6. Maintenance
To ensure the longevity and optimal performance of your projector screen, follow these maintenance guidelines:
- Cleaning the Screen Surface: The MaxWhite B screen material is easy to clean. Use a soft cloth dampened with mild soap and water. Do not use abrasive cleaners or harsh chemicals, as these can damage the screen surface.
- Dusting: Regularly dust the screen housing and surface with a soft, dry cloth.
- Motor Care: The tubular motor is designed for quiet and reliable operation. No user maintenance is required for the motor.
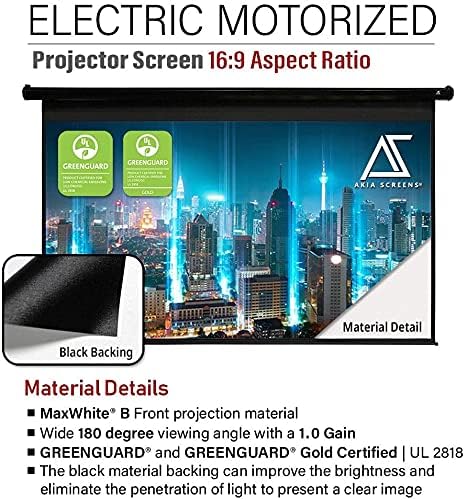
Image: Close-up of the MaxWhite B screen material, highlighting its black backing which improves brightness and eliminates light penetration.
7. Troubleshooting
| Problem | Possible Cause | Solution |
|---|---|---|
| Screen does not respond to remote control. |
|
|
| Screen does not fully retract or extend. | Limit switch settings may need adjustment. | Contact Akia Screens technical support for assistance. Do not attempt to adjust limit switches yourself. |
| Screen surface appears wrinkled or curled. | Shipping damage or improper storage. | Allow the screen to hang fully extended for a period. If wrinkles persist, contact customer support. |
| 12V trigger not working. |
|
|
8. Specifications
| Feature | Detail |
|---|---|
| Screen Diagonal Size | 110 inches (280 cm) |
| Viewing Size (H x W) | 53.7 inches H x 95.9 inches W |
| Aspect Ratio | 16:9 HD Format |
| Overall Extended Size (H x W) | 68.9 inches H x 106.1 inches W |
| Screen Material | MaxWhite B (GreenGuard Certified) |
| Gain | 1.0 |
| Viewing Angle | 180° |
| Compatibility | 8K / 4K Ultra HD and Active 3D Ready (Front Projection). Not compatible with Ultra Short Throw (UST) projectors. |
| Housing Material | Black Metal |
| Control System | RF Remote, Wireless 12V Trigger |
| Certifications | ETL/CE FCC Class B, GreenGuard Certified |
| Item Weight | 22 pounds |
| Batteries Required (Remote) | 2 AAA batteries |

Image: Technical drawing showing the overall and viewing dimensions of the 110-inch motorized projector screen, including its 16:9 aspect ratio.
9. Warranty and Technical Support
Akia Screens provides comprehensive support for its products:
- Warranty: 2 Year Manufacturer's Warranty from an ISO9001 certified manufacturer (since 2004).
- Technical Support: Lifetime Technical Support is available via Email, Web Chat or Toll-Free Phone Call from a U.S. Based Professional Service Team.
- Contact Information: For support, please refer to the contact details provided on the official Akia Screens website or your product registration card.

Image: Visual representation of Akia Screens' commitment to customer support, highlighting the 2-year warranty and lifetime technical support.


