
1. Product Overview
The Boneco X200 Thermo-Hygrometer is designed to accurately monitor the ambient temperature and relative humidity in your indoor environment. This compact and easy-to-use device helps you maintain an ideal indoor climate for comfort and health.
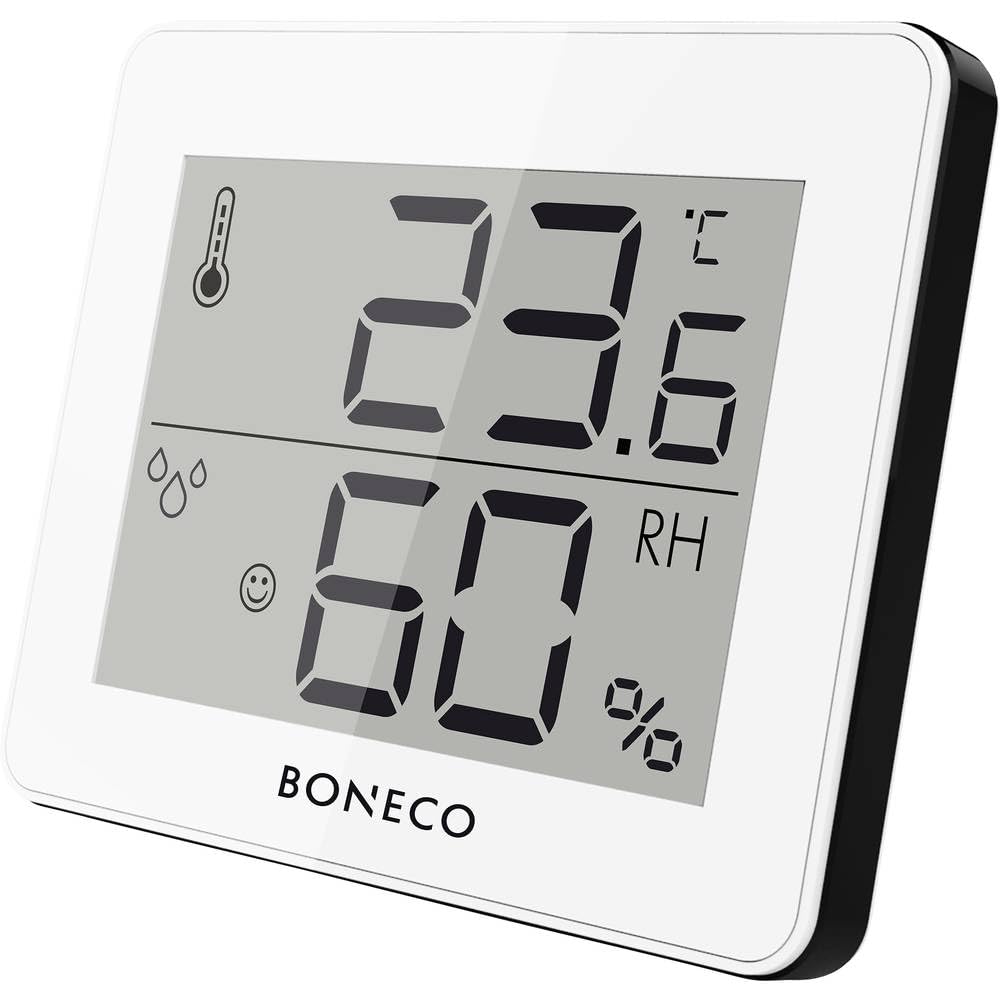
Image 1.1: Front view of the Boneco X200 Thermo-Hygrometer, showing its digital display with temperature and humidity readings.
Key Features:
- Digital display of ambient temperature and relative air humidity.
- Measures temperature within a range of 0 – 50 °C (32 –122 °F).
- Compact design with an integrated support bracket for easy placement.
- Switchable temperature display between Celsius (°C) and Fahrenheit (°F).
- MAX/MIN button to view maximum and minimum recorded temperature and humidity values.
2. Safety Instructions
Please read these safety instructions carefully before using the Boneco X200 Thermo-Hygrometer to ensure safe and proper operation.
- Do not expose the device to extreme temperatures, direct sunlight, or high humidity beyond its operational limits.
- Avoid dropping the device or subjecting it to strong impacts.
- Do not attempt to open or repair the device yourself. Refer all servicing to qualified personnel.
- Keep the device out of reach of children.
- Clean the device only with a soft, dry cloth. Do not use abrasive cleaners or solvents.
- This device is intended for indoor use only.
3. Package Contents
Verify that all items are present in the package:
- Boneco X200 Thermo-Hygrometer unit
- Instruction Manual (this document)
- Note: The device does not require user-replaceable batteries.
4. Setup
4.1 Initial Placement
The Boneco X200 is designed for easy placement on a flat surface using its integrated support bracket or for wall mounting.
- For tabletop use: Extend the support bracket located on the back of the device to stand it upright on a desk, shelf, or table.
- For wall mounting: Use a small screw (not included) to hang the device from the keyhole slot on its back. Ensure the screw is securely fastened to the wall.
Choose a location that provides an accurate representation of the room's temperature and humidity. Avoid placing the device near heat sources (e.g., radiators, direct sunlight), air vents, or in areas with high drafts, as these can affect readings.
Image 4.1: Rear view of the Boneco X200, illustrating the integrated support bracket for freestanding use.
5. Operating Instructions
5.1 Powering On
The Boneco X200 is designed to be ready for use upon placement. It does not have an on/off switch. Once placed, it will begin displaying current temperature and humidity readings.
5.2 Displaying Temperature Units (°C / °F)
To switch between Celsius (°C) and Fahrenheit (°F) temperature units:
- Locate the °C/°F button, usually on the back or side of the device.
- Press the °C/°F button once to toggle between the two units. The display will update immediately.
5.3 Viewing MAX/MIN Values
The device records the maximum and minimum temperature and humidity values over a period. To view these:
- Locate the MAX/MIN button, usually on the back or side of the device.
- Press the MAX/MIN button once to display the maximum recorded temperature and humidity.
- Press the MAX/MIN button a second time to display the minimum recorded temperature and humidity.
- Press the MAX/MIN button a third time to return to the current readings.
To reset the MAX/MIN values, press and hold the MAX/MIN button for approximately 3 seconds while the MAX or MIN values are displayed. The display will flash, indicating that the values have been reset.
6. Maintenance
Proper maintenance ensures the longevity and accuracy of your Boneco X200 Thermo-Hygrometer.
6.1 Cleaning
- Wipe the device regularly with a soft, dry, lint-free cloth.
- Do not use liquid cleaners, sprays, or abrasive cleaning agents, as these can damage the display or internal components.
6.2 Storage
If storing the device for an extended period, keep it in a cool, dry place, away from direct sunlight and extreme temperatures.
7. Troubleshooting
If you encounter issues with your Boneco X200, please refer to the following common problems and solutions:
| Problem | Possible Cause | Solution |
|---|---|---|
| No display or faint display | Low internal power / Device malfunction | Ensure the device is in a well-lit area if it uses solar power. If the issue persists, contact customer support. |
| Inaccurate readings | Improper placement; Sensor obstruction; Environmental factors | Relocate the device away from direct heat/cold sources or drafts. Ensure sensors are clean and unobstructed. Allow time for readings to stabilize after relocation. |
| MAX/MIN values not resetting | Incorrect reset procedure | Ensure you are pressing and holding the MAX/MIN button for approximately 3 seconds while MAX or MIN values are displayed. |
If the problem persists after trying these solutions, please contact Boneco customer support.
8. Specifications
| Feature | Detail |
|---|---|
| Model Number | X200 |
| Brand | BONECO |
| Dimensions (L x W x H) | 7 x 10 x 10 cm |
| Weight | 92 Grams |
| Temperature Measurement Range | 0 – 50 °C (32 – 122 °F) |
| Temperature Accuracy | ± 0.5 °C |
| Operational Humidity Range | 10 – 90 % RH |
| Mounting Type | Tabletop (with stand) / Wall mount |
| Power Source | Does not require user-replaceable batteries |
| Color | White |
| Country of Origin | China |
9. Warranty and Support
BONECO products are manufactured with high-quality materials and undergo strict quality control. For warranty information and customer support, please refer to the official BONECO website or contact your local distributor.
Please retain your proof of purchase for any warranty claims.
Online Support: www.boneco.com


