1. Product Overview
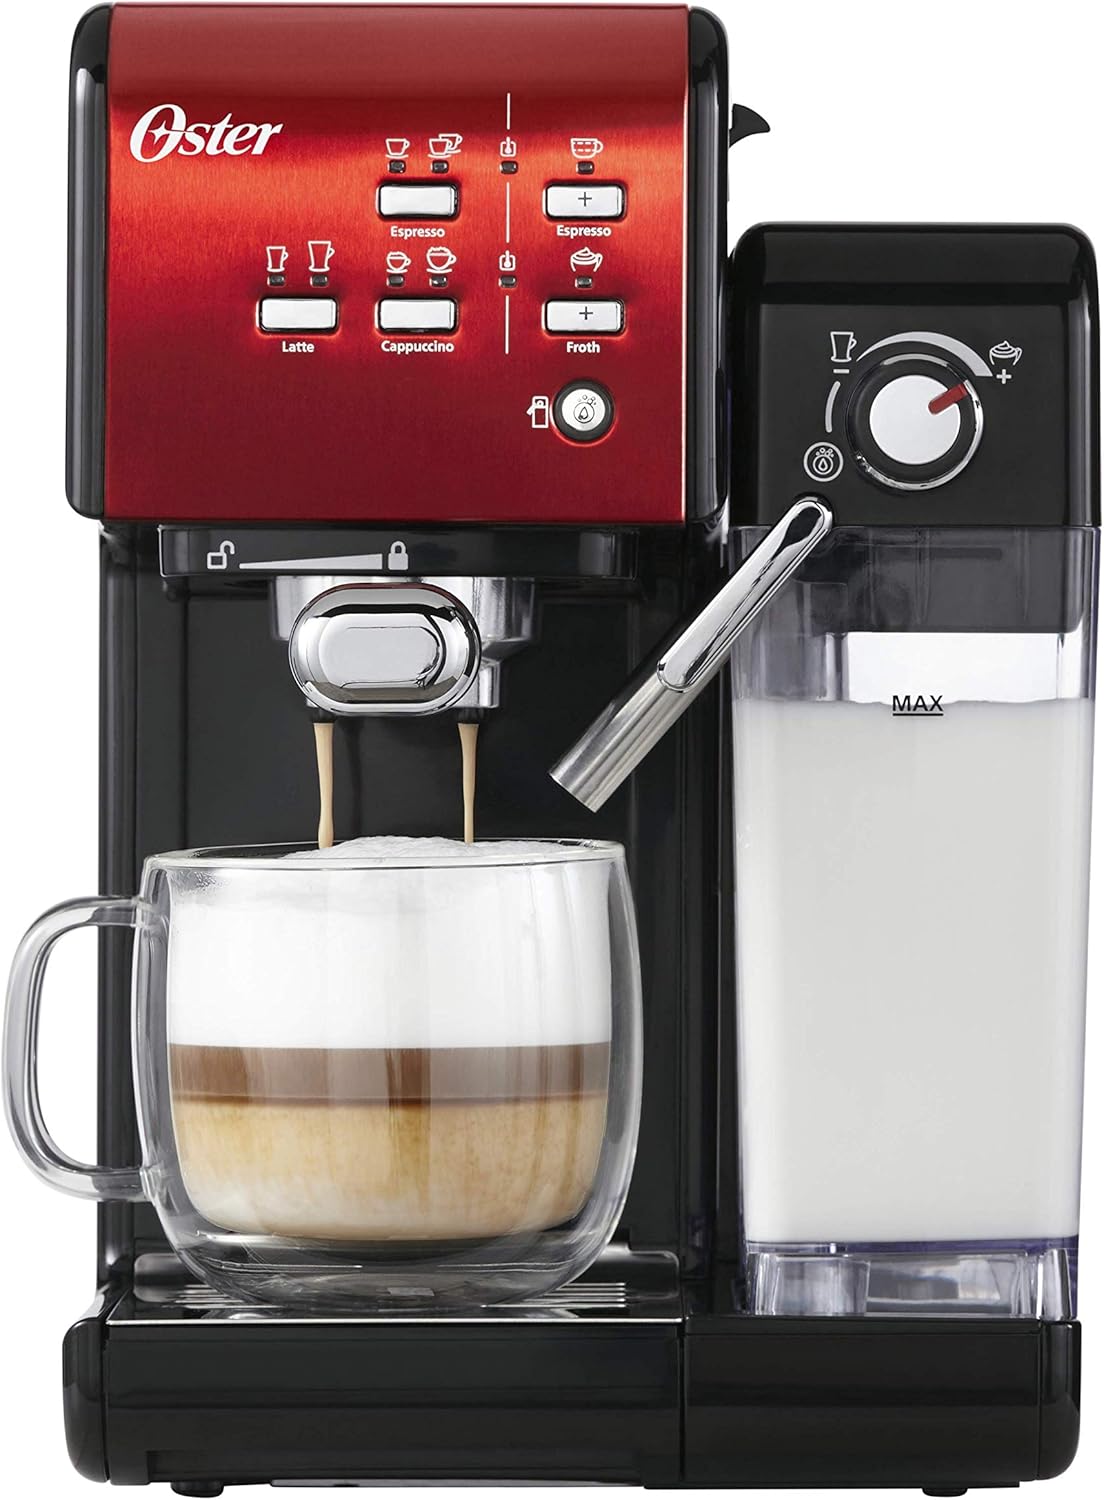
The Oster Prima Latte II Espresso Machine is designed to deliver high-quality espresso, lattes, and cappuccinos with ease. Featuring a 19-bar Italian pump, it ensures optimal flavor extraction. The integrated milk frother and removable reservoirs simplify the coffee-making process and maintenance.

Front view of the Oster Prima Latte II espresso machine in red and black, showcasing the control panel and milk reservoir.
Key Features:
- 19-bar Italian pump for rich espresso.
- Easy-to-install and clean portafilter.
- Removable 600 ml milk reservoir, suitable for refrigeration.
- POD filter compatible with ground coffee.
- Automatic wash cycle for milk frother.
- Manual program for customized beverages.
2. Setup and Initial Use
- Unpacking: Carefully remove all components from the packaging. Ensure all parts, including the main unit, water reservoir, milk reservoir, portafilter, and filter baskets, are present.
- Positioning: Place the machine on a stable, flat, heat-resistant surface near an electrical outlet.
- Water Reservoir: Fill the transparent water reservoir with fresh, cold water up to the MAX line. Ensure it is securely placed at the back of the machine.
- Milk Reservoir: Fill the transparent milk reservoir with desired milk (dairy or non-dairy) up to the MAX line. Slide it into the designated slot on the right side of the machine until it clicks into place.
- Portafilter: Insert the desired filter basket (single or double shot) into the portafilter. Add ground coffee and tamp lightly. Attach the portafilter to the brewing head by aligning it and twisting firmly to the right until it locks.
- Initial Cleaning (Priming): Before first use, perform a cleaning cycle without coffee. Fill the water reservoir, turn on the machine, and let it heat up. Run a cycle for espresso and a cycle for milk frothing (using water in the milk reservoir) to flush out any manufacturing residues.
A hand demonstrating the removal of the transparent milk reservoir from the side of the espresso machine.
3. Operating Instructions
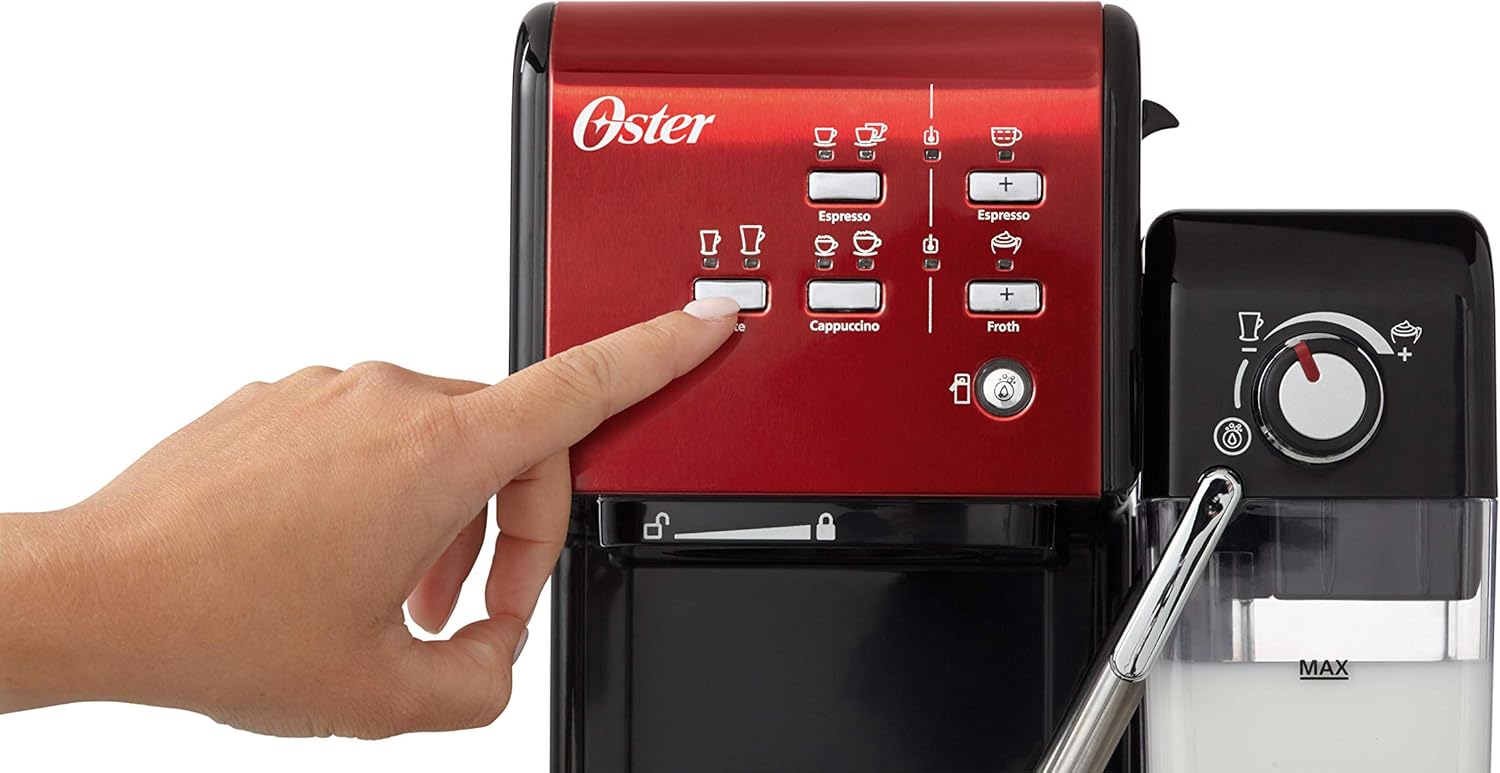
The control panel features illuminated buttons for various coffee preparations. Ensure the machine is powered on and has completed its heating cycle (lights will stop flashing).
A finger pressing one of the illuminated beverage selection buttons on the red control panel of the espresso machine.
Making Espresso:
- Fill the water reservoir and add ground coffee to the portafilter.
- Place a cup under the portafilter spout.
- Press the 'Espresso' button (single or double cup icon). The machine will automatically brew the espresso.
Making Latte or Cappuccino:
- Fill the water and milk reservoirs.
- Add ground coffee to the portafilter.
- Adjust the milk frother dial on the milk reservoir to your desired foam level (e.g., 'Latte' for less foam, 'Cappuccino' for more foam).
- Place a cup under both the portafilter and the milk frother spout.
- Press the 'Latte' or 'Cappuccino' button. The machine will first froth the milk, then brew the espresso into the cup.
A detailed view of the milk frothing control dial, showing settings for different foam levels and the cleaning function.

The espresso machine dispensing coffee and frothed milk into a glass mug to create a layered latte.
Frothing Milk Only:
- Fill the milk reservoir.
- Adjust the milk frother dial to your desired foam level.
- Place a cup under the milk frother spout.
- Press the 'Froth' button. The machine will dispense frothed milk.
Manual Program:
For customized beverage volumes, press and hold the desired beverage button (Espresso, Latte, Cappuccino, or Froth) until the desired amount is dispensed, then release the button to stop. The machine will remember this setting for future use until reset.
4. Maintenance and Cleaning
Regular cleaning ensures optimal performance and extends the lifespan of your espresso machine.

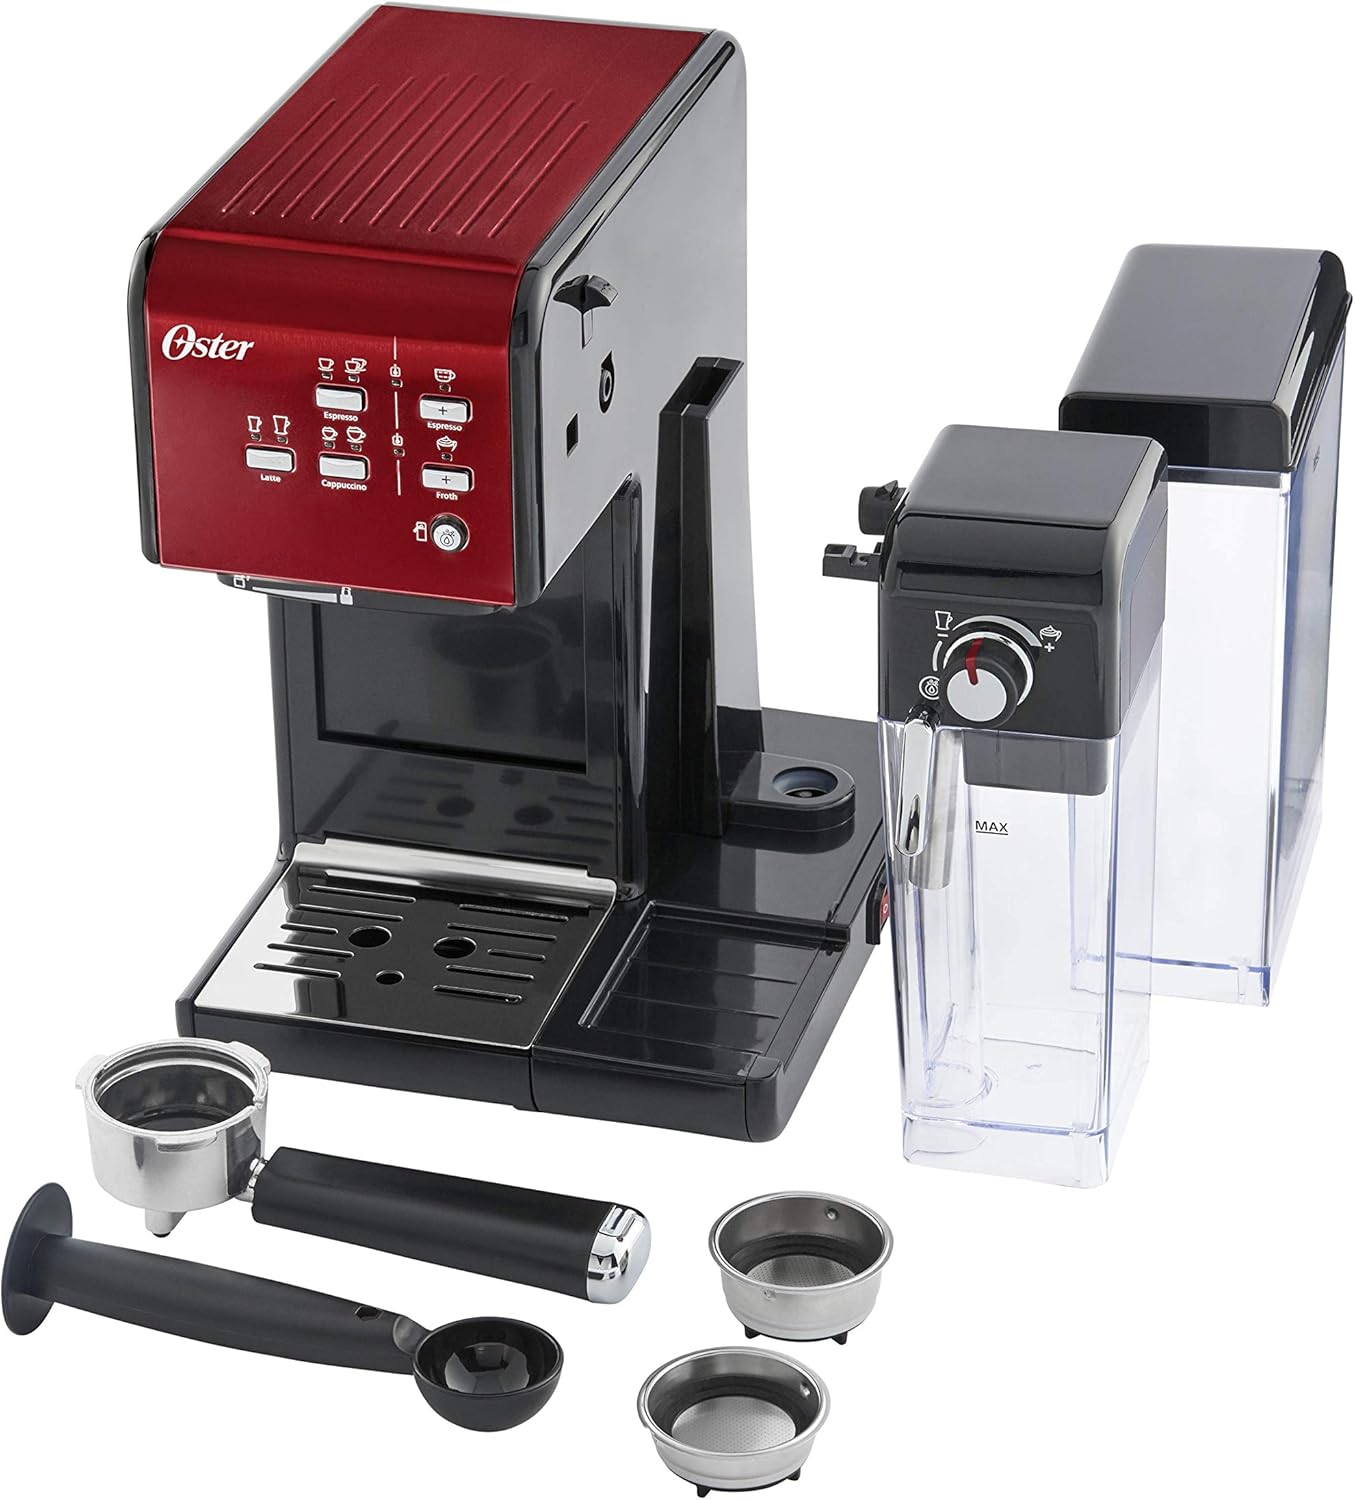
All removable components of the espresso machine, including the water tank, milk tank, portafilter, and filter baskets, laid out for cleaning or assembly.
- Portafilter and Filter Baskets: After each use, remove the portafilter, discard spent coffee grounds, and rinse the portafilter and filter basket under warm water. Use a small brush to remove any coffee residue.
- Milk Reservoir: After each use, or when empty, remove the milk reservoir. It can be stored in the refrigerator with milk, but for thorough cleaning, disassemble the frothing tube and rinse all parts with warm, soapy water. The reservoir is removable for easy cleaning.
- Automatic Wash Cycle (Milk Frother): After frothing milk, turn the milk frother dial to the 'Clean' position (often indicated by a water droplet icon) and press the 'Froth' button to run a short cleaning cycle, flushing water through the frothing system.
- Drip Tray: Regularly empty and clean the drip tray. It is designed to collect excess liquids and prevent spills.
- Water Reservoir: Clean the water reservoir periodically with warm, soapy water and rinse thoroughly.
- Descaling: Depending on water hardness and frequency of use, descaling should be performed every 2-3 months. Refer to the full product manual for specific descaling instructions and recommended descaling solutions.
5. Troubleshooting
- No Coffee Dispensing / Slow Flow:
- Ensure water reservoir is filled.
- Check if the portafilter is correctly locked in place.
- Coffee grounds might be too fine or too heavily tamped, causing excessive pressure. Try a coarser grind or lighter tamp.
- Clean the filter basket and portafilter for any blockages.
- Machine may need descaling.
- Water Leaking from Machine:
- Check if the drip tray is full and needs emptying. An overfilled drip tray can cause water to appear to leak from the machine's interior.
- Ensure all reservoirs (water and milk) are correctly seated and sealed.
- If coffee grounds are too heavily tamped, the machine's safety system may release excess pressure through an internal channel, leading to apparent leakage. Adjust coffee grind and tamp.
- Milk Not Frothing / Insufficient Foam:
- Ensure the milk reservoir is filled with cold milk.
- Check that the milk frother spout is clean and not blocked. Run the automatic wash cycle.
- Verify the milk frother dial is set to the desired foam level.
- Use fresh, cold milk for best frothing results.
- Machine Not Turning On:
- Ensure the power cord is securely plugged into a working electrical outlet.
- Check the power switch on the machine.
6. Specifications
| Feature | Specification |
|---|---|
| Brand | Oster |
| Model Number | OCF109X-01 |
| Color | Red |
| Dimensions (L x W x H) | 26.6 x 32.5 x 35.8 cm |
| Weight | 3 Kilograms |
| Capacity (Milk Reservoir) | 600 Milliliters |
| Voltage | 230 Volts |
| Material | Steel |
| Special Features | Water Filter, Milk Frother, Programmable, Removable Reservoir |
7. Warranty and Support
Specific warranty details are not available in the provided product information. For warranty claims, technical support, or to inquire about replacement parts, please refer to the documentation included with your purchase or contact Oster customer service directly. Keep your proof of purchase for any warranty-related inquiries.


