
1. Important Safety Information
Please read all instructions carefully before assembly and use. Keep this manual for future reference.
- Do not exceed the maximum weight capacity of 150 kg (330 lbs).
- Ensure all screws and bolts are securely tightened before use. Periodically check and re-tighten as necessary.
- Use on a flat, stable surface to prevent tipping.
- Keep small parts away from children during assembly.
- Do not stand on the chair.
2. Package Contents
Before starting assembly, ensure all parts are present and undamaged. If any parts are missing or damaged, please contact customer support.
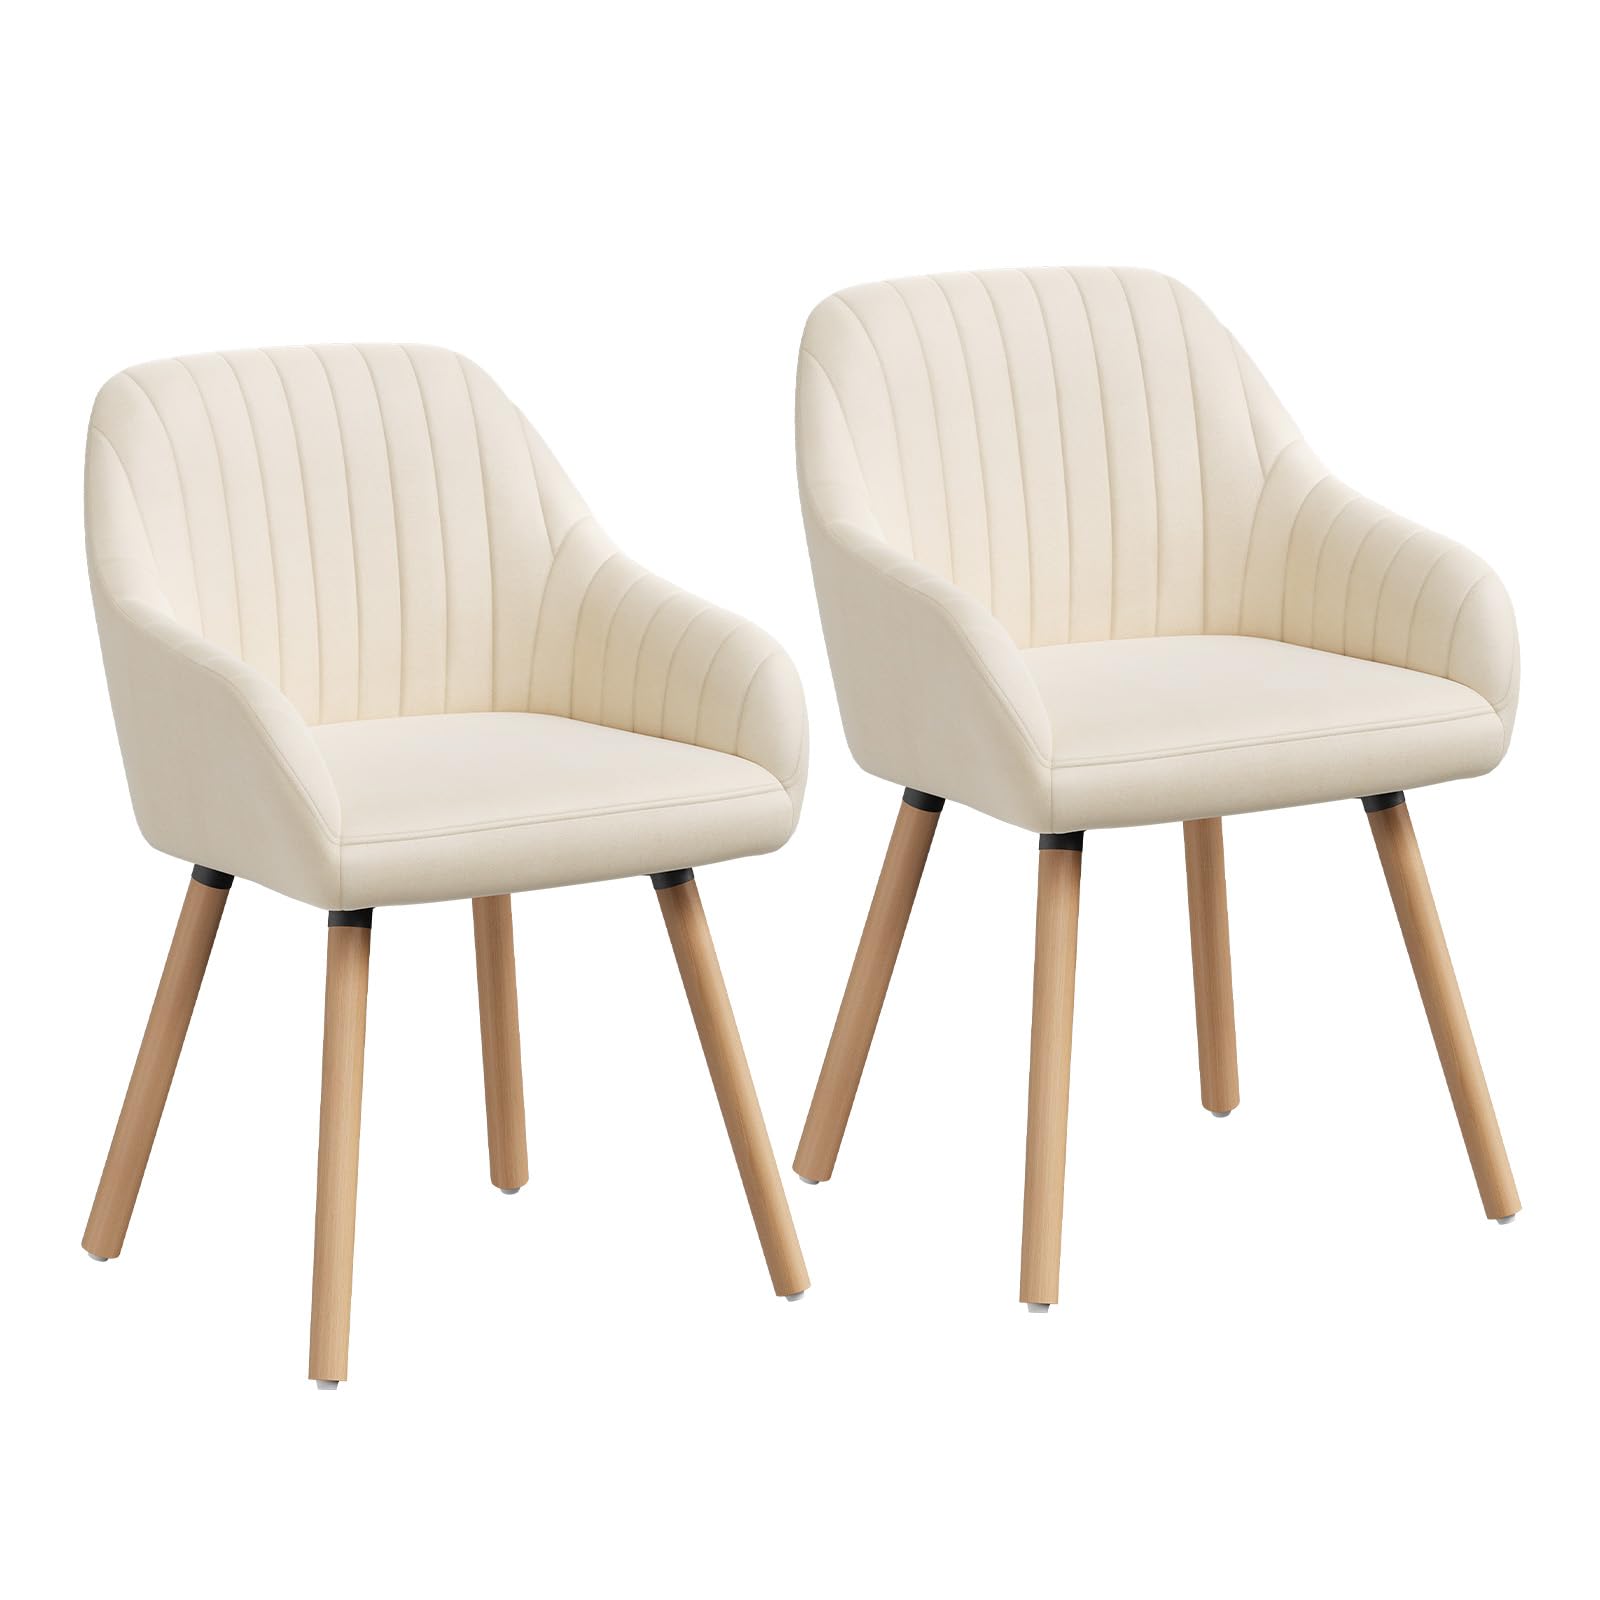
Image 2.1: Fully assembled WOLTU Dining Chair.
This image shows the complete dining chair, highlighting its velvet upholstery and wooden legs. It represents the final product after successful assembly.

Image 2.2: Exploded view of chair components.
This diagram illustrates the main components required for assembly: the chair seat, metal frame, and four wooden legs, along with screws and washers.
List of Components:
- (A) Chair Seat (1)
- (B) Metal Frame (1)
- (C) Wooden Legs (4)
- (D) Screws (8)
- (E) Washers (8)
- (F) Allen Key (1)
3. Setup and Assembly Instructions
Follow these steps carefully to assemble your WOLTU Dining Chair.
- Step 1: Attach Metal Frame to Seat
Place the chair seat (A) upside down on a soft, clean surface to prevent scratches. Align the metal frame (B) with the pre-drilled holes on the underside of the seat. Secure the frame using 4 screws (D) and 4 washers (E). Tighten with the Allen key (F), but do not fully tighten yet.
Illustration 3.1: Securing the metal frame to the seat.
This image shows the underside of the chair seat with the metal cross-frame being attached. The four points where the frame connects to the seat are visible.
- Step 2: Attach Wooden Legs
Attach each wooden leg (C) to the metal frame (B) using the remaining 4 screws (D) and 4 washers (E). Ensure the legs are oriented correctly. Fully tighten all screws from Step 1 and Step 2 now.

Illustration 3.2: Attaching the wooden legs.
This image displays the chair with its wooden legs attached, showing the sturdy construction and the angle of the legs for stability.
- Step 3: Final Check
Turn the chair upright. Gently press down on the seat to ensure all connections are secure and the chair is stable. If the chair wobbles, check that all screws are evenly tightened and the legs are properly seated.
4. Operating Instructions
Your WOLTU Dining Chair is designed for comfortable seating in various indoor environments.
- Usage: This chair is intended for indoor use only, such as in dining rooms, kitchens, living rooms, bedrooms, or home offices.
- Seating: Sit centrally on the seat with your back against the backrest for optimal comfort and support.
- Movement: When moving the chair, lift it rather than dragging it to prevent damage to the floor and the chair legs. The anti-slip pads on the feet help protect floors and reduce noise.

Image 4.1: Chair in a dining room.
This image shows the WOLTU dining chair integrated into a modern dining room setting, demonstrating its intended use and aesthetic appeal.
5. Maintenance and Care
Proper care will extend the life and appearance of your WOLTU Dining Chair.
- Cleaning Velvet Upholstery:
- For light dust, use a soft brush or vacuum cleaner with an upholstery attachment.
- For spills, blot immediately with a clean, dry cloth. Do not rub.
- For stubborn stains, use a mild fabric cleaner specifically designed for velvet, testing on an inconspicuous area first.
- Avoid using harsh chemicals or abrasive cleaners.
- Cleaning Wooden Legs:
- Wipe with a soft, damp cloth. Dry immediately with a clean cloth.
- Avoid prolonged exposure to moisture.
- Regular Checks: Periodically check all screws and bolts to ensure they are tight. Re-tighten if necessary.
- Sunlight Exposure: Avoid direct sunlight exposure for extended periods to prevent fading of the velvet fabric.
6. Troubleshooting
| Problem | Possible Cause | Solution |
|---|---|---|
| Chair wobbles | Screws are loose or unevenly tightened. | Check and tighten all screws evenly. Ensure the chair is on a flat surface. |
| Squeaking noise | Loose connections between components. | Tighten all assembly screws. If persistent, disassemble and reassemble carefully. |
| Fabric appears flattened | Prolonged pressure or use. | Gently brush the velvet in the opposite direction of the pile to restore its texture. |
7. Specifications
| Brand | WOLTU |
| Model Number | BH95cm-2 |
| Material | Velvet (Upholstery), Wood (Frame/Legs), Sponge (Filling) |
| Color | Crème Blanc (Cream White) |
| Dimensions (W x D x H) | 50P x 42l x 81H cm (50D x 42W x 81H cm) |
| Seat Height | 44 cm |
| Weight Capacity | 150 kg (330 lbs) |
| Item Weight | 14.4 kg (per 2 chairs) |
| Assembly Required | Yes |
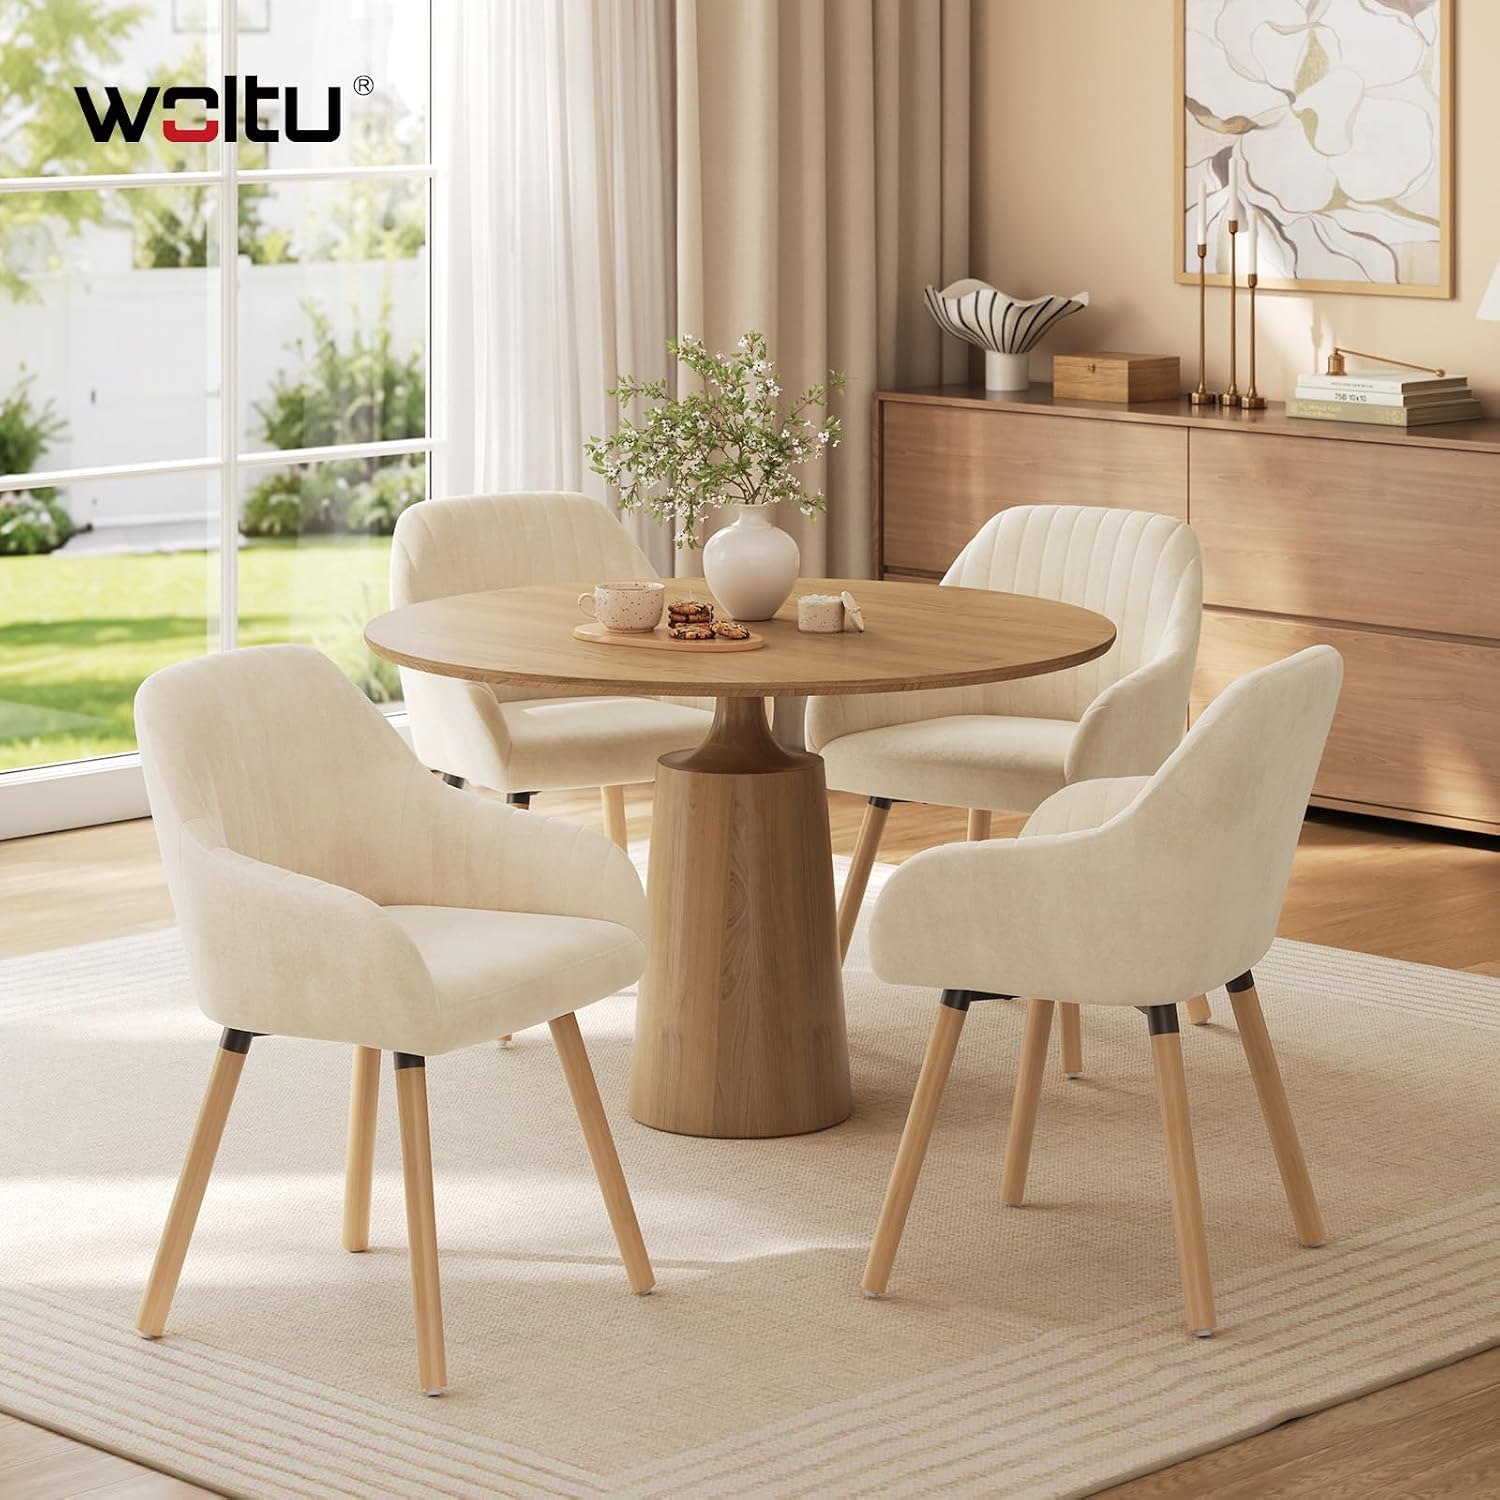
Image 7.1: Detailed product dimensions.
This diagram provides a visual representation of the chair's key dimensions, including height, width, depth, and seat height, along with the maximum load capacity.
8. Warranty and Support
WOLTU products are manufactured with quality and care. For warranty information or if you encounter any issues not covered in this manual, please contact WOLTU customer support.
WOLTU Customer Service:
- Please refer to your purchase documentation or the official WOLTU website for contact details.
- When contacting support, please have your model number (BH95cm-2) and purchase date ready.
Thank you for choosing WOLTU.


