
1. Important Safety Instructions
Please read these instructions carefully before installing and operating your microwave oven. Keep this manual for future reference. Failure to follow these instructions may result in electric shock, fire, or injury.
- Do not attempt to operate this oven with the door open as this can result in harmful exposure to microwave energy.
- Do not place any object between the oven front face and the door or allow soil or cleaner residue to accumulate on sealing surfaces.
- Do not operate the oven if it is damaged. It is particularly important that the oven door closes properly and that there is no damage to the: (1) door (bent), (2) hinges and latches (broken or loosened), (3) door seals and sealing surfaces.
- The oven should not be adjusted or repaired by anyone except properly qualified service personnel.
- Ensure the appliance is properly grounded.
- Do not use corrosive chemicals or vapors in this appliance.
- Liquids or other foods must not be heated in sealed containers since they are liable to explode.
- Only use utensils that are suitable for use in microwave ovens.
- When heating food in plastic or paper containers, keep an eye on the oven due to the possibility of ignition.
- If smoke is observed, switch off or unplug the appliance and keep the door closed in order to stifle any flames.
2. Product Overview
The Klarstein Victoria 20 Recessed Microwave is a versatile appliance designed for warming, cooking, and grilling. It features a 20-liter capacity, 800W microwave power, and 1000W grill power, along with three combination functions and five power levels. Its retro design integrates seamlessly into various kitchen styles.
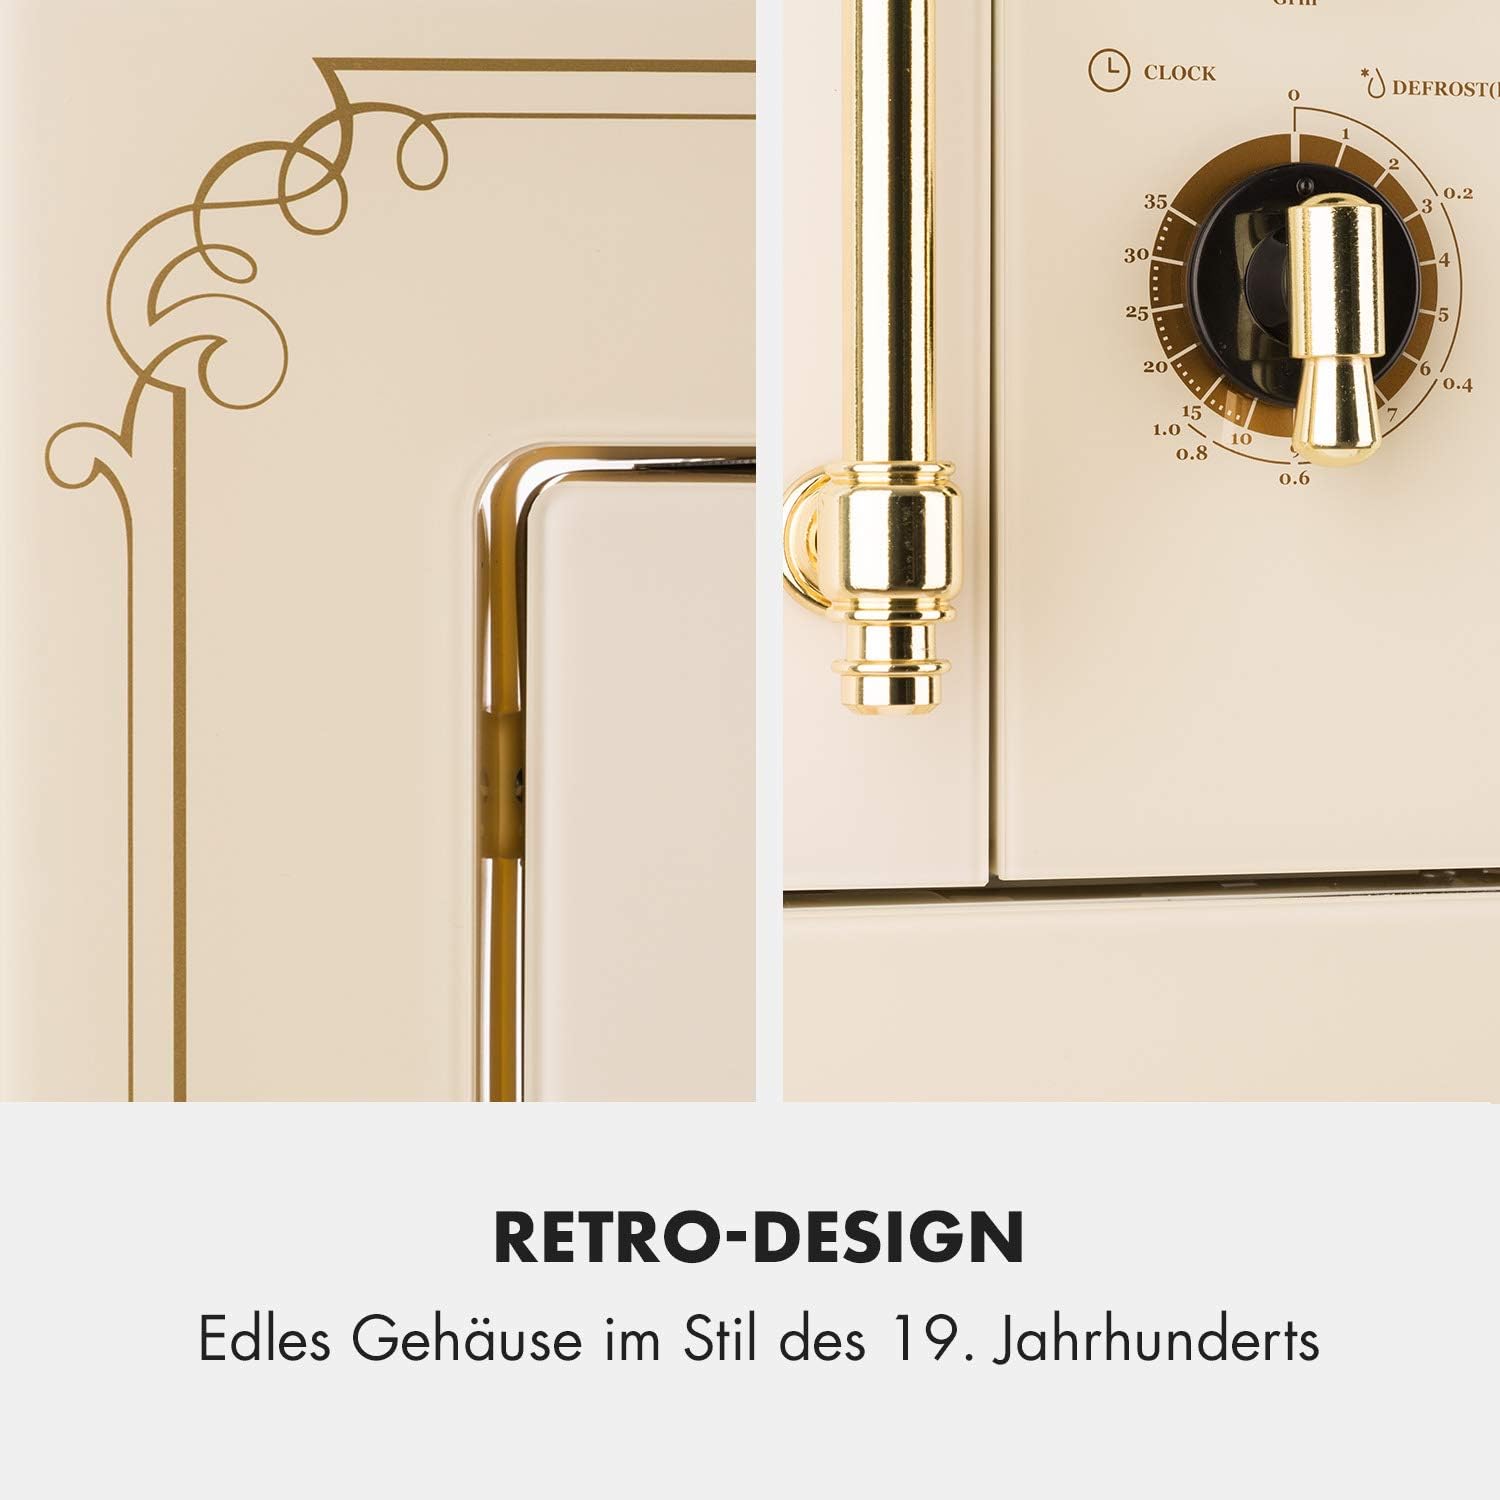
Figure 2.1: The Klarstein Victoria 20 microwave features a distinctive retro design with elegant detailing.
Components and Controls
- Control Panel: Features rotary knobs for power level/function selection and timer/defrost settings.
- Oven Cavity: 20-liter capacity with a stainless steel interior.
- Glass Turntable: Ensures even heating of food.
- Grill Rack: Included for grilling functions.
- Oven Door: Equipped with a handle and safety latch system.

Figure 2.2: Interior view highlighting the spacious 20-liter capacity and the glass turntable.
3. Setup and Installation
This microwave oven is designed for recessed installation. Ensure you have the necessary cabinet space and electrical connections before proceeding.
Unpacking
- Carefully remove the microwave oven and all packaging materials from the carton.
- Check the oven for any damage, such as dents or a misaligned door. Do not install if damaged.
- Remove any protective film from the cabinet surface.
Placement and Ventilation
- The microwave must be placed on a flat, stable surface or installed into a suitable cabinet opening.
- Ensure adequate ventilation around the appliance. Do not block air vents.
- Maintain a minimum clearance of 10 cm (4 inches) at the rear, 20 cm (8 inches) at the top, and 5 cm (2 inches) on the sides.
Electrical Connection
- Connect the appliance to a properly installed and grounded wall socket. The voltage must match the rating label on the appliance (230 Volts).
- Do not use extension cords or multiple sockets.

Figure 3.1: Example of the microwave integrated into a kitchen environment, demonstrating its adaptable design.
4. Operating Instructions
The Klarstein Victoria 20 offers various cooking modes, including microwave, grill, and combination functions. Familiarize yourself with the control knobs for optimal use.

Figure 4.1: Control knob for selecting power levels and cooking functions.
Microwave Cooking
- Place food in a microwave-safe container on the glass turntable.
- Close the oven door securely.
- Turn the Function/Power Level knob to select the desired microwave power (e.g., M.High for 800W, Med, Low, M.Low). There are 5 power levels available.
- Turn the Timer knob to set the desired cooking time.
- The oven will start automatically. A signal will sound when cooking is complete.

Figure 4.2: The microwave function is suitable for warming, cooking, and grilling a variety of foods.
Grill Cooking
- Place food on the grill rack, which should be placed on the glass turntable.
- Close the oven door securely.
- Turn the Function/Power Level knob to "Grill".
- Turn the Timer knob to set the desired grilling time.
- The oven will start. For best results, turn food halfway through the grilling time.

Figure 4.3: The 1000W grill function allows for crispy grilled dishes.
Combination Cooking (3 Functions)
The microwave offers three combination functions (Combi.1, Combi.2, Combi.3) that combine microwave and grill power for faster and more even cooking results.
- Place food in a suitable container on the grill rack or turntable.
- Close the oven door.
- Turn the Function/Power Level knob to select Combi.1, Combi.2, or Combi.3.
- Turn the Timer knob to set the cooking time.
- The oven will start. Refer to specific recipes or the full manual for recommended combination settings for different foods.

Figure 4.4: The QuickSelect technology offers 3 preset combination functions for grill and microwave cooking.
Defrost Function
The defrost function allows for thawing frozen foods based on weight.
- Place the frozen food on the glass turntable.
- Close the oven door.
- Turn the Defrost knob to select the desired weight for defrosting (e.g., 0.2 kg to 1.0 kg).
- The oven will automatically calculate and start the defrosting time.
- Turn food over during defrosting for more even results.
5. Maintenance and Cleaning
Regular cleaning and maintenance will ensure the longevity and efficient operation of your microwave oven.
General Cleaning
- Always unplug the appliance before cleaning.
- Clean the oven cavity, door seals, and turntable regularly with a damp cloth and mild detergent.
- Do not use abrasive cleaners, steel wool, or harsh chemicals, as these can damage surfaces.
- For stubborn food residue, place a bowl of water with lemon juice inside and heat for a few minutes on high microwave power. The steam will loosen the residue.

Figure 5.1: The SimpleClean stainless steel interior facilitates easy cleaning.
Turntable and Grill Rack
- The glass turntable and grill rack can be removed for cleaning. Wash them in warm, soapy water or in a dishwasher.
- Ensure they are completely dry before placing them back in the oven.
6. Troubleshooting
If you encounter issues with your microwave oven, refer to the following common problems and solutions before contacting service personnel.
| Problem | Possible Cause | Solution |
|---|---|---|
| Oven will not start |
|
|
| Food not heating |
|
|
| Turntable not rotating |
|
|
| Unusual noise during operation |
|
|
7. Specifications
| Feature | Specification |
|---|---|
| Model Number | DSM4-Retro MWO20-I |
| Capacity | 20 Liters |
| Microwave Power Output | 800 Watts |
| Grill Power Output | 1000 Watts |
| Voltage | 230 Volts |
| Frequency | 50 Hz |
| Number of Power Levels | 5 |
| Combination Functions | 3 |
| Defrost System Type | Weight-based Defrost |
| Material | Stainless Steel |
| Item Weight | 15 Kilograms |
| Included Components | Grill Rack, Glass Turntable |
8. Warranty and Support
Klarstein products are manufactured to high quality standards. In the unlikely event of a defect, please contact your retailer or the Klarstein customer support team for assistance. Keep your proof of purchase for warranty claims.
For detailed warranty terms and conditions, please refer to the documentation provided with your purchase or visit the official Klarstein website.
Online Support: www.klarstein.com/support