1. Introduction
This manual provides detailed instructions for the installation, operation, and maintenance of your Pfister LG01-8CPC 3 Handle Tub & Shower Faucet Trim Kit. Please read all instructions carefully before beginning installation.
This trim kit is designed to be used with a compatible Pfister rough-in valve (Pfister 00131XA Valve Required, Sold Separately).
2. Safety Information
- Always turn off the water supply before beginning any work on the faucet.
- Wear appropriate personal protective equipment, such as safety glasses.
- If you are unsure about any part of the installation process, consult a qualified professional plumber.
- Ensure all connections are secure to prevent leaks.
3. Package Contents
Verify that all components are present before beginning installation.
- Showerhead
- Shower Arm
- Tub Spout
- Three (3) Cross Handles (Porcelain)
- Trim Plates/Escutcheons
- Mounting Hardware
- Instruction Manual (this document)
4. Tools Required
- Adjustable Wrench
- Phillips Head Screwdriver
- Flat Head Screwdriver
- Plumber's Putty or Thread Sealant Tape
- Pipe Wrench (if needed for existing plumbing)
- Safety Glasses
5. Setup and Installation
Important Note: Valve Not Included
This Pfister LG01-8CPC trim kit does NOT include the valve body. A compatible Pfister rough-in valve (model 00131XA) is required for installation and must be purchased separately. This trim kit is designed to work specifically with Pfister valves and may not be compatible with other brands.
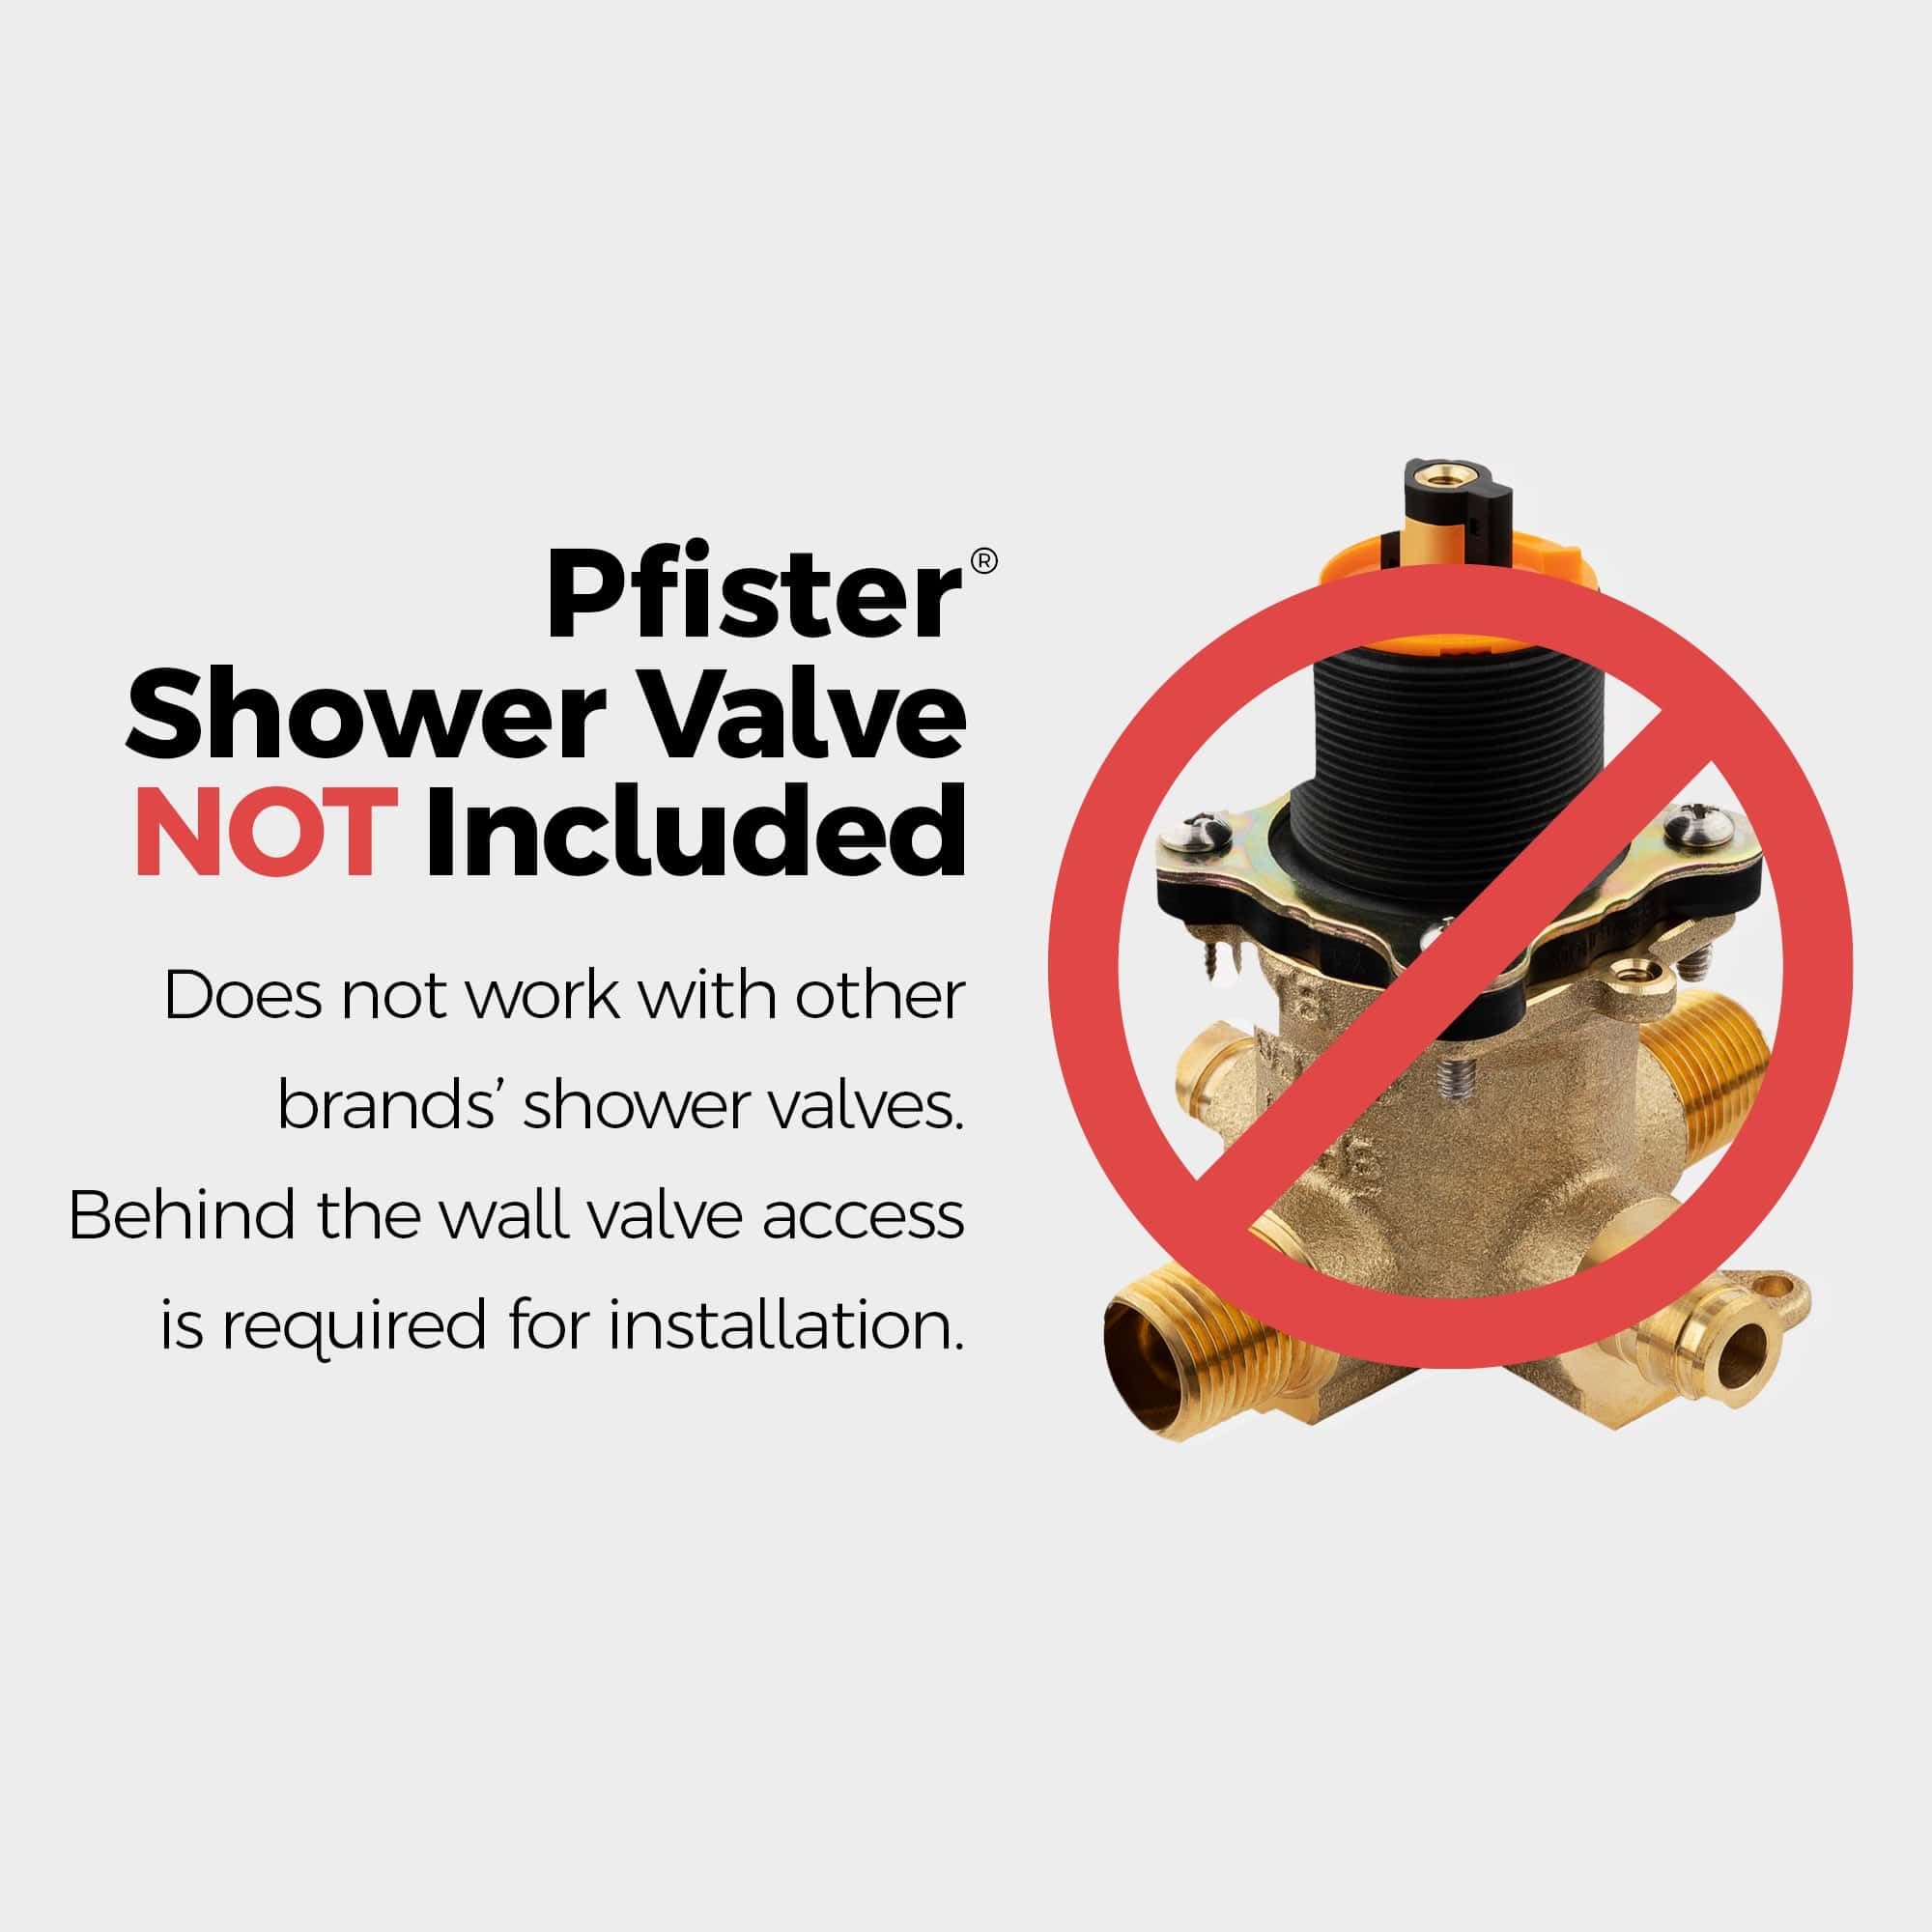
Figure 1: Illustration indicating that the shower valve is not included with the trim kit.
Pre-Installation Steps
- Turn off the main water supply to the bathroom.
- Remove any existing shower trim components.
- Ensure the Pfister 00131XA rough-in valve is already installed and properly secured within the wall. Access behind the wall may be required for valve installation.
Installing the Trim Kit
- Install the Tub Spout: Apply plumber's putty or thread sealant tape to the threads of the tub spout pipe extending from the wall. Thread the tub spout onto the pipe, ensuring it is hand-tightened and then secured with a wrench, aligning it correctly.
- Install the Shower Arm and Showerhead: Apply thread sealant tape to the threads of the shower arm. Thread the shower arm into the fitting in the wall, tightening it securely. Ensure the arm is angled correctly. Attach the showerhead to the shower arm, tightening it by hand.
- Install the Handle Escutcheons: Place the three escutcheons (trim plates) over the valve stems, ensuring they sit flush against the wall. Secure them according to the specific valve instructions, typically with screws.
- Install the Handles: Align the porcelain cross handles with the valve stems. Secure each handle using the provided screws, typically located under a decorative cap. Ensure the handles operate smoothly.

Figure 2: Assembled Pfister LG01-8CPC 3 Handle Tub & Shower Faucet Trim Kit.
Post-Installation
- Turn the main water supply back on.
- Check all connections for leaks. If leaks occur, tighten connections as necessary.
- Test the operation of the handles and showerhead/tub spout diverter.
6. Operating Instructions
Water Flow Control
The Pfister LG01-8CPC features three cross handles for controlling water flow and temperature.
- The left handle typically controls hot water.
- The right handle typically controls cold water.
- The center handle acts as a diverter to switch water flow between the tub spout and the showerhead.
Temperature Adjustment
Rotate the hot and cold handles to achieve the desired water temperature.
Diverter Operation
To switch water from the tub spout to the showerhead, rotate the center handle.
7. Maintenance
Cleaning
To maintain the finish of your faucet, clean regularly with a soft cloth and mild soap. Avoid abrasive cleaners, harsh chemicals, or scouring pads, as these can damage the finish.
Hard Water Spots
For hard water spots, use a solution of white vinegar and water. Apply with a soft cloth, let it sit for a few minutes, then rinse thoroughly and dry.
Handle Maintenance
If handles become stiff or loose, check the screws under the decorative caps and tighten if necessary.
8. Troubleshooting
| Problem | Possible Cause | Solution |
|---|---|---|
| Leaks from handles or spout | Loose connections, worn O-rings or washers in the valve (not part of trim kit) | Tighten connections. If leaks persist, consult a plumber to inspect the valve. |
| Low water pressure | Clogged showerhead or aerator, main water supply issue | Clean showerhead nozzles. Check main water supply pressure. |
| Water does not divert properly | Diverter mechanism issue (part of valve) | Ensure the center handle is fully rotated. If issue persists, the valve diverter may need service by a plumber. |
9. Specifications
- Model: LG01-8CPC
- Brand: Pfister
- Finish: Polished Chrome
- Handle Material: Porcelain
- Number of Handles: 3
- Mounting Type: Wall Mount
- Flow Rate: 1.8 Gallons Per Minute (GPM)
- Hole Installation: 5-Hole
- Compliance: Meets or exceeds CALGreen criteria, compliant with California Energy Commission (CEC) water-efficiency standards.
- Valve Compatibility: Requires Pfister 00131XA Valve (Sold Separately)
10. Warranty and Support
This Pfister product is backed by a Limited Lifetime Warranty. For warranty claims, technical support, or replacement parts, please contact Pfister customer service.
Important: Warranty claims may be denied if purchased from an unauthorized seller. Retain your proof of purchase.
For further assistance, visit the official Pfister website or contact their customer support.


