
DS18 CANDY-X2B
DS18 Candy-X2B 2-Channel Car Stereo Amplifier User Manual
Model: CANDY-X2B
Introduction
This manual provides essential information for the proper installation, operation, and maintenance of your DS18 Candy-X2B 2-Channel Car Stereo Amplifier. Please read this manual thoroughly before using the product to ensure optimal performance and safety.
The DS18 Candy-X2B is a compact 2-channel amplifier designed to deliver powerful audio performance while conserving space in your vehicle. It is part of the DS18 Candy Series, known for its mini and compact design.
Safety Instructions
- Always disconnect the vehicle's battery before installing or servicing the amplifier.
- Ensure all wiring is properly insulated to prevent short circuits.
- Mount the amplifier securely in a location that allows for adequate ventilation and is protected from moisture and excessive heat.
- Use appropriate gauge wiring for power and ground connections as specified in the installation section.
- Do not operate the amplifier if it has been damaged or exposed to water.
- Seek professional assistance if you are unsure about any installation or troubleshooting steps.
Package Contents
Verify that all items are present in the package:
- DS18 Candy-X2B 2-Channel Car Stereo Amplifier
- Mounting Hardware (screws)
- User Manual (this document)
Product Overview
Features
- Compact and Mini Design
- 2-Channel Configuration
- 800W Max Power Output
- Full Range Audio Capability
- Durable Matte Black Finish
Components
The DS18 Candy-X2B amplifier features standard connections and controls for car audio systems.

Figure 1: Front view of the DS18 Candy-X2B 2-Channel Car Stereo Amplifier. The amplifier is black with red accents and features the DS18 logo and model name 'CANDY-X2B' on the front panel. It also states 'DIGITAL FULL RANGE 2 CHANNEL AMPLIFIER 800 WATTS MAX'.
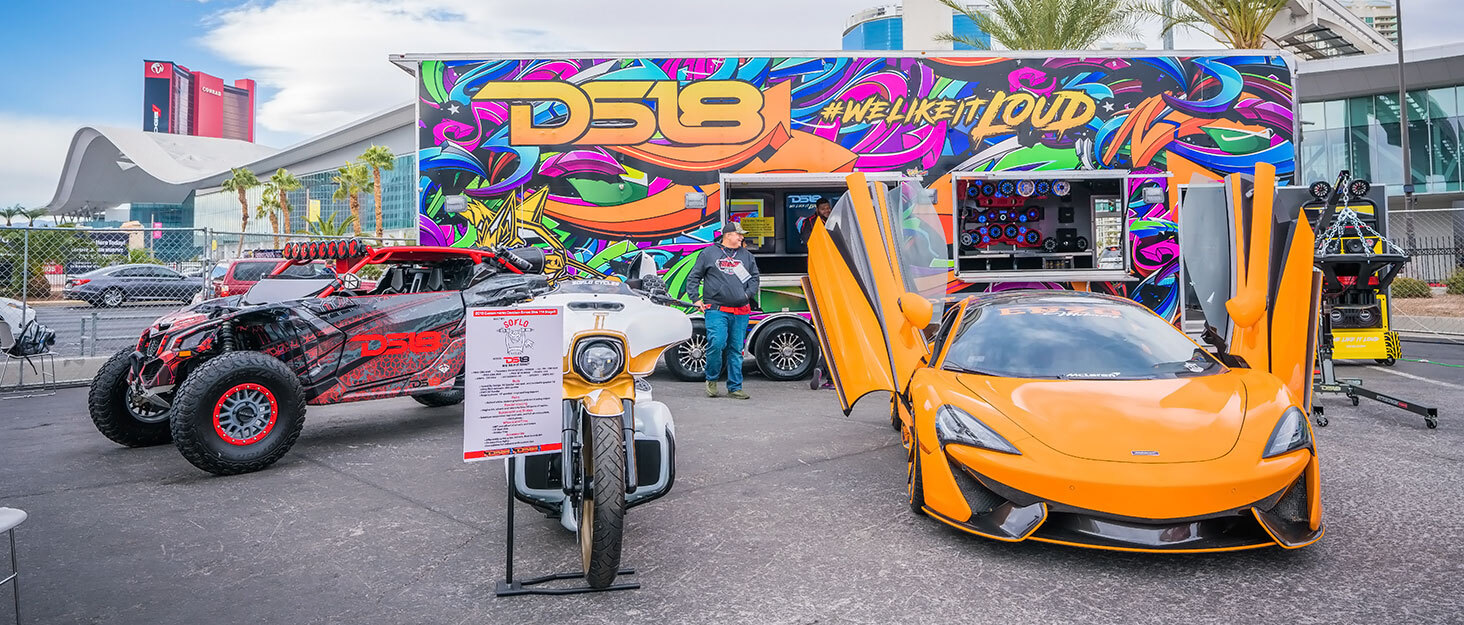
Figure 2: A general image showcasing the DS18 brand presence, featuring custom vehicles and a display trailer. This image illustrates the brand's focus on car audio and vehicle electronics.
Setup
Mounting Location
Choose a mounting location that is dry, well-ventilated, and secure. Avoid mounting the amplifier directly on carpet or in enclosed spaces without airflow. Common locations include under seats, in the trunk, or behind panels.
Wiring Connections
Power (B+): Connect a direct wire from the positive terminal of the vehicle's battery to the amplifier's B+ terminal. Use an appropriate gauge wire (e.g., 8-gauge or 4-gauge depending on total system power) and install an inline fuse within 18 inches of the battery.
Ground (GND): Connect a short wire (less than 3 feet) from the amplifier's GND terminal to a clean, unpainted metal surface of the vehicle's chassis. Ensure a good electrical connection by scraping away any paint or rust.
Remote Turn-On (REM): Connect a wire from your head unit's remote turn-on output to the amplifier's REM terminal. This wire signals the amplifier to turn on when the head unit is active.
RCA Inputs: Connect RCA cables from your head unit's pre-amp outputs to the amplifier's RCA input jacks.
Speaker Outputs: Connect your speakers to the amplifier's speaker output terminals. Observe correct polarity (+ to + and - to -) for each speaker.
Operating
Initial Power-Up
After all connections are made, reconnect the vehicle's battery. Turn on your head unit. The amplifier should power on, indicated by an LED indicator (if present).
Gain Adjustment
The gain control on the amplifier matches the output voltage of your head unit. Start with the gain control at its minimum setting. Play a familiar piece of music at a moderate volume on your head unit. Slowly increase the amplifier's gain until you hear distortion, then back it off slightly. This ensures maximum clean output.
Crossover Settings (if applicable)
If your amplifier has built-in crossover controls (e.g., Low Pass Filter, High Pass Filter), adjust them according to the type of speakers connected. For full-range speakers, you may set the crossover to 'Full' or bypass it. For component speakers, adjust to optimize sound quality and protect speakers.
Maintenance
- Cleaning: Periodically clean the amplifier's exterior with a soft, dry cloth. Do not use harsh chemicals or abrasive cleaners.
- Ventilation: Ensure that the amplifier's cooling fins are free from dust and debris to maintain proper heat dissipation.
- Connections: Occasionally check all wiring connections for tightness and corrosion. Loose connections can lead to poor performance or damage.
Troubleshooting
| Problem | Possible Cause | Solution |
|---|---|---|
| Amplifier does not turn on | No power, blown fuse, loose ground, no remote signal | Check inline fuse, verify power and ground connections, check remote wire connection to head unit. |
| No sound output | RCA cables disconnected, speaker wires disconnected, amplifier in protect mode | Check RCA and speaker connections, ensure amplifier is not overheating or shorted. |
| Distorted sound | Gain set too high, poor ground, speaker impedance mismatch | Reduce gain, check ground connection, verify speaker impedance is compatible with amplifier. |
| Amplifier overheats | Insufficient ventilation, impedance too low, gain too high | Ensure proper airflow around amplifier, check speaker impedance, reduce gain. |
Specifications
| Feature | Specification |
|---|---|
| Model Number | CANDY-X2B |
| Number of Channels | 2 |
| Maximum Power Output | 800 Watts |
| Operating Voltage | 12 Volts (DC) |
| Mounting Type | Surface Mount |
| Material | Plastic, Matte Black |
| Certifications | FCC |
Official Product Videos
No official product videos from the seller are available for this product at this time.
Warranty Information
Specific warranty details are not provided in the product data. Please refer to the manufacturer's official website or contact DS18 customer support for warranty terms and conditions.
Customer Support
For technical assistance, troubleshooting, or general inquiries, please contact DS18 customer support. Contact information can typically be found on the manufacturer's official website or product packaging.
You can also visit the DS18 Brand Store on Amazon for more information and products.
Related documentsCANDY-X2B


Ask a question about this manual
Ask about setup, troubleshooting, compatibility, parts, safety, or missing instructions. Manuals+ will review the question and use this page’s manual context to help answer it.