
1. Introduction and Overview
The Johnson 40-6657 Self-Leveling Cross-Line Laser is a precision instrument designed for accurate leveling tasks in various indoor and outdoor applications. Featuring GreenBrite® Technology, its green laser beam offers superior visibility compared to traditional red lasers, making it ideal for bright environments and longer distances. This tool projects highly visible horizontal, vertical, or cross-line beams, simplifying tasks such as surveying, guiding, and leveling.
The device incorporates a self-leveling mechanism for quick and precise setup, along with a manual mode for projecting lines at any desired angle. A magnetic bracket is included for hands-free operation on ferrous metal surfaces, enhancing versatility and ease of use.
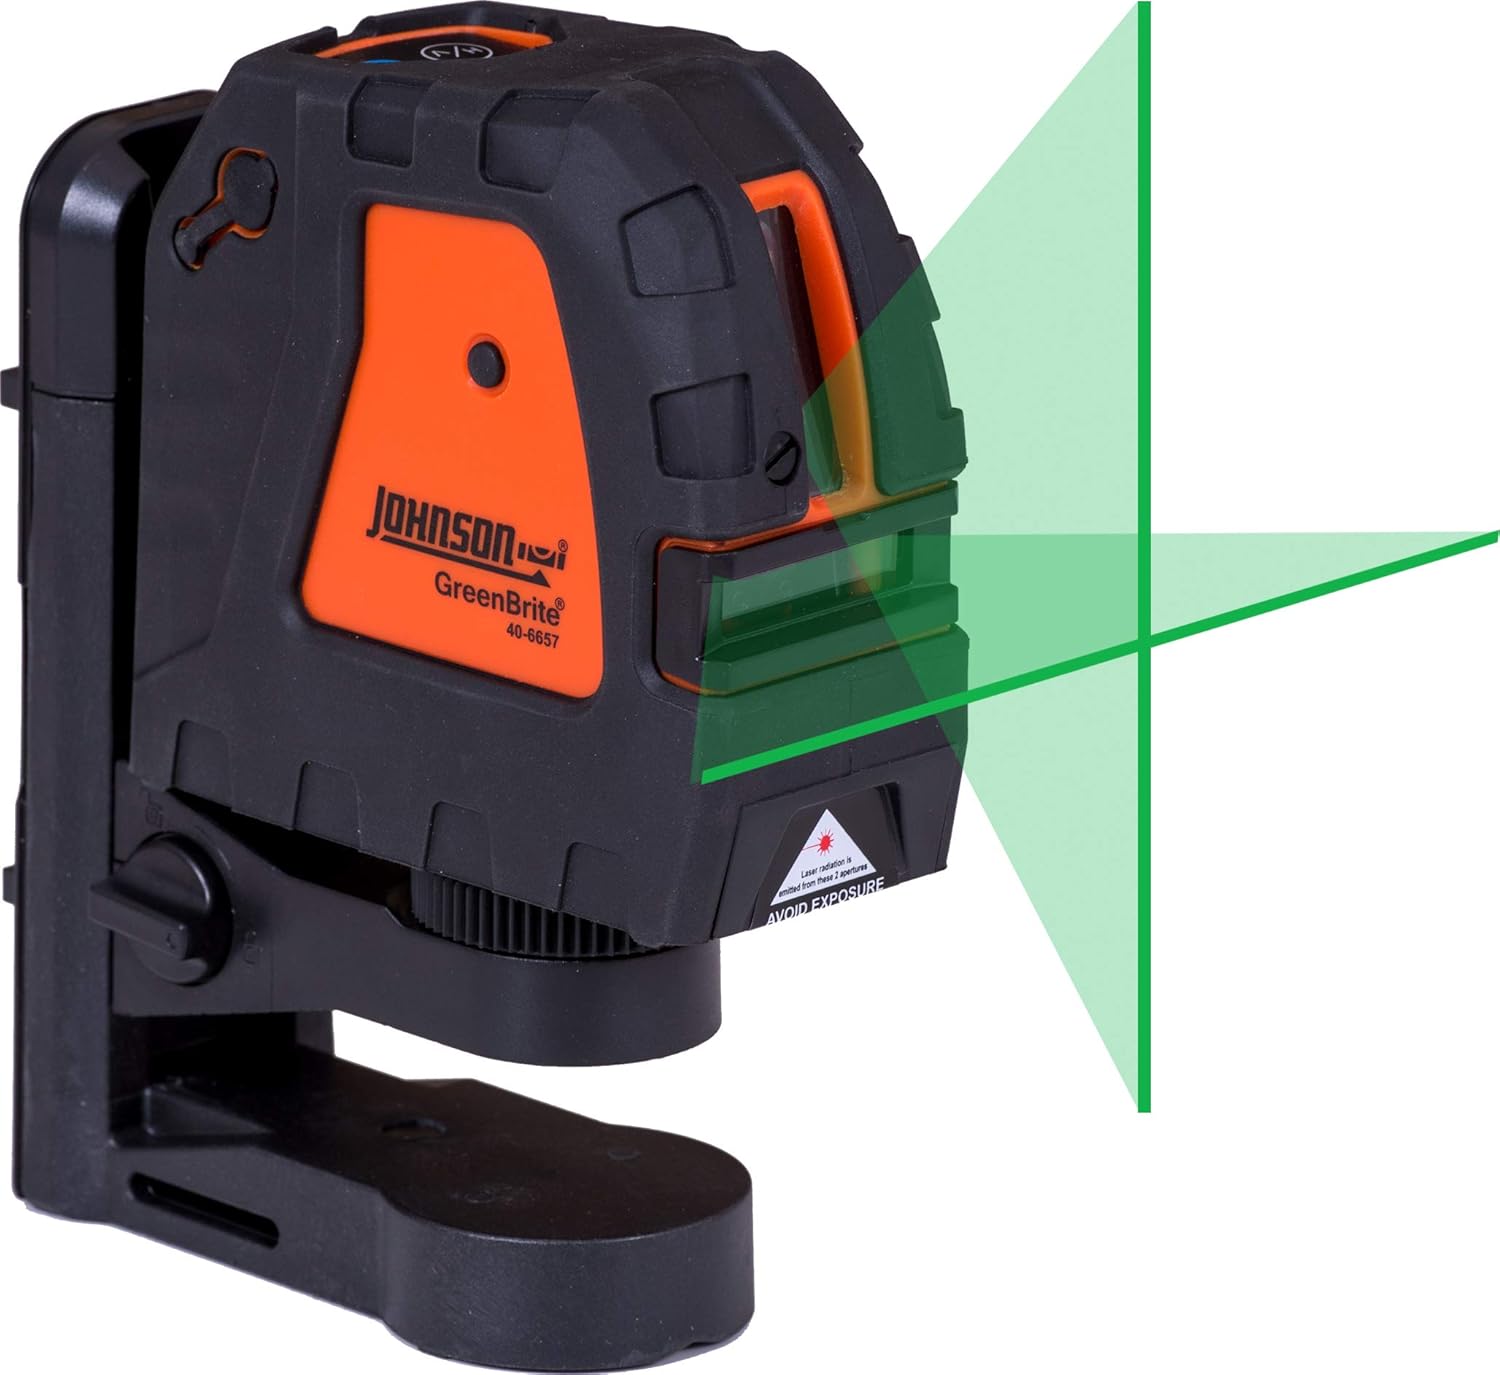
Figure 1.1: The Johnson 40-6657 Self-Leveling Cross-Line Laser in operation, projecting a bright green cross-line for precise alignment.
2. Safety Information
Please read and understand all safety instructions before operating this product. Failure to follow these instructions may result in serious injury.
2.1 Laser Safety Warnings
This product is a Class 2 laser product. Avoid direct eye exposure to the laser beam. Do not stare into the beam. Do not intentionally direct the laser beam at other people or reflective surfaces. Always operate the laser in a manner that prevents the beam from entering the eyes of any person.
- Do not remove or deface any warning labels.
- Do not attempt to modify or disassemble the laser device.
- Use of controls or adjustments or performance of procedures other than those specified herein may result in hazardous radiation exposure.
- Store the instrument out of reach of children.
2.2 General Safety Precautions
- Keep the work area clean and well-lit.
- Do not operate the laser in explosive atmospheres, such as in the presence of flammable liquids, gases, or dust.
- Always wear appropriate personal protective equipment (PPE) when working on a job site.
- Ensure the laser is securely mounted or placed on a stable surface to prevent accidental falls.
3. Unpacking and Components
Carefully unpack all items from the carrying case and inspect them for any damage. If any components are missing or damaged, please contact your retailer or Johnson Level & Tool customer service.
3.1 Included Components:
- Johnson 40-6657 Self-Leveling Cross-Line Laser
- Multi-functional elevating bracket
- Magnetic target
- Mounting strap
- 3 "AA" alkaline batteries
- Hard-shell carrying case

Figure 3.1: All components included in the Johnson 40-6657 Self-Leveling Cross-Line Laser kit, neatly arranged with the hard-shell carrying case.
4. Setup
4.1 Battery Installation
- Locate the battery compartment cover on the back or side of the laser unit.
- Open the cover and insert the 3 "AA" alkaline batteries, ensuring correct polarity (+/-).
- Close the battery compartment cover securely.
4.2 Mounting Options
- Magnetic Bracket: Attach the laser to the included magnetic bracket. The bracket can then be securely fastened to any ferrous metal surface for hands-free operation.
- Tripod Mounting: The laser unit features a standard tripod thread (typically 1/4"-20) on its base, allowing it to be mounted on a compatible tripod for adjustable height and positioning.
- Mounting Strap: Use the provided mounting strap with the bracket to secure the laser to non-metallic objects like posts or pipes.
4.3 Self-Leveling Mechanism
The 40-6657 laser features an internal pendulum self-leveling system. When the unit is powered on and placed on a relatively level surface, the pendulum will automatically adjust to project a level line. If the unit is placed on a surface that is too far out of level, the laser beam will flash rapidly, indicating that it cannot self-align. Adjust the position of the laser until the beam stops flashing and projects a steady line.
5. Operation
5.1 Powering On/Off and Mode Selection
- To power on the laser, slide the main power switch to the "ON" position. The laser will immediately begin projecting a cross-line beam and attempt to self-level.
- Press the mode button (often indicated by a laser icon or "M") to cycle through the available laser projection modes:
- Horizontal line only
- Vertical line only
- Cross-line (horizontal and vertical simultaneously)
- To power off the laser, slide the main power switch to the "OFF" position. This also locks the internal pendulum for safe transport.
5.2 Manual Mode
For applications requiring lines at an angle (e.g., installing handrails), the 40-6657 can be operated in manual mode. Consult the specific instructions for engaging manual mode, which typically involves holding down the mode button or a separate lock button while powering on, or a dedicated switch. In manual mode, the self-leveling function is disengaged, and the laser will project a static line at the angle you set the unit.
5.3 Out-of-Level Indicator
If the laser unit is positioned beyond its self-leveling range (typically ±4 degrees), the laser beam will flash rapidly. This visual indicator alerts the user that the unit is not level and the projected line is not accurate. Reposition the laser on a more level surface until the flashing stops.
5.4 Applications

Figure 5.1: Using the cross-line laser for precise alignment during cabinet installation, ensuring level and plumb placement.

Figure 5.2: The laser level assisting in window installation, providing accurate horizontal and vertical references for proper alignment.
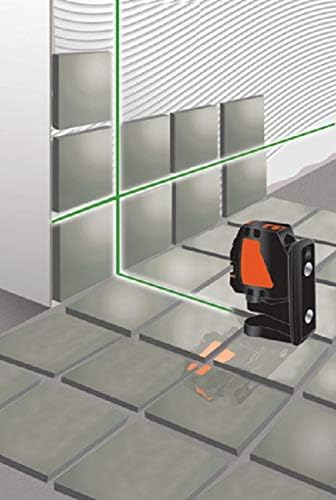
Figure 5.3: Demonstrating the laser level's utility in tile installation, projecting precise guidelines for consistent spacing and alignment on both walls and floors.
6. Maintenance
6.1 Cleaning
Keep the laser unit clean and free of dust and debris. Use a soft, damp cloth to wipe the exterior. Do not use harsh chemicals or abrasive cleaners. Pay special attention to keeping the laser aperture clean for optimal beam clarity.
6.2 Storage
When not in use, store the laser in its hard-shell carrying case to protect it from impacts, dust, and moisture. Always remove batteries if the unit will not be used for an extended period to prevent leakage and damage.
6.3 Battery Care
Replace batteries when the laser beam becomes dim or the out-of-level indicator flashes more frequently than usual. Dispose of used batteries responsibly according to local regulations.
7. Troubleshooting
| Problem | Possible Cause | Solution |
|---|---|---|
| Laser does not turn on. | Dead or incorrectly installed batteries. | Check battery polarity; replace with fresh batteries. |
| Laser beam is flashing rapidly. | Unit is out of its self-leveling range. | Reposition the laser on a more level surface until the flashing stops. |
| Laser beam is dim. | Low battery power. | Replace batteries. |
| Inaccurate readings. | Unit not self-leveling (flashing beam) or internal damage. | Ensure unit is level; if problem persists, contact customer support. |
8. Specifications
| Feature | Detail |
|---|---|
| Model Number | 40-6657 |
| Laser Type | GreenBrite® Cross-Line Laser |
| Laser Class | Class 2 |
| Accuracy | Not explicitly stated, but implied by self-leveling feature and out-of-level indicator. (Typically ±1/4" at 30ft for similar models) |
| Range | Up to 30 ft. |
| Self-Leveling Range | Typically ±4 degrees |
| Power Source | 3 "AA" alkaline batteries |
| Dimensions | 5.08 x 13.34 x 15.24 cm |
| Weight | 1.92 kg |
| Material | Metal |
| Color | Black & Orange |
| Operation Mode | Automatic (Self-Leveling), Manual |
9. Warranty and Support
9.1 Warranty Information
This Johnson Level & Tool 40-6657 Self-Leveling Cross-Line Laser is covered by a 3 Year Warranty from the date of purchase. This warranty covers defects in materials and workmanship under normal use. Please retain your proof of purchase for warranty claims.
9.2 Customer Support
For technical assistance, troubleshooting, or warranty service, please contact Johnson Level & Tool customer support. Refer to the contact information provided in your product packaging or visit the official Johnson Level & Tool website for the most current support details.
For more information, you may visit the Johnson Level & Tool official website.


