
Rowenta 8541879581
Rowenta Steam Pro Professional Iron User Manual
Model: 8541879581
Introduction
Welcome to the user manual for your new Rowenta Steam Pro Professional Iron. This manual provides essential information for the safe and efficient operation, maintenance, and troubleshooting of your appliance. Please read it thoroughly before first use and keep it for future reference.

Figure 1: The Rowenta Steam Pro Professional Iron, showcasing its sleek design and ergonomic handle.
Important Safety Instructions
When using your iron, basic safety precautions should always be followed to reduce the risk of fire, electric shock, and injury to persons.
- Read all instructions before using the iron.
- Use the iron only for its intended use.
- To protect against a risk of electric shock, do not immerse the iron in water or other liquids.
- Always turn the iron OFF before plugging or unplugging from the electrical outlet. Never yank cord to disconnect from outlet; instead, grasp plug and pull to disconnect.
- Do not allow cord to touch hot surfaces. Let iron cool completely before putting away. Loop cord loosely around iron when storing.
- The iron should always be turned to "Min" before plugging or unplugging from outlet.
- Do not operate iron with a damaged cord or if the iron has been dropped or damaged. To avoid the risk of electric shock, do not disassemble the iron. Contact qualified service personnel for examination and repair. Incorrect reassembly can cause a risk of electric shock when the iron is used.
- Close supervision is necessary for any appliance being used by or near children. Do not leave iron unattended while connected or on an ironing board.
- Burns can occur from touching hot metal parts, hot water, or steam. Use caution when you turn a steam iron upside down – there may be hot water in the reservoir.
- This appliance is for household use only.
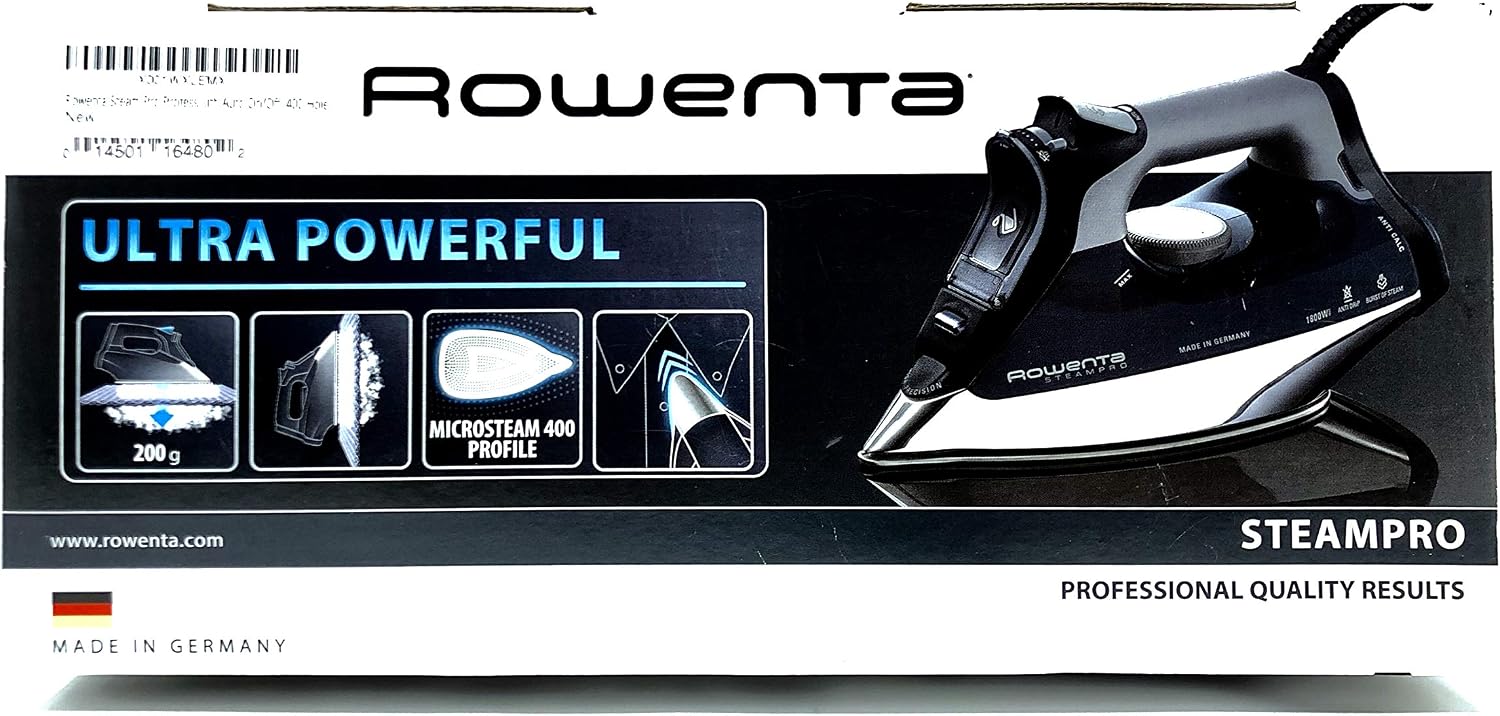
Figure 2: Quick start guide highlighting important safety information and contact details for support.
Product Overview
Familiarize yourself with the components of your Rowenta Steam Pro Professional Iron.
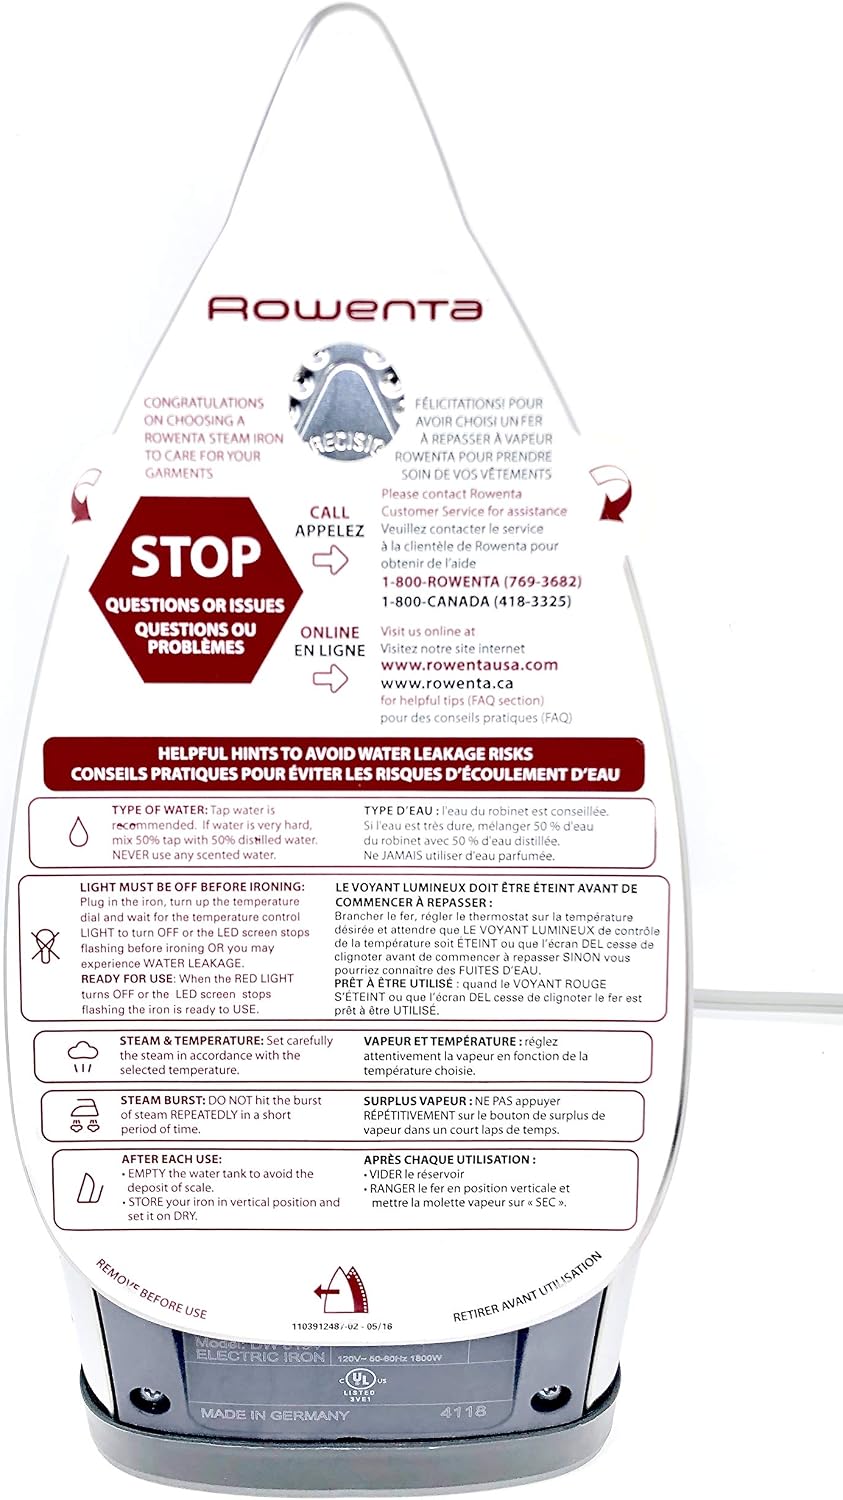
Figure 3: Side view of the iron, illustrating the ergonomic thermostat knob and steam control buttons.
- Soleplate: Stainless steel with Microsteam 400 profile for even steam distribution.
- Precision Tip: Enhanced tip for reaching difficult areas.
- Water Tank: Crystal clear tank with graduation lines for precise water level indication.
- Temperature Dial: Ergonomic knob for precise temperature settings.
- Steam Control: Buttons for variable steam, burst of steam, and vertical steam.
- Spray Button: For misting fabric.
- Self-Clean Button: For maintenance.
- Anti-Calc System: Integrated system to prevent mineral buildup.
- Auto Shut-off: Safety feature that turns off the iron when left unattended.
Setup
Unpacking
Carefully remove the iron and all accessories from the packaging. Retain the packaging for future storage or transport.

Figure 4: The product packaging, indicating key features like Microsteam 400 profile and 1800W power.
Filling the Water Tank
- Ensure the iron is unplugged from the electrical outlet.
- Set the steam control to the "Dry Ironing" position (no steam).
- Open the water tank inlet cover.
- Fill the water tank with tap water up to the "MAX" line. If your tap water is very hard, mix 50% tap water with 50% distilled water. Never use any scented water or additives.
- Close the water tank inlet cover securely.
First Use
During the first use, a slight odor or small amount of smoke may be produced. This is normal and will disappear after a short period of time.
- Plug the iron into a suitable electrical outlet.
- Set the temperature dial to the maximum setting.
- Allow the iron to heat up for a few minutes.
- Use the steam burst function several times on an old cloth to clear any manufacturing residues.
Operating Instructions
Temperature Setting
Select the appropriate temperature for your fabric type using the ergonomic thermostat knob. Refer to the fabric care labels on your garments.
| Fabric Type | Temperature Setting |
|---|---|
| Synthetics, Silk | Low |
| Wool | Medium |
| Cotton, Linen | High |
Steam Functions
- Variable Steam: Adjust the steam output using the steam control slider to match the temperature setting and fabric type.
- Burst of Steam: Press the "Burst of Steam" button for an extra powerful shot of steam to remove stubborn wrinkles. This feature is ideal for heavy fabrics.
- Vertical Steam: Hold the iron vertically and press the "Burst of Steam" button to steam hanging garments, drapes, or upholstery.
Auto Shut-off Feature
For safety and energy saving, your Rowenta Steam Pro iron is equipped with an auto shut-off feature.
- If left motionless on its soleplate or on its side, the iron will turn off automatically after 30 seconds.
- If left motionless on its heel rest, the iron will turn off automatically after 8 minutes.
- To restart the iron, simply move it. The indicator light will flash until the iron reaches the selected temperature.
Maintenance
Cleaning the Soleplate
To clean the soleplate, use a damp cloth and a non-abrasive cleaner. Do not use metal scouring pads or abrasive cleaners as they can scratch the soleplate.
Anti-Calc System / Self-Clean
Your iron features an integrated anti-calc system to reduce mineral buildup. For optimal performance, perform the self-clean function regularly (e.g., once a month).
- Fill the water tank to the MAX line.
- Plug in the iron and set the temperature to maximum.
- Once the iron reaches temperature, unplug it.
- Hold the iron horizontally over a sink.
- Press and hold the self-clean button. Hot water and steam will be expelled from the soleplate, carrying away impurities.
- Gently shake the iron back and forth until the water tank is empty.
- Plug the iron back in and let it heat up to dry the soleplate.
- Unplug and store the iron once cooled.
Storage
After each use, empty the water tank. Allow the iron to cool completely before storing it in a vertical position to prevent damage to the soleplate.
Troubleshooting
If you encounter issues with your iron, refer to the table below for common problems and solutions.
| Problem | Possible Cause | Solution |
|---|---|---|
| Iron does not heat up. | Not plugged in; Auto shut-off activated; Faulty outlet. | Check power connection; Move iron to reactivate; Try a different outlet. |
| No steam or insufficient steam. | Water tank empty; Temperature too low; Steam control set to dry; Calc buildup. | Fill water tank; Set higher temperature (cotton/linen); Adjust steam control; Perform self-clean. |
| Water leaking from soleplate. | Temperature too low for steam; Overfilled water tank; Iron not hot enough for steam burst. | Increase temperature; Do not overfill; Wait for iron to reach full temperature before using steam burst. |
| Soleplate is dirty. | Residue from fabrics or starch. | Clean soleplate with a damp cloth and non-abrasive cleaner. |
If the problem persists after trying these solutions, please contact Rowenta customer service.
Specifications
- Brand: Rowenta
- Model: 8541879581 (DW8194)
- Power: 1800 Watts
- Soleplate Material: Stainless Steel (Microsteam 400 Profile)
- Special Features: Auto Shutoff, Anti-Calc, Anti-Drip, Burst of Steam, Vertical Steam
- Color: Crystal Kamok
- Item Weight: 4.03 pounds
- Package Dimensions: 12.6 x 7.24 x 5.67 inches
- UPC: 014501164802
- Manufacturer: Rowenta
- Date First Available: November 3, 2017
Warranty and Support
For detailed warranty information, please refer to the warranty card included with your product or visit the official Rowenta website.
If you have questions or require assistance, you can contact Rowenta Customer Service:
- Phone (USA): 1-800-ROWENTA (1-800-769-3682)
- Phone (Canada): 1-800-418-3325
- Online: Visit www.rowenta.com for helpful tips and FAQ section.
Related documents8541879581


Ask a question about this manual
Ask about setup, troubleshooting, compatibility, parts, safety, or missing instructions. Manuals+ will review the question and use this page’s manual context to help answer it.