
1. Introduction
This manual provides comprehensive instructions for the safe and efficient operation of the YaeCCC Magnetic Stirrer Hotplate with Heating Plate 85-2. This digital magnetic mixer is designed for laboratory applications requiring precise temperature control and consistent stirring of liquids. Please read this manual thoroughly before use to ensure proper setup, operation, and maintenance.
Safety Precaution: Always ensure the device is placed on a stable, level surface. Do not operate near flammable materials. Disconnect power before cleaning or maintenance.
2. Package Contents
Verify that all components listed below are present in your package:
- 1 x Magnetic Stirrer Hotplate Unit
- 1 x Magnetic Stirring Bar (Magnetic Bead)
- 1 x Power Cord
- 1 x Support Rod (Alloys Pole)
- 1 x Support Clamp (Alloys Ten Byte)
- 1 x Rubber Chuck
- 1 x Instruction Manual (this document)

Figure 2.1: All components of the YaeCCC Magnetic Stirrer Hotplate, including the main unit, power cord, stirring bar, support rod, clamp, and rubber chuck.
3. Setup
Follow these steps to set up your magnetic stirrer hotplate:
- Unpack and Inspect: Carefully remove all components from the packaging. Inspect for any signs of damage during transit.
- Assemble Support Stand:
- Insert the alloys pole into the designated hole at the back of the main unit. Secure it firmly.
- Attach the alloys ten byte (support clamp) to the alloys pole at a suitable height.
- Insert the temperature probe (if included and desired for use) into the rubber chuck, then attach the chuck to the support clamp. Ensure the probe can be positioned correctly within your vessel.
- Placement: Place the assembled unit on a stable, heat-resistant, and level surface in a well-ventilated area. Ensure sufficient clearance around the unit for heat dissipation.
- Power Connection: Connect the power cord to the unit's power input and then plug it into a grounded AC 110V power outlet.

Figure 3.1: The magnetic stirrer hotplate fully assembled with the support stand and temperature probe in position.
4. Operating Instructions
This section details the steps for operating the magnetic stirrer and hotplate functions.
4.1 Basic Operation
- Prepare Vessel: Place your container (e.g., beaker, flask) onto the center of the stainless steel heating plate.
- Add Liquid and Stirring Bar: Pour the liquid or solution into the container. Carefully drop the magnetic stirring bar into the liquid.
- Power On: Plug in the power cord and turn on the power button located on the front panel. The indicator light will illuminate.

Figure 4.1: Front view of the unit, highlighting the digital display, control buttons, speed adjust knob, and power switch.
4.2 Adjusting Stirring Speed
- Locate the rotary knob labeled "Speed Adjust" on the front panel.
- Turn the knob clockwise to increase the stirring speed and counter-clockwise to decrease it.
- Important: Always adjust the speed gradually from lower to higher. Starting with a high speed is not recommended as it can cause the stirring bar to jump erratically.

Figure 4.2: Detailed view of the "Speed Adjust" knob and the main power switch.
4.3 Setting Heating Temperature
To set the desired heating temperature:
- Ensure the temperature probe is correctly positioned within the liquid in your container.
- Use the control buttons (likely "SET" and arrow keys) on the digital display panel to select and set the proper heating temperature. Refer to the display for current and set temperatures.
- The hotplate will begin heating to reach the set temperature.

Figure 4.3: Close-up view of the stainless steel heating plate where the container is placed.
4.4 Advanced Parameter Adjustment (PID Control)
The unit features advanced PID control parameters for precise temperature regulation. These settings are typically for experienced users. Incorrect adjustment may affect performance.
- Enter Parameter Adjustment Mode: Long press the "SET" button for 3 seconds. The display will show "Sc".
- Adjust "Sc" (Error Value): "Sc" represents the error value between the estimated and real error value. Default is 0.0. Press "SET" again to adjust values between -9.9 and 9.0 using the arrow keys.
- Adjust "F" (Breakpoint Control Lead): Press "SET" to move to the "F" parameter. This expresses the lead of breakpoint control and is effective only when "P" is set to 0. Default is 0.5. Adjust as needed.
- Adjust "P" (Proportional Control): Press "SET" to move to the "P" parameter. This value influences how quickly the unit approaches the set temperature.
- If the temperature overshoots, decrease the "P" value.
- If the temperature rises slowly or doesn't reach the target, increase the "P" value.
- Note: If "P" is set to zero, the system enters breakpoint control mode, and PID control is invalid. Heating occurs when the temperature is below the set value minus "E" (error margin), otherwise heating stops.
- Parameter "C": Press "SET" to move to the "C" parameter. This is an internal retention parameter and typically does not require adjustment. Default is 20.0.
- Exit Adjustment: After setting all parameters, press "SET" again to return to normal operating mode.
5. Maintenance
Proper maintenance ensures the longevity and optimal performance of your magnetic stirrer hotplate.
- Cleaning:
- Always disconnect the power cord before cleaning.
- Wipe the exterior surfaces and heating plate with a soft, damp cloth.
- Do not use abrasive cleaners or solvents that could damage the finish.
- Ensure no liquid enters the internal components.
- Temperature Probe Care:
- Clean the temperature probe gently after each use.
- Caution: Do not immerse the temperature probe in corrosive liquids, as this can damage the sensor.
- Storage: When not in use, store the unit in a clean, dry environment away from direct sunlight and extreme temperatures.
- Fuse Replacement: If the unit does not power on, check the fuse located at the back of the unit. Replace with a fuse of the same rating if necessary.
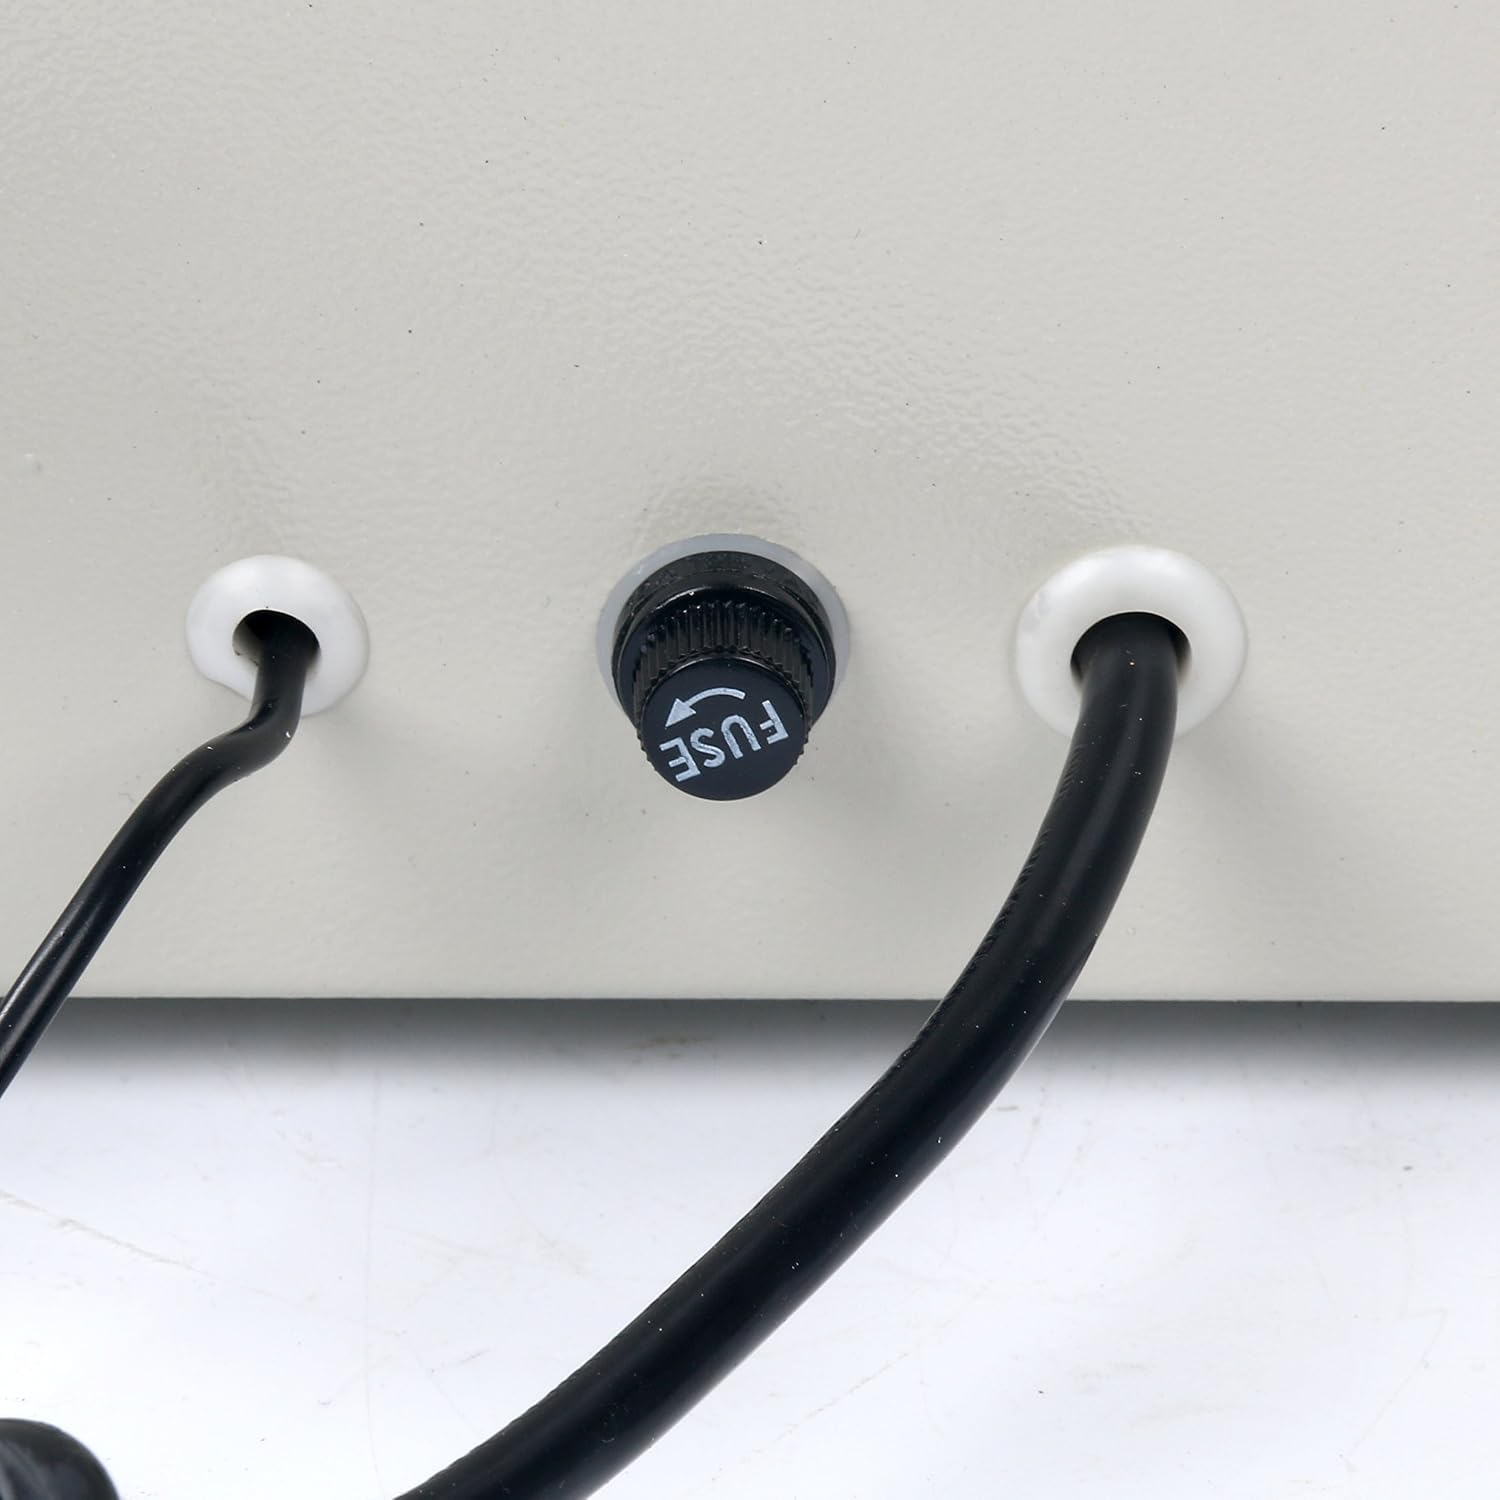
Figure 5.1: Location of the fuse holder on the rear panel of the unit.
6. Troubleshooting
This section addresses common issues you might encounter and provides solutions.
| Problem | Possible Cause | Solution |
|---|---|---|
| Unit does not power on. | No power supply; Blown fuse; Power switch off. | Check power cord connection and outlet. Replace fuse if blown (refer to Maintenance section). Ensure power switch is in the 'ON' position. |
| Stirring bar does not rotate or rotates erratically. | Speed set too low; Viscosity of liquid too high; Stirring bar not centered; Starting at high speed. | Increase stirring speed gradually. Ensure liquid viscosity is within the unit's capacity. Re-center the container and stirring bar. Always start at a low speed and increase gradually. |
| Temperature does not reach set point or overshoots. | Temperature probe not immersed or faulty; Incorrect PID parameters; External factors (e.g., draft). | Ensure temperature probe is fully immersed and functioning. Adjust PID parameters (P value) as described in Section 4.4. Minimize external temperature fluctuations. |
| Digital display shows error code. | Sensor error; Internal malfunction. | Refer to the "How to adjust the parameters" section for specific error code meanings (e.g., "Sc", "F", "P", "C"). If the issue persists, contact customer support. |
7. Specifications
| Feature | Specification |
|---|---|
| Model Number | TEK-NY-8144 |
| Product Dimensions | 10.63 x 8.27 x 7.87 inches |
| Item Weight | 5.4 Pounds |
| Power Input | AC 110V |
| Stirring Speed Range | 0-2400 rpm |
| Heating Plate Material | Stainless Steel |
| Manufacturer | Yae First Trading Co.,Itd |
8. Warranty and Support
YaeCCC products are manufactured to high quality standards. For warranty information or technical support, please contact your retailer or visit the official YaeCCC store online. Keep your purchase receipt for warranty claims.
For more information, you may visit the YaeCCC Store on Amazon.