
1. Introduction
This instruction manual provides detailed guidance for assembling the Italeri 3922 Scania 164L Topclass 'Showtrucks' Model Kit. This highly detailed 1:24 scale plastic model kit is designed for enthusiasts and collectors. Please read all instructions carefully before beginning assembly.
2. Safety Information
This product is intended for adult collectors aged 14 years and above. It contains small parts that may pose a choking hazard. Keep out of reach of young children. Use glues and paints in a well-ventilated area as directed by their manufacturers' safety guidelines.
3. Kit Contents
The Italeri 3922 Scania 164L Topclass Model Kit includes:
- Plastic sprues with all necessary parts for the truck model.
- Super decals for two versions.
- Adhesive stencil.
- New rubber tires.
- Chrome rims and additional chrome parts.
- Instruction booklet.

Image: Sprue containing various black plastic truck body parts, including cab sections and fenders.

Image: Sprue containing black plastic chassis and engine components, such as frame rails and exhaust pipes.

Image: Sprue containing black plastic engine block, radiator, and fan components.

Image: Sprue containing chrome-plated plastic parts, including wheel rims, mirrors, and other decorative elements.

Image: Sprue containing clear plastic parts for windows, headlights, and other transparent components.

Image: Two black rubber tires, indicating quantities of 2x and 5x, for the model kit.
4. Recommended Tools and Paints
For optimal assembly and finishing, the following tools and paints are recommended:
4.1. Tools
- Plastic Cement/Glue
- Precision Tweezers
- Modeling Knife with spare blades
- Pointed Pliers
- Masking Film
- Cutting Mat
- Hand Drill with various bits
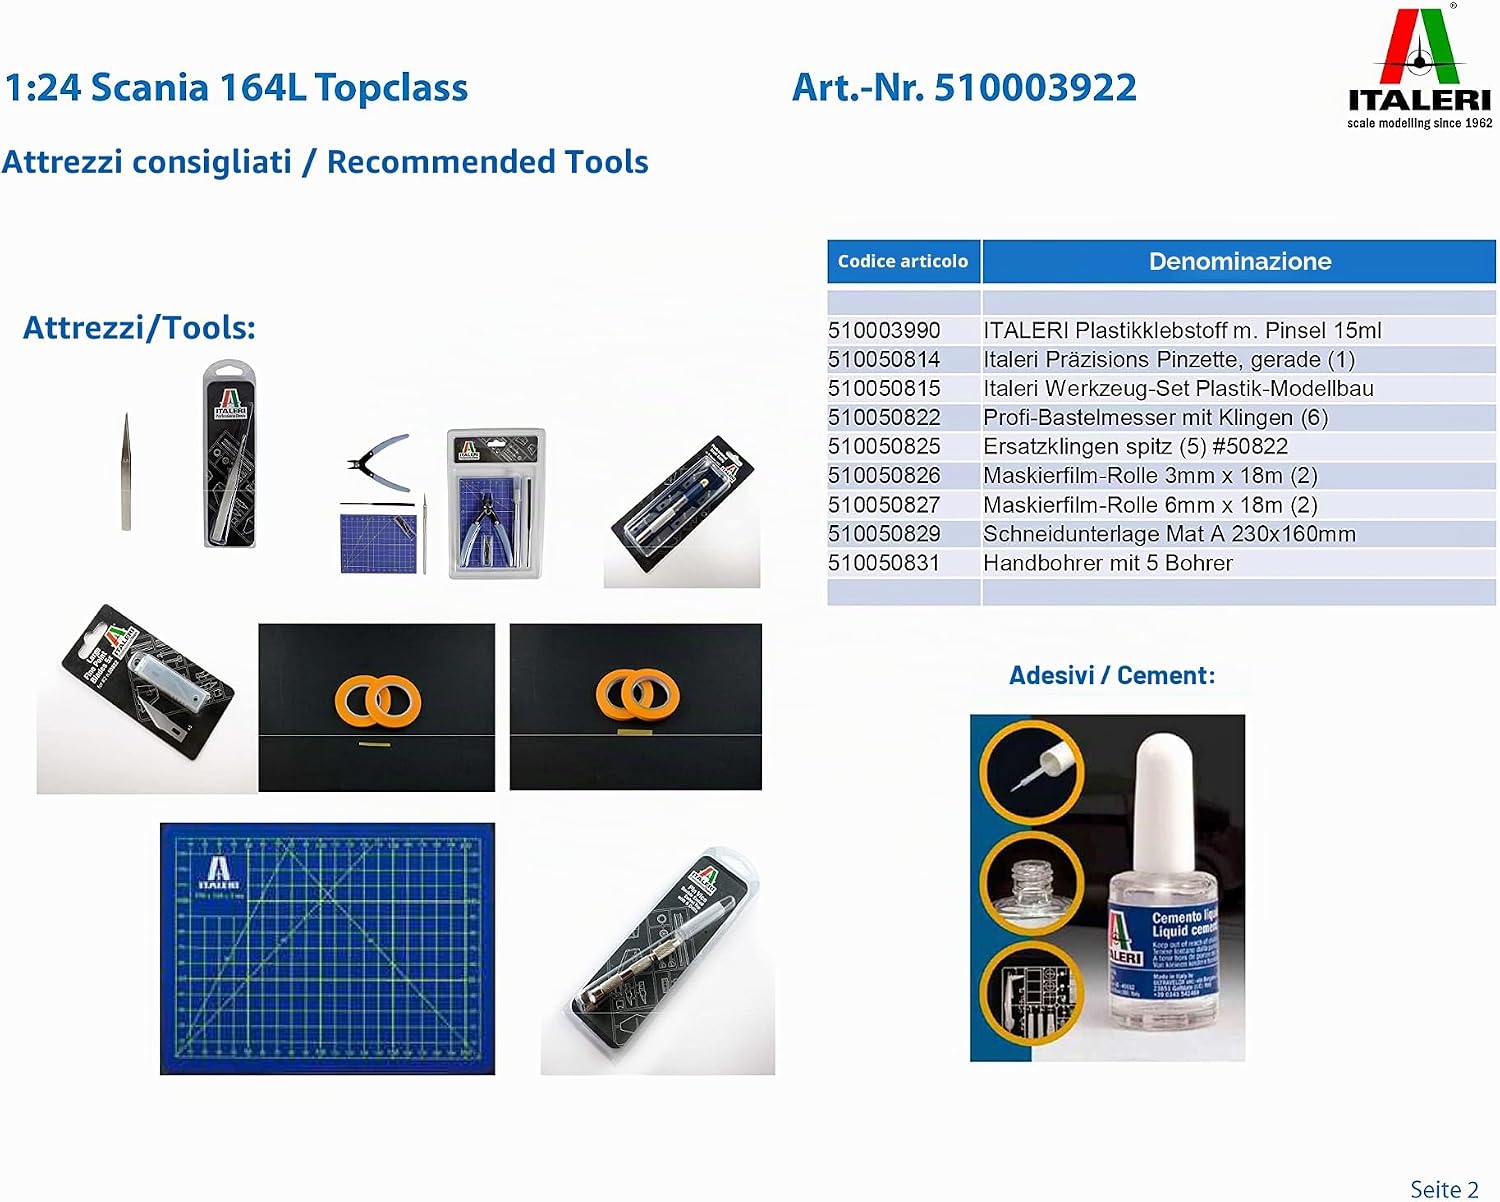
Image: A selection of recommended modeling tools, including plastic glue, precision tweezers, a modeling knife, and a cutting mat.
4.2. Paints and Washings
Specific acrylic paints and optional washings are suggested for accurate detailing:
| Code | Description |
|---|---|
| 510004605 | IT Acrylfarbe Rot glänzend 20ml (Gloss Red) |
| 510004678 | IT Acrylfarbe Silber glänzend 20ml (Gloss Silver) |
| 510004682 | IT Acrylfarbe Orange glänzend 20ml (Gloss Orange) |
| 510004695 | IT Acrylfarbe Schwarz glänzend 20ml (Gloss Black) |
| 510004696 | IT Acrylfarbe Weiss glänzend 20ml (Gloss White) |
| 510004721 | IT Acrylfarbe Insignia Gelb matt 20ml (Matt Insignia Yellow) |
| 510004768 | IT Acrylfarbe Schwarz matt 20ml (Matt Black) |
| 510004671 | IT Acrylfarbe Gold glänzend 20ml (Gloss Gold) |
| Code | Description |
|---|---|
| 510004951 | IT Dunkelbraun (Acryl Model Wash) (Dark Brown) |
| 510004952 | IT Schwarz (Acryl Model Wash) (Black) |
| 510004953 | IT Oiled Earth (Acryl Model Wash) |
| 510004954 | IT Rost (Acryl Model Wash) (Rust) |
| 510004955 | IT Grau (Acryl Model Wash) (Grey) |
| 510004956 | IT Dunkelgrün (Acryl Model Wash) (Dark Green) |
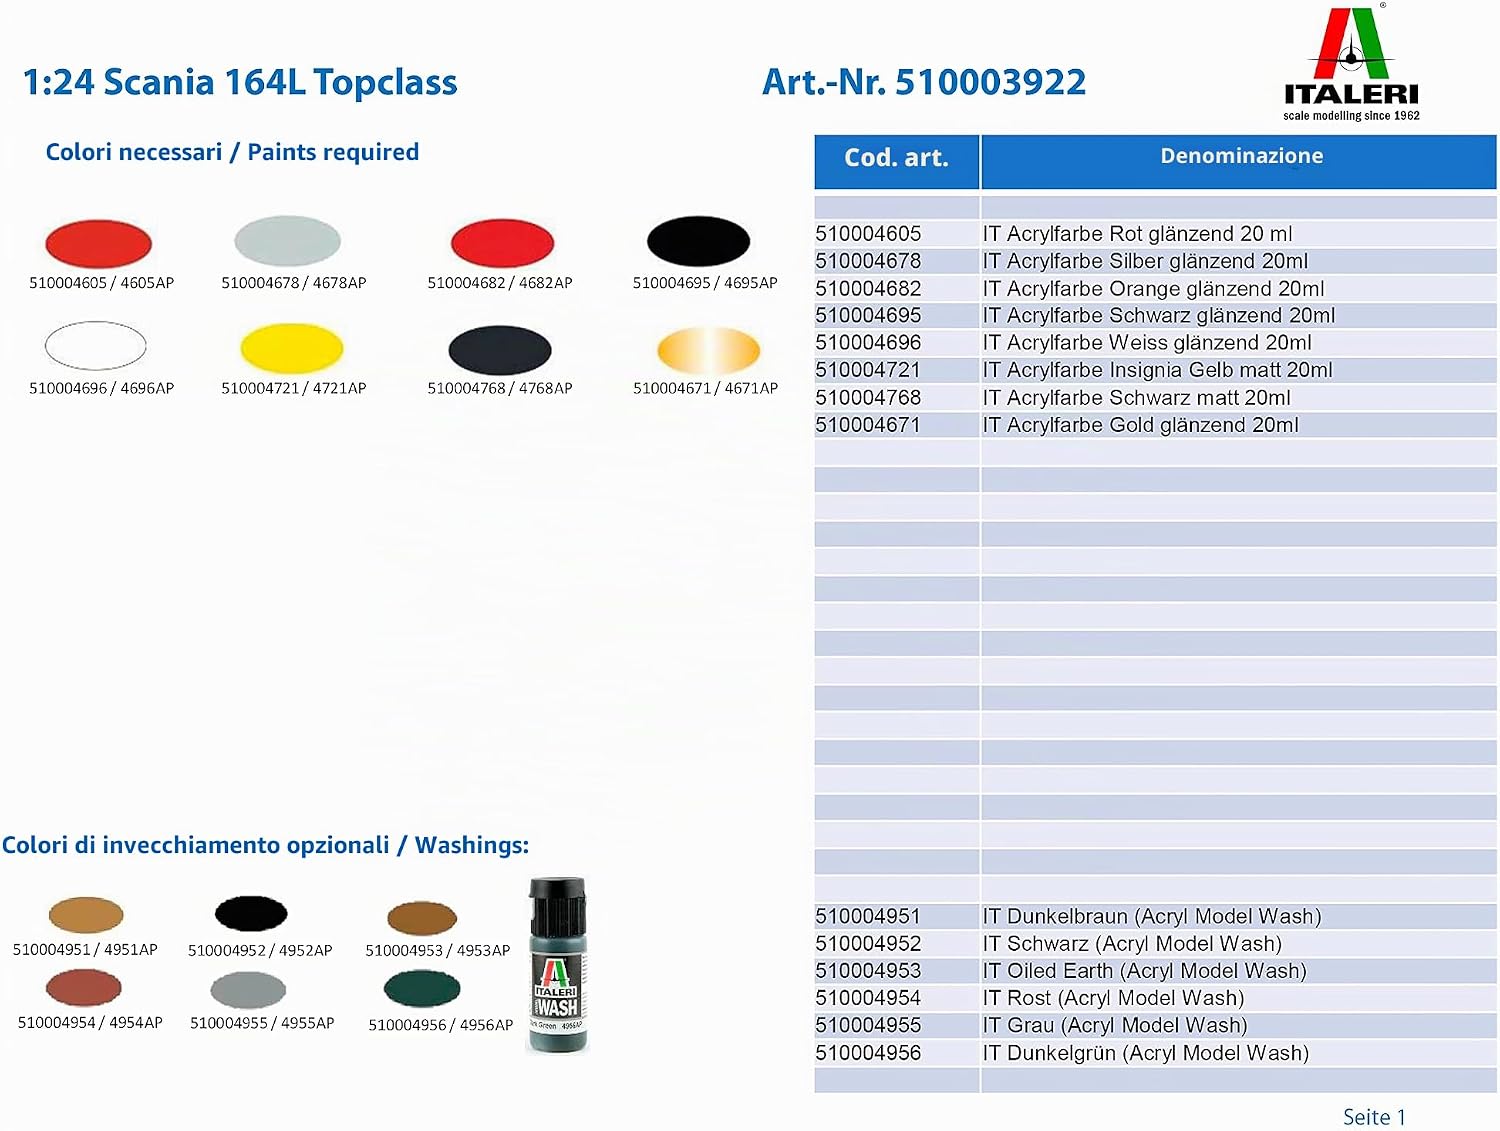
Image: A chart displaying various paint colors and optional washings with their corresponding codes and descriptions, along with small color swatches.
5. Setup and Preparation
Before starting assembly, ensure you have a clean, well-lit workspace. Organize your tools and paints. Carefully remove parts from the sprues using a modeling knife or nippers, cleaning any excess plastic (flash) with a hobby file or sandpaper. Test-fit parts before applying glue to ensure proper alignment.
6. Assembly Instructions
Follow the numbered steps in the included instruction booklet. Pay close attention to part numbers and orientation. The assembly process typically involves:
- Chassis Assembly: Begin with the main frame, axles, and suspension components.
- Engine and Drivetrain: Assemble the detailed V8 engine and connect it to the chassis.
- Cab Interior: Construct the dashboard, seats, and other interior details.
- Cab Exterior: Assemble the cab panels, roof, and attach to the chassis.
- Wheels and Tires: Mount the rubber tires onto the chrome rims and attach to the axles.
- Detailing: Add mirrors, lights (clear parts), and other small exterior components.
- Decals: Apply the chosen decals according to the instructions for your desired version.
Refer to the instruction booklet for specific part numbers and assembly sequences. Some parts may require careful handling due to their small size or delicate nature.
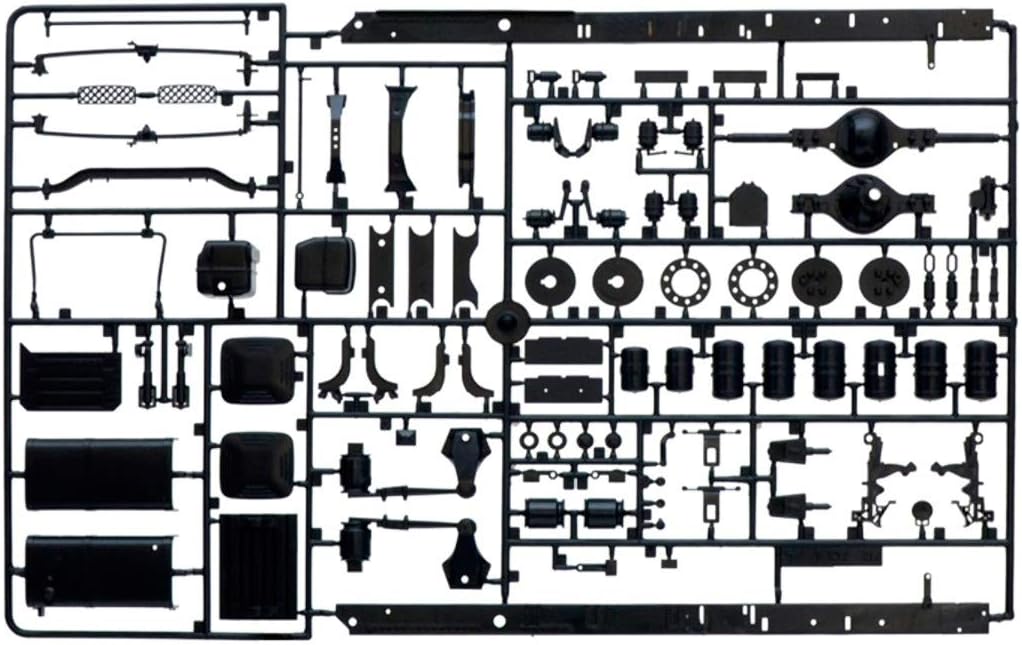
Image: An illustration of the fully assembled Scania 164L Topclass truck, showcasing its detailed exterior and custom 'Showtrucks' decals.
7. Painting and Finishing
Painting can be done at various stages of assembly, depending on your preference and the complexity of the parts. It is often recommended to paint smaller, detailed parts before attaching them. Use the recommended Italeri acrylic paints for best results. Apply thin, even coats to avoid obscuring details. Optional washings can be used to enhance panel lines and add weathering effects for a more realistic finish.
8. Troubleshooting
While Italeri strives for quality, model kits can sometimes present challenges. Here are common issues and potential solutions:
- Parts Not Fitting: Carefully trim any excess plastic (flash) from the edges of the parts. If parts still do not fit, gently sand the mating surfaces. Avoid forcing parts together, as this can cause breakage.
- Unclear Instructions: If a step in the manual seems unclear or indicates incorrect part placement, refer to the overall diagrams or illustrations in the manual for clarification. Sometimes, reviewing subsequent steps can provide context.
- Missing or Damaged Parts: In the event of missing or significantly damaged parts, please contact Italeri customer support (see Section 10).
- Decal Application Issues: Ensure the surface is clean and smooth. Use decal setting solutions to help decals conform to irregular surfaces and eliminate air bubbles.
9. Specifications
| Feature | Detail |
|---|---|
| Brand | Italeri |
| Model Name | Scania 164L Topclass "Showtrucks" |
| Model Number | 3922 |
| Scale | 1:24 |
| Type | Truck Tractor Model Kit |
| Material | Plastic |
| Skill Level | 5 (Advanced) |
| Model Dimensions (Length) | 24.2 cm |
| Box Dimensions (LxWxH) | 37.3 x 24.1 x 11.8 cm |
| Weight | 108 grams |
| Special Features | Super decals for 2 versions, adhesive stencil, new tires, chrome rims and additional chrome parts. |
| Age Recommendation | 14 years and above |
10. Warranty
This product comes with a 2-year manufacturer's warranty from the date of purchase. Please retain your proof of purchase for any warranty claims. The warranty covers manufacturing defects but does not cover damage resulting from improper assembly, misuse, or normal wear and tear.
11. Support
For technical assistance, missing parts, or any questions regarding your Italeri 3922 Scania 164L Topclass Model Kit, please contact Italeri customer support directly. You can find contact information on the Italeri official website or on the product packaging.
Visit the official Italeri website for more information: www.italeri.com


