1. Introduction
This manual provides detailed instructions for the safe and efficient operation, installation, and maintenance of your ALORAIR Storm LGR Extreme Commercial Dehumidifier. Please read this manual thoroughly before operating the unit and retain it for future reference.
The ALORAIR Storm LGR Extreme is a high-capacity Low Grain Refrigerant (LGR) dehumidifier designed for commercial, industrial, and water damage restoration applications. It is capable of removing up to 180 pints of water per day at saturation (90°F, 90% Relative Humidity) and 85 PPD at AHAM conditions (80°F, 60% Relative Humidity), covering areas up to 2,300 square feet.
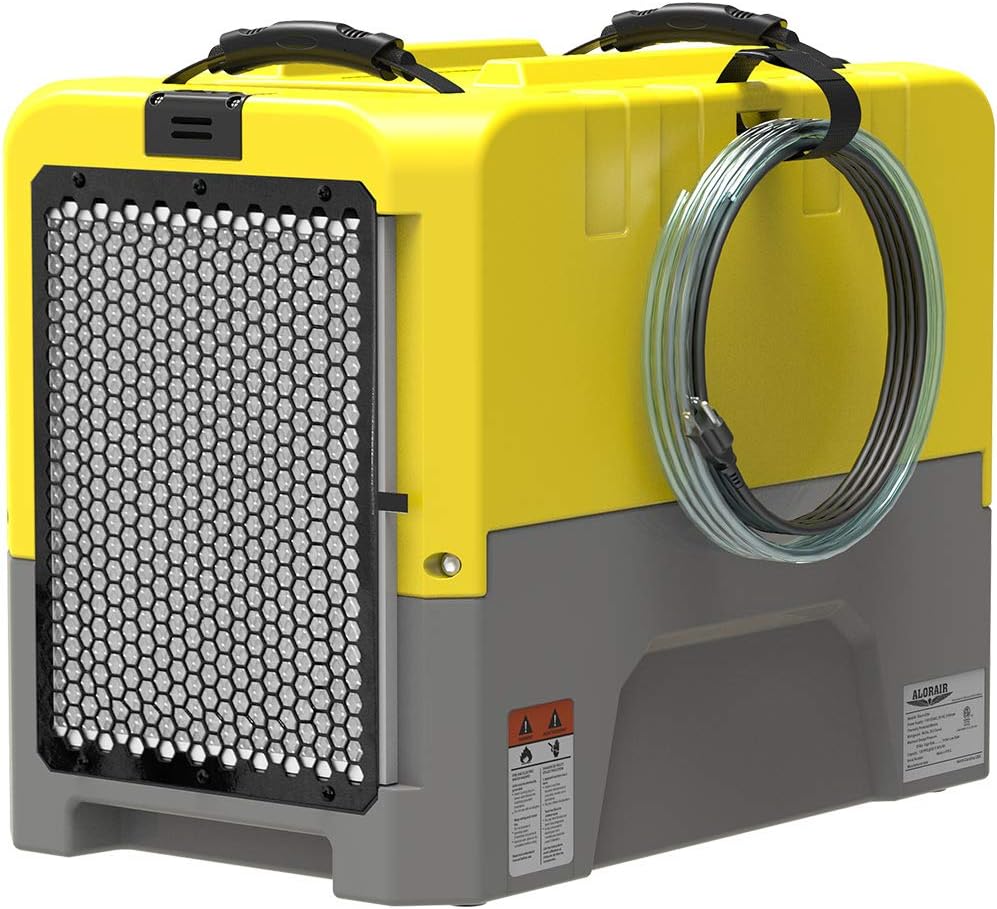
Image 1.1: ALORAIR Storm LGR Extreme Dehumidifier. This image shows the compact, yellow and grey unit with its front air intake grille and a coiled drain hose attached to the side.
Its compact design and built-in pump make it suitable for various environments, including basements, crawl spaces, warehouses, and job sites.
2. Safety Information
Always adhere to the following safety precautions to reduce the risk of fire, electric shock, or injury.
- Read all instructions before using the appliance.
- Ensure the power supply matches the voltage requirements specified on the unit's label.
- Do not operate the unit with a damaged cord or plug. If the power cord is damaged, it must be replaced by the manufacturer or a qualified service agent.
- Do not block air intake or exhaust openings. Maintain adequate clearance around the unit for proper airflow.
- Do not insert objects into the air outlets or inlets.
- Keep the unit away from water sources and wet environments.
- Always unplug the dehumidifier before cleaning, servicing, or moving it.
- This appliance is not intended for use by persons (including children) with reduced physical, sensory or mental capabilities, or lack of experience and knowledge, unless they have been given supervision or instruction concerning use of the appliance by a person responsible for their safety.
- Children should be supervised to ensure that they do not play with the appliance.
- The unit is designed for commercial use.
3. Setup and Installation
3.1 Unpacking
- Carefully remove the dehumidifier from its packaging.
- Inspect the unit for any shipping damage. Contact your supplier immediately if damage is found.
- Remove all packing materials and dispose of them responsibly.
3.2 Placement
Position the dehumidifier on a stable, level surface. Ensure there is at least 1 foot (30 cm) of clearance around the air intake and exhaust for optimal performance. The unit is designed to be compact and can be placed in tight spaces such as crawl spaces or basements.

Image 3.1: ALORAIR Dehumidifier in various settings. This image illustrates the dehumidifier's versatility, showing it in a commercial warehouse, a crawl space, a basement, and an industrial environment.
3.3 Drainage Setup
The Storm LGR Extreme features a built-in condensate pump for automatic drainage. This eliminates the need for manual emptying of a water tank.
- Locate the drain hose connection point on the unit.
- Connect the provided 19.6 ft (6 meter) drain hose securely to the outlet.
- Route the drain hose to a suitable drainage point, such as a sink, floor drain, or outside. The pump can lift water up to 14.7 ft (4.5 meters) vertically.
- Ensure the hose is not kinked or obstructed to allow for continuous drainage.

Image 3.2: Diagram of the built-in condensate pump and drainage system. This illustration shows the internal components of the dehumidifier, highlighting the pump and the path of the drain hose for continuous water removal.
3.4 Stacking for Transport
The unit is designed to be stackable for efficient storage and transportation. Ensure units are securely stacked before moving.

Image 3.3: Stackable design for easy transportation. This image shows multiple dehumidifiers stacked on top of each other, demonstrating their space-saving design for storage and transport.
4. Operating Instructions
4.1 Control Panel Overview
The ALORAIR Storm LGR Extreme features an intelligent touch panel for easy operation.

Image 4.1: Easy operation and intuitive display. This image highlights the digital control panel, showing the unit's operational status, inlet temperature, and humidity levels.
4.2 Basic Operation
- Plug-and-Go: Connect the power cord to a suitable electrical outlet.
- Power On: Press the POWER button on the control panel to turn the unit on.
- Set Humidity: Use the SET buttons (up/down arrows) to adjust the desired humidity level. The unit will operate until the set humidity is reached.
- Menu Navigation: Press the MENU button to cycle through various display options and settings.
4.3 Automatic Features
- AUTO ON/OFF: The unit automatically turns on and off to maintain the set humidity level.
- Memory Starting: In case of a power interruption, the unit will automatically restart with the previous settings once power is restored.
- Auto Defrost: The dehumidifier features an automatic defrost function to prevent ice buildup on the coils, ensuring efficient operation in cooler conditions. During a defrost cycle, moisture removal may temporarily decrease until the coils are clear.

Image 4.2: Moisture extraction machine features. This image highlights key automatic functions: Auto Operation, Auto Defrost, and Memory Restart, which enhance user convenience and unit efficiency.
4.4 Display Information
The digital display provides real-time operational data:
- GPP (Grains Per Pound): Indicates the moisture content in the air.
- Inlet/Outlet Temperature and Humidity: Shows the conditions of the air entering and exiting the unit.
- Coil Temperature: Displays the temperature of the evaporator coils.
- Compressor Amps: Current draw of the compressor.
- Total Amps: Total current draw of the unit.
- Job Hours: Resettable timer for tracking operation duration for specific tasks.
- Total Life Hours: Cumulative operational hours of the unit.
5. Maintenance
Regular maintenance ensures the longevity and efficient performance of your dehumidifier.
5.1 Air Filter Cleaning/Replacement
The unit is equipped with a washable MERV-8 air filter designed to capture microscopic airborne particles without significantly impacting airflow.
- Turn off and unplug the dehumidifier before accessing the filter.
- Locate and remove the air filter from its slot.
- Clean the filter by vacuuming or rinsing with warm water. Allow it to dry completely before reinstallation.
- It is recommended to clean the filter monthly and replace it every 3-6 months, depending on usage and environmental conditions.
5.2 General Cleaning
- Wipe the exterior of the unit with a soft, damp cloth. Do not use abrasive cleaners or solvents.
- Ensure all vents are clear of dust and debris.
5.3 Pump Maintenance
The built-in pump has a purge button to manually drain the condensate. This can be useful for ensuring the pump is clear or for draining the unit before moving.
- Press the PUMP button on the control panel to initiate a manual drain cycle. The pump will run for approximately 25 seconds.
- Regularly check the drain hose for blockages or kinks.
6. Troubleshooting
This section addresses common issues you might encounter with your dehumidifier.
| Problem | Possible Cause | Solution |
|---|---|---|
| Unit does not turn on | No power supply Power cord damaged | Check power connection and outlet. Inspect power cord for damage; contact service if damaged. |
| Dehumidifier not removing moisture | Air filter clogged Room temperature too low Humidity setting too high Unit in defrost cycle | Clean or replace air filter. Ensure ambient temperature is within operating range (above 33°F / 1°C). Lower the desired humidity setting. Allow the unit to complete its automatic defrost cycle. |
| Water leakage | Drain hose kinked or blocked Drain hose not securely connected | Check and clear any obstructions in the drain hose. Ensure the drain hose is firmly attached to the unit and directed to a proper drain. |
| Unit displays E4/E5 error code | Refrigerant leak or sensor issue | Turn off the unit and unplug it. Contact customer support for assistance. Do not attempt to repair refrigerant systems yourself. |
| Unit is noisy | Unit not on a level surface Air filter clogged Internal component issue | Place the unit on a stable, level surface. Clean or replace air filter. If noise persists, contact customer support. |
For issues not listed here or if problems persist, please contact ALORAIR customer support.
7. Specifications
| Feature | Detail |
|---|---|
| Brand | ALORAIR |
| Model Name | Storm LGR Extreme |
| Dehumidification Capacity (Saturation) | 180 Pints per Day |
| Dehumidification Capacity (AHAM) | 85 Pints per Day |
| Floor Area Coverage | Up to 2,300 Square Feet |
| Air Flow Capacity | 210 Cubic Feet Per Minute (CFM) |
| Product Dimensions (L x W x H) | 22.8" x 13.7" x 17.3" |
| Item Weight | 64.3 Pounds |
| Material | Polyethylene (PE) |
| Color | Yellow |
| Wattage | 646.3 watts |
| Operation Modes | Continuous, Timer, Pump Drainage, Auto-Defrost |
| Special Features | Adjustable Humidity Control, Automatic Defrost, Built-In Pump, Continuous Draining, Digital Display |
| Drain Hose Length | 19.6 ft |
| Drain Vertical Height | 14.7 ft |
| Upper Temperature Rating | 104 Degrees Fahrenheit |
| Certifications | ETL Compliant |

Image 7.1: Product dimensions. This image provides a visual representation of the dehumidifier's length, width, and height measurements.
8. Warranty and Support
ALORAIR stands behind the quality of its products. The Storm LGR Extreme dehumidifier comes with a comprehensive limited warranty.
8.1 Limited 5-Year Warranty
- 6 Month Parts and Labor: Includes shipment charges for replacement parts or unit.
- 1 Year Parts and Labor: Excludes shipment charges for sending the defective product back for repair or replacement.
- 3-Year Parts and Labor: Coverage for the refrigeration system only.
- 5-Year Compressor and Coil: Specific coverage for these critical components.
For additional warranty information or to initiate a warranty claim, please refer to the official ALORAIR website or contact customer support directly. Ensure you retain your proof of purchase.
8.2 Customer Support
If you have any questions, require technical assistance, or need to troubleshoot an issue, please contact ALORAIR customer support. Contact details can typically be found on the manufacturer's website or on the product packaging.


