Introduction
The MS5209 Low Power Pointer Ground Resistance Tester is a precision instrument designed for measuring earth resistance and earth voltage. It features an analog display for direct reading of values and incorporates advanced circuit design to minimize interference from earth voltage and auxiliary earth bar resistance. This manual provides essential information for the safe and effective operation, setup, and maintenance of your MS5209 tester.
Key Features
- Low power consumption for extended battery life.
- Direct reading of earth resistance values from the analog scale.
- Advanced circuit design reduces influence from earth voltage and auxiliary earth bar resistance.
- Simplified measurement function activated by a dedicated switch button.
- Push switch buttons for smooth and intuitive operation.
Safety Information
Please read and understand all safety instructions before operating the MS5209 tester. Failure to follow these instructions may result in electric shock, fire, or damage to the instrument.
- Always ensure the instrument is in good working condition before use.
- Do not use the tester in wet conditions or in environments with explosive gases or vapors.
- Observe all local and national safety codes.
- The instrument is designed to meet protection levels EN 61010-1; CAT II and protection class III.
- The withstand voltage between the electrical circuit and housing case is 1500V AC for one minute. Do not exceed this limit.
- Ensure proper connection of test leads and earth spikes to avoid incorrect readings or hazards.
- Replace batteries promptly when the "BATT. CHECK" indicator shows low power.
- Do not attempt to repair or modify the instrument. Refer all servicing to qualified personnel.
Components and Package Contents
The MS5209 Ground Resistance Tester package typically includes the following items:
- MS5209 Earth Resistance Tester Unit
- Set of Test Leads (Red, Green, Black)
- Auxiliary Earth Spikes (typically two)
- Carrying Case
- User Manual (this document)
Note: 8 x 1.5V AA batteries are required for operation and are not included in the package.

Image: The MS5209 Earth Resistance Tester shown with its main unit, test leads, and earth spikes, all contained within its protective carrying case.

Image: The MS5209 Earth Resistance Tester and its accessories neatly organized inside the blue and grey carrying case, ready for transport or storage.
Setup
1. Battery Installation
- Locate the battery compartment on the back of the MS5209 unit.
- Open the battery compartment cover.
- Insert 8 x 1.5V AA batteries, ensuring correct polarity (+/-).
- Close the battery compartment cover securely.
- Press the "OFF BATT.CHECK" button to verify battery status. The needle should move to the "OK" range if batteries are good.
2. Connecting Test Leads and Earth Spikes
For earth resistance measurements, connect the test leads and earth spikes as follows:
- Connect the red test lead to the "E" terminal on the tester.
- Connect the green test lead to the "P" terminal on the tester.
- Connect the black test lead to the "C" terminal on the tester.
- Drive the auxiliary earth spikes into the ground at appropriate distances from the earth electrode under test. Refer to standard earth resistance testing procedures for optimal spacing.
- Connect the other ends of the test leads to the earth electrode and auxiliary spikes accordingly.
Operating Instructions
1. Earth Resistance Measurement
- Ensure the test leads and earth spikes are connected correctly as per the setup instructions.
- Select the appropriate measurement range (x1Ω, x10Ω, or x100Ω) using the range selection buttons. Start with a higher range if the resistance is unknown.
- Press and hold the "MEAS." button. The analog needle will indicate the earth resistance value on the corresponding scale.
- For simplified measurements, press the "SIMPLIFIED MEAS." button. This mode is designed for quick checks.
- Read the value indicated by the needle on the scale. Multiply the reading by the selected range multiplier (e.g., if reading is 5 on x10Ω range, the resistance is 50Ω).
- Release the "MEAS." button after taking the reading.
2. Earth Voltage Measurement
- Connect the test leads to the points where earth voltage needs to be measured.
- Press and hold the "AC V" button.
- The analog needle will indicate the earth voltage value on the AC V scale.
- Release the "AC V" button after taking the reading.
Maintenance
Cleaning
Wipe the instrument's casing with a soft, damp cloth. Do not use abrasive cleaners or solvents. Ensure the unit is dry before storage.
Battery Replacement
When the battery check indicates low power, replace all 8 x 1.5V AA batteries simultaneously. Do not mix old and new batteries or different battery types.
Storage
Store the MS5209 tester in its carrying case in a cool, dry place, away from direct sunlight and extreme temperatures. If storing for extended periods, remove the batteries to prevent leakage.
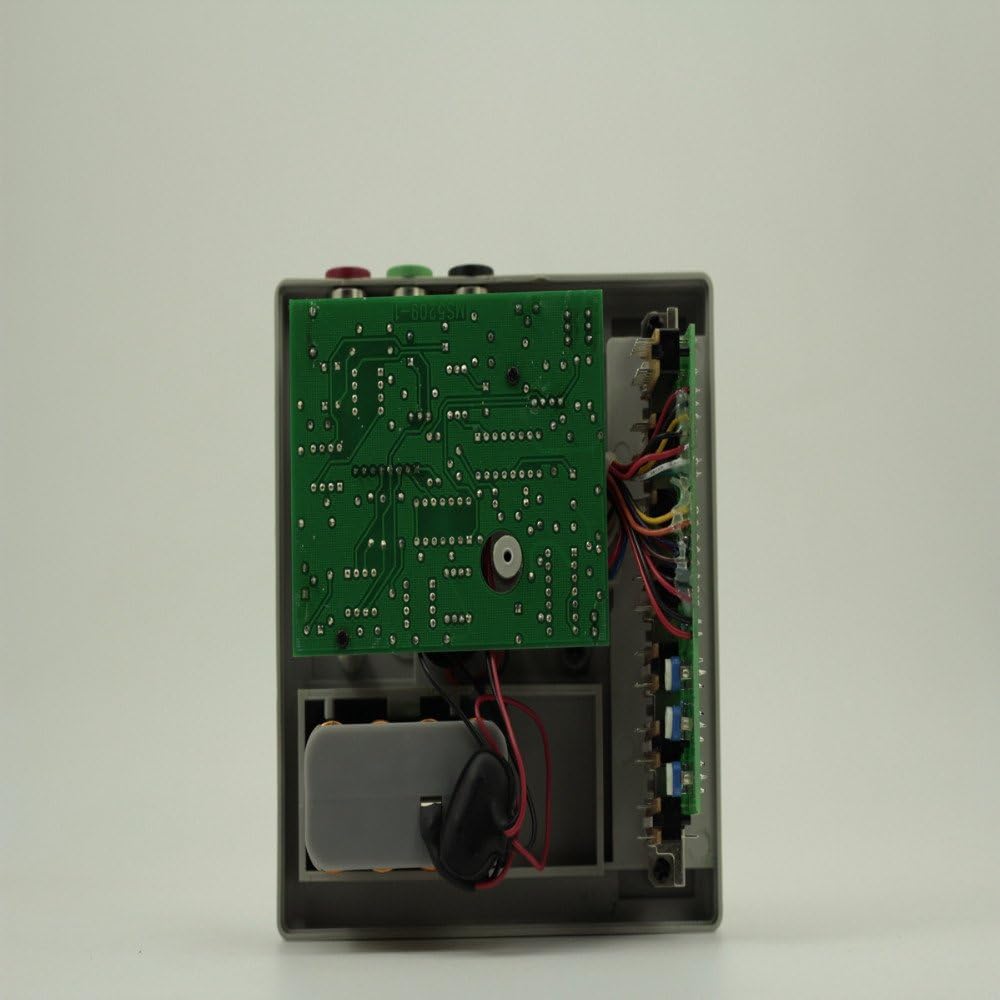
Image: An internal view of the MS5209 tester, showing the circuit board and internal components. This view is for informational purposes and not for user-level maintenance.
Troubleshooting
| Problem | Possible Cause | Solution |
|---|---|---|
| Meter does not turn on or needle does not move during battery check. | Dead or incorrectly installed batteries. | Check battery polarity. Replace all 8 x 1.5V AA batteries with new ones. |
| Inaccurate or unstable earth resistance readings. | Poor connection of test leads or earth spikes; high auxiliary earth resistance; environmental interference. | Ensure all connections are secure. Re-position auxiliary earth spikes. Check for strong electromagnetic fields nearby. |
| No reading when measuring earth voltage. | Incorrect connection; no AC voltage present. | Verify test lead connections. Confirm that AC voltage is present at the measurement points. |
Specifications
| Parameter | Value |
|---|---|
| Measuring Ranges (Earth Resistance) | 10Ω, 100Ω, 1000Ω |
| Measuring Range (Earth Voltage) | 30V AC (5kΩ/V approx.) |
| Accuracy (Earth Resistance) | Within 5% of full scale |
| Accuracy (Earth Voltage) | Within 5% of full scale |
| Measurement System (Earth Resistance) | Constant current inverter, 800Hz approx., 2mA |
| Measurement System (Earth Voltage) | Rectifier type, 5kΩ/V approx., 40 to 500Hz |
| Protection Levels | EN 61010-1; CAT II |
| Protection Class | Class III |
| Withstand Voltage | 1500V AC for one minute (between electrical circuit and housing case) |
| Power Supply | 8 x 1.5V AA battery (not included) |
| Item Weight | 5.29 pounds (2.4 kg) |
| Dimensions (Approximate) | 135mm (Height) x 135mm (Width) x 75mm (Depth) |
| Manufacturer | China |

Image: Various views of the MS5209 tester illustrating its approximate dimensions: 135mm height, 135mm width, and 75mm depth.
Warranty and Support
For information regarding warranty coverage, technical support, or service, please contact the seller or the manufacturer directly. Keep your purchase receipt as proof of purchase.


