

Introduction
This manual provides essential information for the proper installation, operation, and maintenance of your FW Murphy 518PH-12 switch. Please read these instructions carefully before proceeding with installation or operation to ensure safe and efficient use of the product.
Safety Information
Always observe standard safety precautions when working with electrical components. Disconnect power before installation or maintenance. Ensure all wiring is performed by qualified personnel and complies with local electrical codes. Failure to follow these instructions could result in personal injury or equipment damage.
Product Overview
The FW Murphy 518PH-12 is a robust switch designed for various industrial applications. It features a clear casing allowing visual inspection of internal components and multiple terminals for electrical connections. The switch is identified by its model number 518PH-12 and manufacturer part number 25700287.
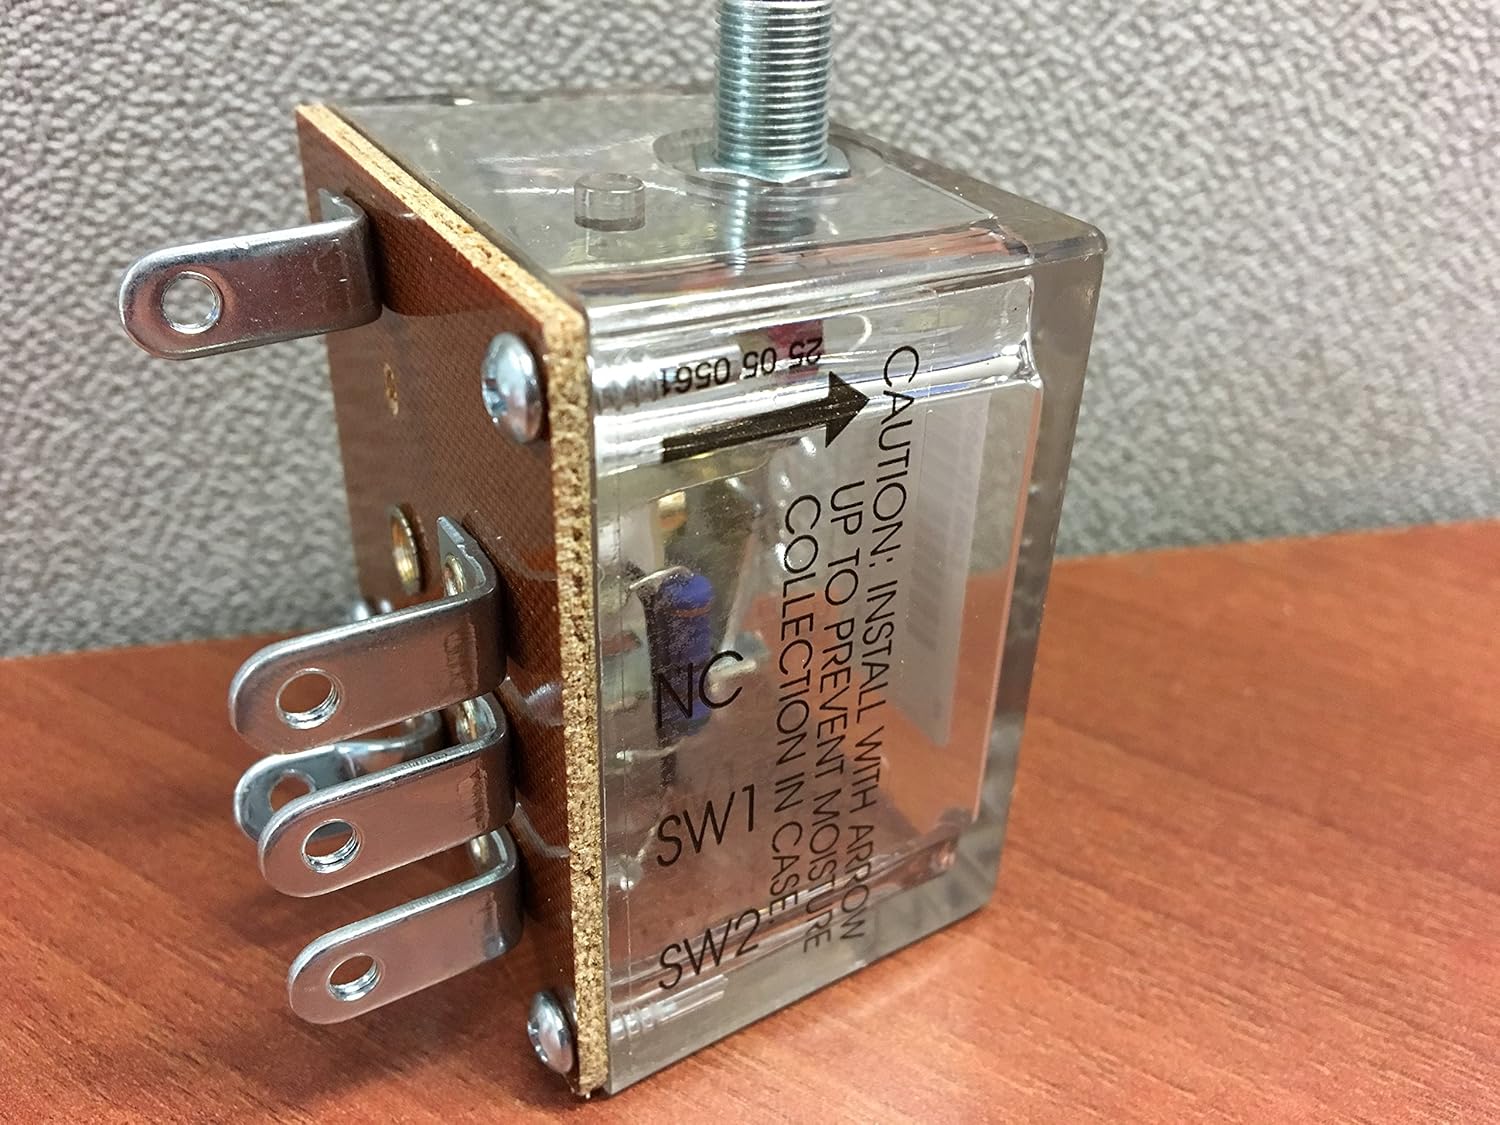
Figure 1: Front view of the FW Murphy 518PH-12 switch, showing the clear casing, electrical terminals, and the threaded shaft for mounting or connection. Note the caution label visible on the side.

Figure 2: The FW Murphy 518PH-12 switch as packaged, including the product box, a wiring diagram, and mounting hardware. This image helps identify the complete product kit.
Setup and Installation
- Unpack the Switch: Carefully remove the 518PH-12 switch and all accessories from its packaging. Verify all components are present as shown in Figure 2.
- Mounting Orientation: Important: Install the switch with the arrow pointing upwards to prevent moisture collection within the case. This is crucial for long-term reliability and preventing electrical issues. Refer to the label on the clear casing (Figure 1).
- Physical Mounting: Secure the switch in its intended location using appropriate fasteners through the mounting tabs. Ensure a stable and vibration-free installation.
- Electrical Connections:
- Identify the terminals: The switch typically includes terminals labeled SW1, SW2, and NC (Normally Closed). Refer to the wiring diagram provided with the product or consult Figure 3 for terminal layout.
- Connect wiring according to your system's electrical schematic. Ensure all connections are secure and properly insulated.

Figure 3: Bottom view of the FW Murphy 518PH-12 switch, illustrating the arrangement of the electrical terminals for wiring connections.
After installation, double-check all connections and mounting security before applying power.
Operating Instructions
The FW Murphy 518PH-12 is an automatic switch designed to respond to specific conditions (e.g., pressure, flow, level, depending on its application). Once properly installed and wired, it operates autonomously based on its internal mechanism and the system it monitors.
- Initial Power-Up: Apply power to the system. Observe the switch's behavior to confirm it is functioning as expected according to your system's design.
- Monitoring: The switch will activate or deactivate its contacts based on the monitored parameter reaching its set point.
- Adjustment (if applicable): If your specific 518PH-12 model includes an adjustment mechanism (e.g., for pressure set point), refer to the detailed instructions provided with the product for calibration procedures. Ensure any adjustments are made with power disconnected and verified after power is restored.
Maintenance
The FW Murphy 518PH-12 switch is designed for minimal maintenance. However, periodic checks can help ensure its longevity and reliable operation.
- Visual Inspection: Regularly inspect the switch for any signs of physical damage, corrosion, or loose connections. Ensure the clear casing is intact and free from cracks.
- Moisture Check: Verify that no moisture has accumulated inside the clear casing, especially if the installation orientation was not strictly followed or if environmental conditions are severe.
- Connection Integrity: Periodically check that all electrical connections are tight and free from oxidation.
- Cleaning: If necessary, gently clean the exterior of the switch with a soft, dry cloth. Do not use abrasive cleaners or solvents.
Note: Do not attempt to open or repair the sealed unit. Contact qualified service personnel if the switch malfunctions.
Troubleshooting
If the FW Murphy 518PH-12 switch is not functioning as expected, consider the following common issues:
| Problem | Possible Cause | Solution |
|---|---|---|
| Switch does not activate/deactivate |
|
|
| Intermittent operation |
|
|
For issues not covered here, or if troubleshooting steps do not resolve the problem, contact FW Murphy technical support or a qualified technician.
Specifications
| Model Number | 518PH-12 |
| Manufacturer Part Number | 25700287 |
| Brand | FW Murphy |
| Manufacturer | FW Murphy |
| ASIN | B06WLNS4KD |
| First Available Date | September 28, 2017 |
Note: Detailed electrical ratings and specific operating parameters may vary. Refer to the product's data sheet or original packaging for complete specifications relevant to your application.
