Introduction
This manual provides comprehensive instructions for the safe and effective use of your M-Wave 3-60 Nm Digital Torque Wrench with Alarm. Please read this manual thoroughly before operation and retain it for future reference.
The M-Wave Digital Torque Wrench is designed for precise torque application, ensuring fasteners are tightened to their specified values within a range of 3 to 60 Newton meters (Nm) with a tolerance of +/- 2%. It features a reversible ratchet head and an audible alarm to indicate when the desired torque is reached.
Package Contents
Verify that all items are present in your package:
- M-Wave Digital Torque Wrench (3/8" head)
- Hard storage case
- Hex bits: 3mm, 4mm, 5mm, 6mm, 8mm, 10mm
- Sockets (nuts): 8mm, 9mm, 10mm, 11mm, 12mm, 13mm, 14mm, 15mm
- Torx bits: T25, T30, T40
- Philips screwdriver head

Image: The M-Wave Digital Torque Wrench and its complete accessory set, neatly organized within its hard storage case. This image displays the wrench, various hex bits, sockets, and Torx bits.
Setup
1. Battery Installation
The digital torque wrench requires batteries for operation. Locate the battery compartment, typically at the base of the handle. Insert the required batteries, ensuring correct polarity. Close the compartment securely.
2. Attaching Bits/Sockets
Select the appropriate hex bit, socket, or Torx bit for your application. Insert the chosen accessory firmly into the 3/8" square drive head of the torque wrench. Ensure it is securely seated to prevent slippage during use.

Image: A close-up view of the various sockets included with the M-Wave Digital Torque Wrench, ranging in size from 8mm to 15mm. These are designed for use with the 3/8" drive head.
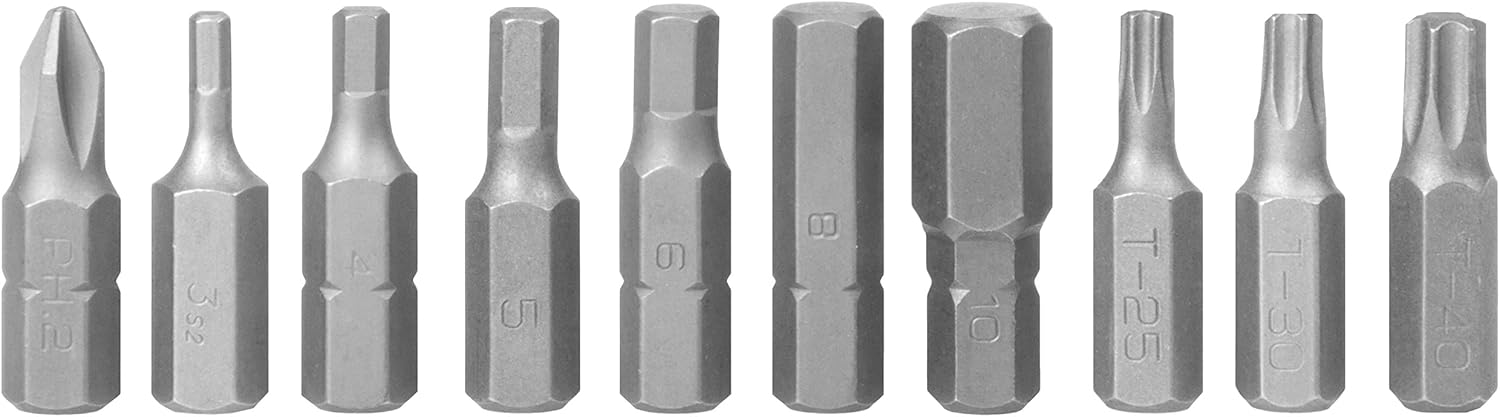
Image: A detailed view of the hex and Torx bits provided with the M-Wave Digital Torque Wrench. This includes hex sizes 3mm to 10mm and Torx sizes T25, T30, T40, along with a Philips head bit.
Operating Instructions
1. Power On/Off
Press and hold the power button (usually marked 'C' or 'ON/OFF') to turn the wrench on. The digital display will illuminate. To power off, press and hold the same button until the display turns off.
2. Setting Torque Value
Use the 'U/S' button to cycle through units (Nm, ft-lb, in-lb, kg-cm). Use the 'A' (up) and 'V' (down) buttons to adjust the desired torque value. The display will show the set torque. Ensure the desired torque is within the 3-60 Nm operating range.

Image: A detailed view of the M-Wave Digital Torque Wrench's control panel, showing the digital display and the 'U/S', 'A', and 'V' buttons used for setting torque values and units.
3. Applying Torque
- Attach the appropriate bit or socket to the wrench head.
- Place the wrench onto the fastener.
- Apply steady, smooth force to the wrench handle.
- As you approach the set torque value, the wrench will emit an audible alarm and the display may flash.
- Stop applying force immediately when the alarm sounds continuously or the display indicates the target torque has been reached.
Important: Do not overtighten. The alarm indicates the precise moment the target torque is achieved. Continuing to apply force beyond this point can damage the fastener or the component.
4. Reversible Ratchet Function
The wrench features a reversible ratchet head. A small lever or switch on the head allows you to change the direction of rotation for tightening or loosening fasteners. Ensure the ratchet direction is set correctly before applying torque.
Maintenance
- Cleaning: Wipe the wrench clean with a soft, dry cloth after each use. Do not use abrasive cleaners or solvents.
- Storage: Store the torque wrench and its accessories in the provided hard case when not in use. Keep it in a dry environment, away from extreme temperatures and direct sunlight.
- Battery Replacement: If the display becomes dim or the wrench fails to power on, replace the batteries. Dispose of old batteries responsibly.
- Calibration: Digital torque wrenches require periodic calibration to maintain accuracy. Refer to the manufacturer's recommendations for calibration intervals.
Troubleshooting
| Problem | Possible Cause | Solution |
|---|---|---|
| Wrench does not power on. | Dead or incorrectly installed batteries. | Check battery polarity. Replace batteries with new ones. |
| Alarm does not sound at set torque. | Torque setting too high or too low for application; internal malfunction. | Verify the set torque value. If the issue persists, contact customer support. |
| Inaccurate torque readings. | Wrench requires calibration; improper usage. | Ensure smooth, steady force is applied. Consider professional calibration. |
| Bits/sockets slip during use. | Incorrect bit/socket size; not fully seated. | Ensure the correct size accessory is used and fully inserted into the drive head. |
Specifications
- Model: 880266
- Torque Range: 3-60 Nm
- Accuracy: +/- 2%
- Drive Size: 3/8 inch
- Operation Mode: Electric (Digital)
- Included Components: Ratchet, 18 bits, hard case
- Material: Silver (components), Black (handle/case)
- Item Weight: Approximately 16 ounces (0.45 kg)
- Dimensions (Wrench): Approximately 11.81 x 4.72 x 2.76 inches
- UPC: 887539017279
Warranty and Support
For warranty information or technical support, please refer to the documentation included with your purchase or visit the official M-Wave website. Keep your proof of purchase for warranty claims.
Manufacturer: Cycle Force Group
Contact: For further assistance, please visit www.m-wave.com or contact your retailer.


