Introduction
The Korg BEATLAB MINI + PAD is a rhythm training tool designed to enhance a musician's timing and accuracy. It provides a versatile metronome with various sounds and patterns, along with a unique function to analyze and provide feedback on your rhythmic performance. This manual will guide you through the setup, operation, and maintenance of your BEATLAB MINI + PAD to help you maximize its training capabilities.
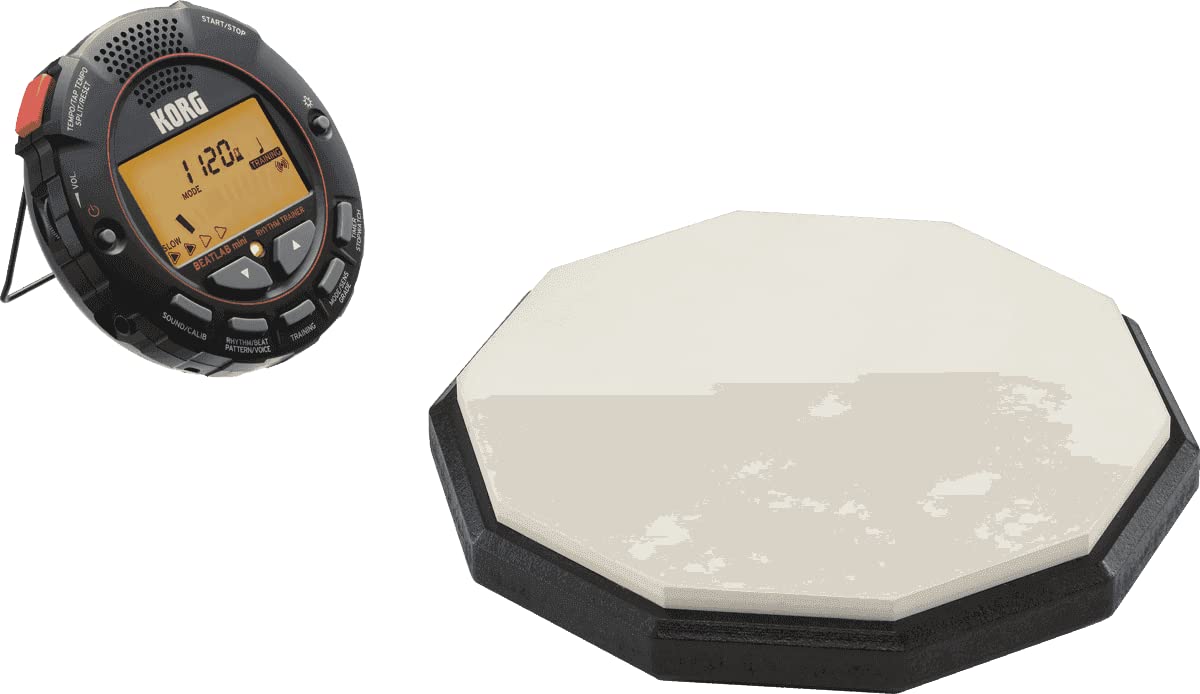
Image: Front view of the Korg BEATLAB MINI + PAD Rhythm Trainer, displaying its screen and control buttons.
What's in the Box
Please ensure all the following items are present in your package:
- BEATLAB MINI Rhythm Trainer Unit
- Contact Microphone
- Practice Pad
- 2 AAA Batteries (pre-installed or included separately)

Image: The Korg BEATLAB MINI + PAD unit shown alongside its included contact microphone.
Product Features
The Korg BEATLAB MINI + PAD offers a range of features to support your rhythm training:
- Diverse Metronome Patterns: Choose from a variety of rhythmic patterns to suit different musical styles and practice needs.
- Rhythm Training with Real-time Feedback: The unit analyzes your playing and provides immediate feedback on your timing accuracy.
- Sound Out Feature for Drum Tuning: Utilize specific tones to assist in tuning drums or other instruments.
- Versatile Time/Stopwatch Function: Includes a timer and stopwatch for tracking practice sessions or specific exercises.
- Powerful Built-in Speaker and Headphone Output: Practice with clear audio through the internal speaker or privately with headphones.
- Large, Backlit LCD Display: Ensures clear visibility of settings and feedback in various lighting conditions.
- Adaptable Two-way Clip: Allows for convenient attachment to clothing, music stands, or instruments.
- Included Contact Microphone for Trigger Detection: Accurately detects vibrations from your instrument for precise rhythm analysis.
- Practice Pad: A dedicated surface for quiet and effective drumming practice.
Setup
1. Battery Installation
The BEATLAB MINI + PAD operates on two AAA batteries. If not pre-installed, open the battery compartment cover on the back of the unit, insert the batteries according to the polarity markings (+/-), and close the cover securely.
2. Attaching the Contact Microphone
Connect the contact microphone cable to the input jack on the side of the BEATLAB MINI unit. Clip the microphone securely to your instrument (e.g., drum rim, guitar headstock) or the practice pad. Ensure the microphone is placed where it can best detect vibrations from your playing.

Image: A close-up view of the Korg contact microphone with its clip and cable.
3. Powering On/Off
Press and hold the POWER button (usually integrated with the volume knob) to turn the unit on or off. The backlit LCD display will illuminate upon power-on.
Operating Instructions
1. Basic Metronome Function
- Setting Tempo: Use the TEMPO/TAP TEMPO buttons (up/down arrows) to adjust the beats per minute (BPM). You can also tap the TAP TEMPO button multiple times to set the tempo.
- Selecting Beat and Rhythm Pattern: Press the RHYTHM/BEAT PATTERN/VOICE button to cycle through different beat divisions and rhythm patterns.
- Adjusting Volume: Rotate the VOL. knob to increase or decrease the metronome sound level.
- Start/Stop: Press the START/STOP button to begin or pause the metronome.
2. Rhythm Training Mode
This mode provides real-time feedback on your timing.
- Entering Training Mode: Press the TRAINING button. The display will show indicators for timing accuracy.
- Adjusting Sensitivity (SENS GRADE): In Training Mode, use the MODE/SENS GRADE button to adjust the sensitivity of the rhythm detection, allowing for more or less strict feedback.
- Interpreting Feedback: The display will visually indicate if your playing is ahead, behind, or perfectly in sync with the metronome. Practice adjusting your timing based on this feedback.

Image: The Korg BEATLAB MINI + PAD clipped to a musician's belt, demonstrating its use during drum practice.
3. Sound Out Feature
Press the SOUND/CALIB button to activate the sound out feature, which can be used to generate specific tones for tuning purposes.
4. Timer/Stopwatch Function
Press the TIMER STOPWATCH button to switch between timer and stopwatch modes. Use the tempo/navigation buttons to set the timer or control the stopwatch.
5. Headphone Use
For private practice, connect standard 3.5mm headphones to the headphone jack on the unit. The internal speaker will automatically mute.
Maintenance
- Cleaning: Wipe the unit with a soft, dry cloth. Do not use abrasive cleaners, solvents, or waxes.
- Battery Replacement: Replace batteries when the low battery indicator appears on the display or when the unit fails to power on. Always use fresh AAA batteries.
- Storage: Store the unit in a cool, dry place away from direct sunlight and extreme temperatures. Remove batteries if storing for extended periods to prevent leakage.
- Practice Pad Care: Keep the practice pad clean and free of dust. Avoid striking it with excessive force to prolong its lifespan.
Troubleshooting
- Unit does not power on:
- Check battery orientation and ensure they are fresh.
- Ensure the power button is pressed and held sufficiently.
- No sound from speaker/headphones:
- Verify volume level is not set to minimum.
- If using headphones, ensure they are fully plugged in and functional.
- If using speaker, ensure headphones are unplugged.
- Inaccurate rhythm detection in Training Mode:
- Ensure the contact microphone is securely attached to your instrument or practice pad.
- Adjust the SENS GRADE setting to an appropriate level for your playing dynamics.
- Check for excessive background noise that might interfere with detection.
- Display is dim or unresponsive:
- Replace batteries.
- Ensure the unit is not exposed to extreme temperatures.
Specifications
| Item Model Number | BEATLAB MINI + PAD |
| Item Weight | 1.54 pounds |
| Package Dimensions | 8.6 x 7.4 x 2.9 inches |
| Batteries | 2 AAA batteries (included) |
| Material Type | Plastic |
| Connector Type | Clip-on connector (for microphone) |
| Color Name | Silver or Black |
| Date First Available | April 20, 2017 |
Warranty and Support
For information regarding product warranty, technical support, or service, please refer to the warranty card included with your product or visit the official Korg website. Keep your purchase receipt as proof of purchase for warranty claims.
Official Korg Website: www.korg.com


