Introduction
This manual provides essential information for the proper handling and use of Taylor KW1 5-Pin Key Blanks. These blanks are designed for use with Kwikset lock systems and are suitable for professional locksmiths and key cutting services. Understanding the characteristics and proper procedures for these key blanks ensures accurate key duplication and reliable performance.
Setup and Preparation
Before cutting, ensure your key cutting machine is properly calibrated and clean. Inspect each key blank for any manufacturing defects or deformities that could affect the cutting process or the final key's functionality.
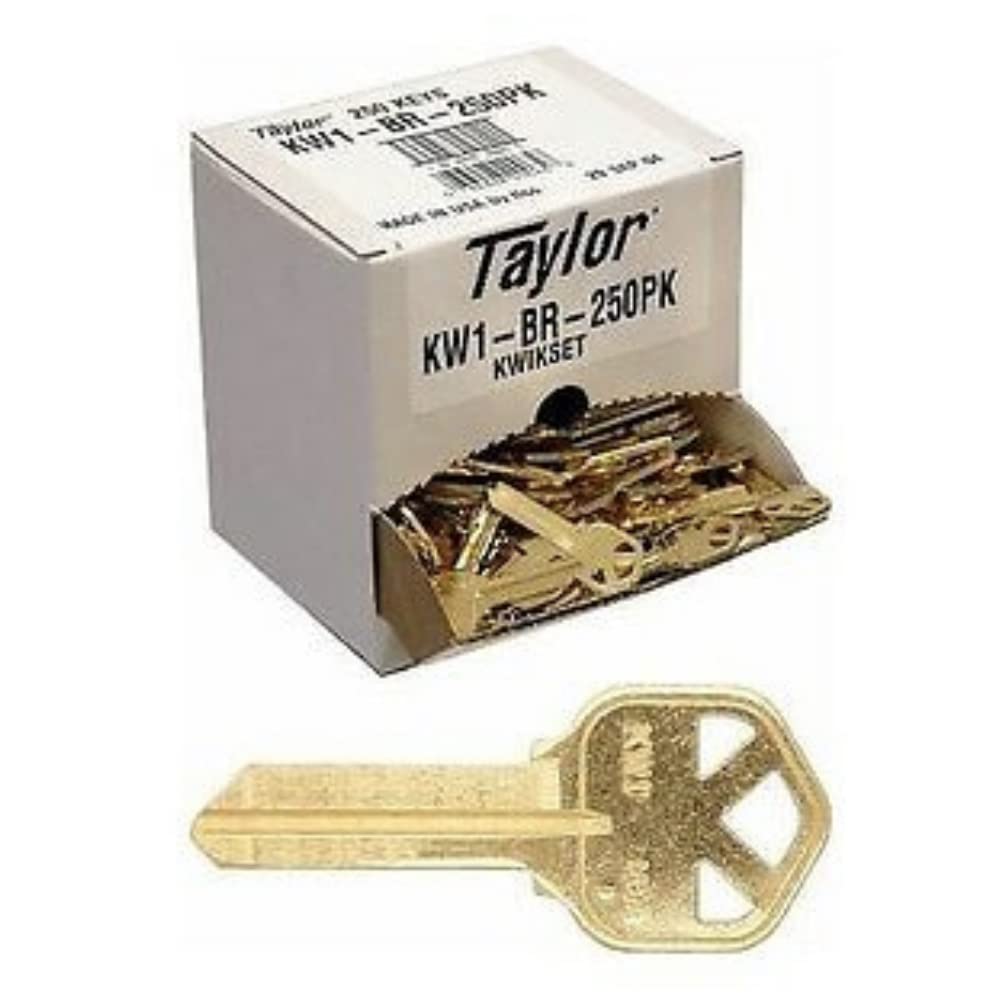
Image 1: A box containing 250 Taylor KW1 key blanks, with one blank positioned in front. The box is labeled "Taylor KW1-BR-250PK Kwikset". This image illustrates the packaging and the appearance of the key blanks.
- Unpacking: Carefully open the box of key blanks. The 250-count box is designed for easy dispensing.
- Inspection: Visually inspect a sample of blanks for consistency in material, shape, and absence of burrs.
- Storage: Store unused key blanks in their original packaging in a dry, clean environment to prevent corrosion or damage.
Operating Procedures for Key Cutting
The KW1 key blank is a standard 5-pin blank compatible with Kwikset residential and commercial lock cylinders. Follow these steps for accurate key duplication:

Image 2: A detailed close-up of a single brass KW1 key blank. The "KW1 USA" marking is clearly visible on the bow of the key, indicating its type and origin. This image highlights the specific design and markings of the blank.
- Secure the Original Key: Place the original key securely in the vise of the key cutting machine, ensuring it is properly aligned.
- Secure the KW1 Blank: Insert a KW1 key blank into the blank vise, matching the alignment of the original key. Ensure the blank is firmly gripped to prevent movement during cutting.
- Cutting Process: Activate the key cutting machine and carefully trace the bitting of the original key onto the KW1 blank. Maintain a steady hand and consistent pressure.
- Deburring: After cutting, remove the newly cut key from the machine. Use a wire brush or deburring tool to remove any sharp edges or metal shavings from the key's blade and bow. This step is crucial for smooth operation in the lock cylinder.
- Testing: It is recommended to test the newly cut key in a Kwikset lock cylinder to verify proper function before providing it to the end-user.
Maintenance and Storage
Proper maintenance and storage of key blanks are essential to ensure their quality and longevity.
- Storage Environment: Store key blanks in a cool, dry place, away from direct sunlight and excessive humidity. This prevents tarnishing and material degradation.
- Original Packaging: Keep blanks in their original box or a dedicated key blank organizer to prevent scratches and maintain order.
- Handling: Handle blanks by the bow whenever possible to avoid transferring oils or dirt to the blade, which could affect cutting accuracy or lock performance.
Troubleshooting Common Issues
This section addresses common problems encountered when working with key blanks.
| Issue | Possible Cause | Solution |
|---|---|---|
| Key does not turn in lock. | Incorrect bitting, burrs on key, worn lock cylinder, or incorrect key blank profile. |
|
| Key is difficult to insert or remove. | Excessive burrs, bent key, or debris in lock cylinder. |
|
| Inconsistent key cuts. | Key cutting machine misalignment, worn cutter, or improper blank seating. |
|

Image 3: Two identical brass KW1 key blanks displayed side-by-side. This visual comparison emphasizes the consistent manufacturing of the blanks, which is crucial for reliable key cutting. The "KW1 USA" marking is visible on both.
Specifications
Key specifications for the Taylor KW1 5-Pin Key Blanks:
- Key Type: KW1 (Kwikset profile)
- Pin Configuration: 5-pin
- Material: Brass (standard)
- Quantity: 250 blanks per box
- Compatibility: Designed for Kwikset residential and commercial lock cylinders.
- ASIN: B01K47HW86
- First Available: April 26, 2017


