Introduction
Thank you for choosing the Quantum QU3200.4 4 Channel Amplifier. This manual provides essential information for the proper installation, operation, and maintenance of your amplifier. Please read this manual thoroughly before attempting to install or operate the unit to ensure optimal performance and safety.
Important Safety Information
- Always disconnect the vehicle's battery negative terminal before beginning any installation.
- Ensure all wiring is properly routed and secured to prevent damage or short circuits.
- Do not expose the amplifier to moisture or extreme temperatures.
- Consult a professional installer if you are unsure about any part of the installation process.
- Use appropriate gauge wiring for power and ground connections to prevent overheating.
- Never operate the amplifier with damaged or exposed wiring.
Package Contents
Please check the contents of the package to ensure all items are present and undamaged:
- Quantum QU3200.4 4 Channel Amplifier
- Mounting Hardware (screws)
- User Manual (this document)
Product Overview
The Quantum QU3200.4 is a high-performance 4-channel amplifier designed to deliver powerful and clear audio. It features robust construction and versatile controls for optimal sound customization.
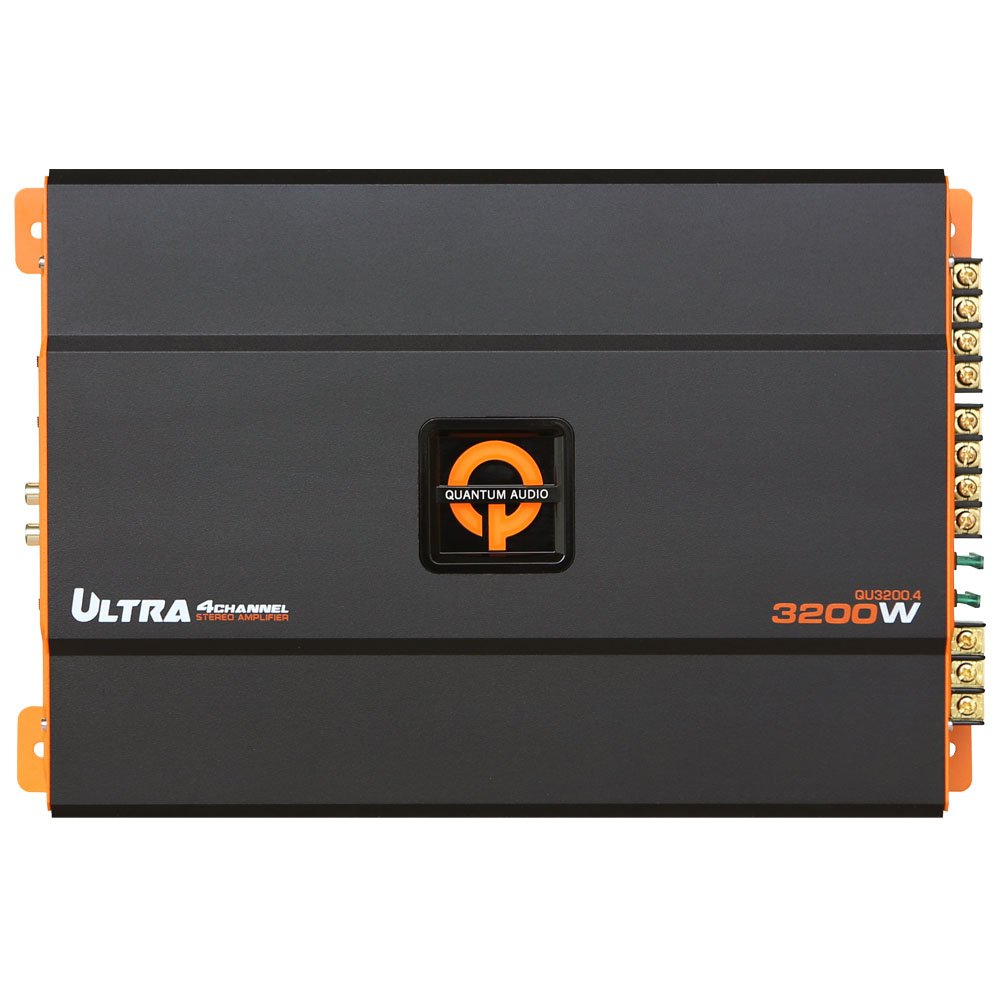
Figure 1: Top view of the Quantum QU3200.4 Amplifier. The amplifier has a dark grey finish with orange accents on the sides. The Quantum Audio logo is centrally located, and "ULTRA 4CHANNEL STEREO AMPLIFIER" is visible on the left, with "QU3200.4 3200W" on the right.
Key Features:
- 4-Channel Configuration
- High Power Output (3200W peak)
- Variable Crossover Filters
- Adjustable Gain Control
- Robust Heat Sink Design
Setup and Installation
Proper installation is crucial for the performance and longevity of your amplifier. Follow these steps carefully.
1. Mounting Location:
- Choose a dry, well-ventilated location away from direct sunlight and heat sources.
- Ensure sufficient airflow around the amplifier for proper cooling.
- Mount the amplifier securely to a solid surface using the provided mounting hardware. Avoid mounting on carpet or vibrating surfaces.
2. Wiring Connections:
Before making any connections, disconnect the vehicle's negative battery terminal.
- Power (BATT+) Connection: Run a heavy gauge power cable (e.g., 4 AWG or larger) directly from the positive terminal of the vehicle's battery to the amplifier's BATT+ terminal. Install an in-line fuse holder within 18 inches (45 cm) of the battery.
- Ground (GND) Connection: Connect a heavy gauge ground cable (same gauge as power) from the amplifier's GND terminal to a clean, unpainted metal surface on the vehicle's chassis. Ensure a good electrical connection.
- Remote (REM) Turn-On Connection: Connect a remote turn-on wire from your head unit's remote output to the amplifier's REM terminal. This wire signals the amplifier to turn on when the head unit is active.
- RCA Input Connections: Connect RCA cables from your head unit's pre-amp outputs to the amplifier's RCA input jacks. Match left and right channels.
- Speaker Output Connections: Connect your speakers to the amplifier's speaker output terminals. Pay close attention to polarity (+ to + and - to -) for each speaker. The QU3200.4 supports 4-channel speaker configurations.
Note: For detailed wiring diagrams specific to your speaker configuration (e.g., 2-channel, 3-channel, 4-channel, bridged), refer to online resources or consult a professional installer.
Operating the Amplifier
Once installed, the amplifier requires proper adjustment for optimal sound quality.
1. Gain Control (Input Level):
The gain control matches the amplifier's input sensitivity to the output level of your head unit. It is NOT a volume control.
- Turn the amplifier's gain control to its minimum (fully counter-clockwise) setting.
- Set your head unit's volume to about 75-80% of its maximum level.
- Slowly increase the amplifier's gain control until you hear slight distortion, then back it off slightly until the sound is clear.
2. Crossover Settings:
The QU3200.4 features variable high-pass (HPF) and low-pass (LPF) filters to direct specific frequency ranges to your speakers.
- HPF (High Pass Filter): Allows frequencies above the set point to pass through. Use for full-range speakers or tweeters to prevent low frequencies from damaging them.
- LPF (Low Pass Filter): Allows frequencies below the set point to pass through. Use for subwoofers to prevent high frequencies from playing.
- Adjust these settings based on the type of speakers connected to each channel for optimal sound reproduction.
3. Bass Boost:
The bass boost control allows you to enhance low frequencies. Use sparingly to avoid distortion and potential speaker damage.
Maintenance
The Quantum QU3200.4 amplifier requires minimal maintenance. Follow these guidelines to ensure its longevity:
- Cleaning: Use a soft, dry cloth to wipe down the amplifier's exterior. Do not use harsh chemicals or abrasive cleaners.
- Ventilation: Ensure the amplifier's cooling fins are free from dust and debris. Periodically check that nothing is obstructing airflow around the unit.
- Connections: Periodically check all wiring connections to ensure they are secure and free from corrosion.
Troubleshooting
If you experience issues with your amplifier, refer to the following common problems and solutions:
| Problem | Possible Cause | Solution |
|---|---|---|
| No Power / Amplifier Not Turning On |
|
|
| No Sound Output |
|
|
| Distorted Sound |
|
|
| Amplifier Overheating |
|
|
Specifications
| Feature | Detail |
|---|---|
| Brand | Quantum |
| Model Number | QU3200.4 |
| Number of Channels | 4 |
| Product Dimensions (L x W x H) | 41.3 x 26.7 x 9.8 cm |
| Item Weight | 2.94 kg |
| Global Trade Identification Number | 00810219025608 |
Warranty and Support
For warranty information and technical support, please refer to the official Quantum Audio website or contact their customer service department. Keep your purchase receipt as proof of purchase for any warranty claims.
For further assistance, you may visit the product page on Amazon.com.au or contact your authorized Quantum Audio dealer.


