
Taylor 1731
Taylor Precision Products 1731 Wireless Indoor & Outdoor Weather Station
User Manual
This manual provides detailed instructions for the setup, operation, and maintenance of your Taylor 1731 Wireless Indoor & Outdoor Weather Station. Please read thoroughly before use.
Product Overview
The Taylor 1731 Wireless Indoor & Outdoor Weather Station is designed to provide accurate temperature and humidity readings for both your indoor and outdoor environments. It features a clear digital display, a wireless remote sensor, and functions for daily min/max recall, trend indicators, and a clock with calendar.
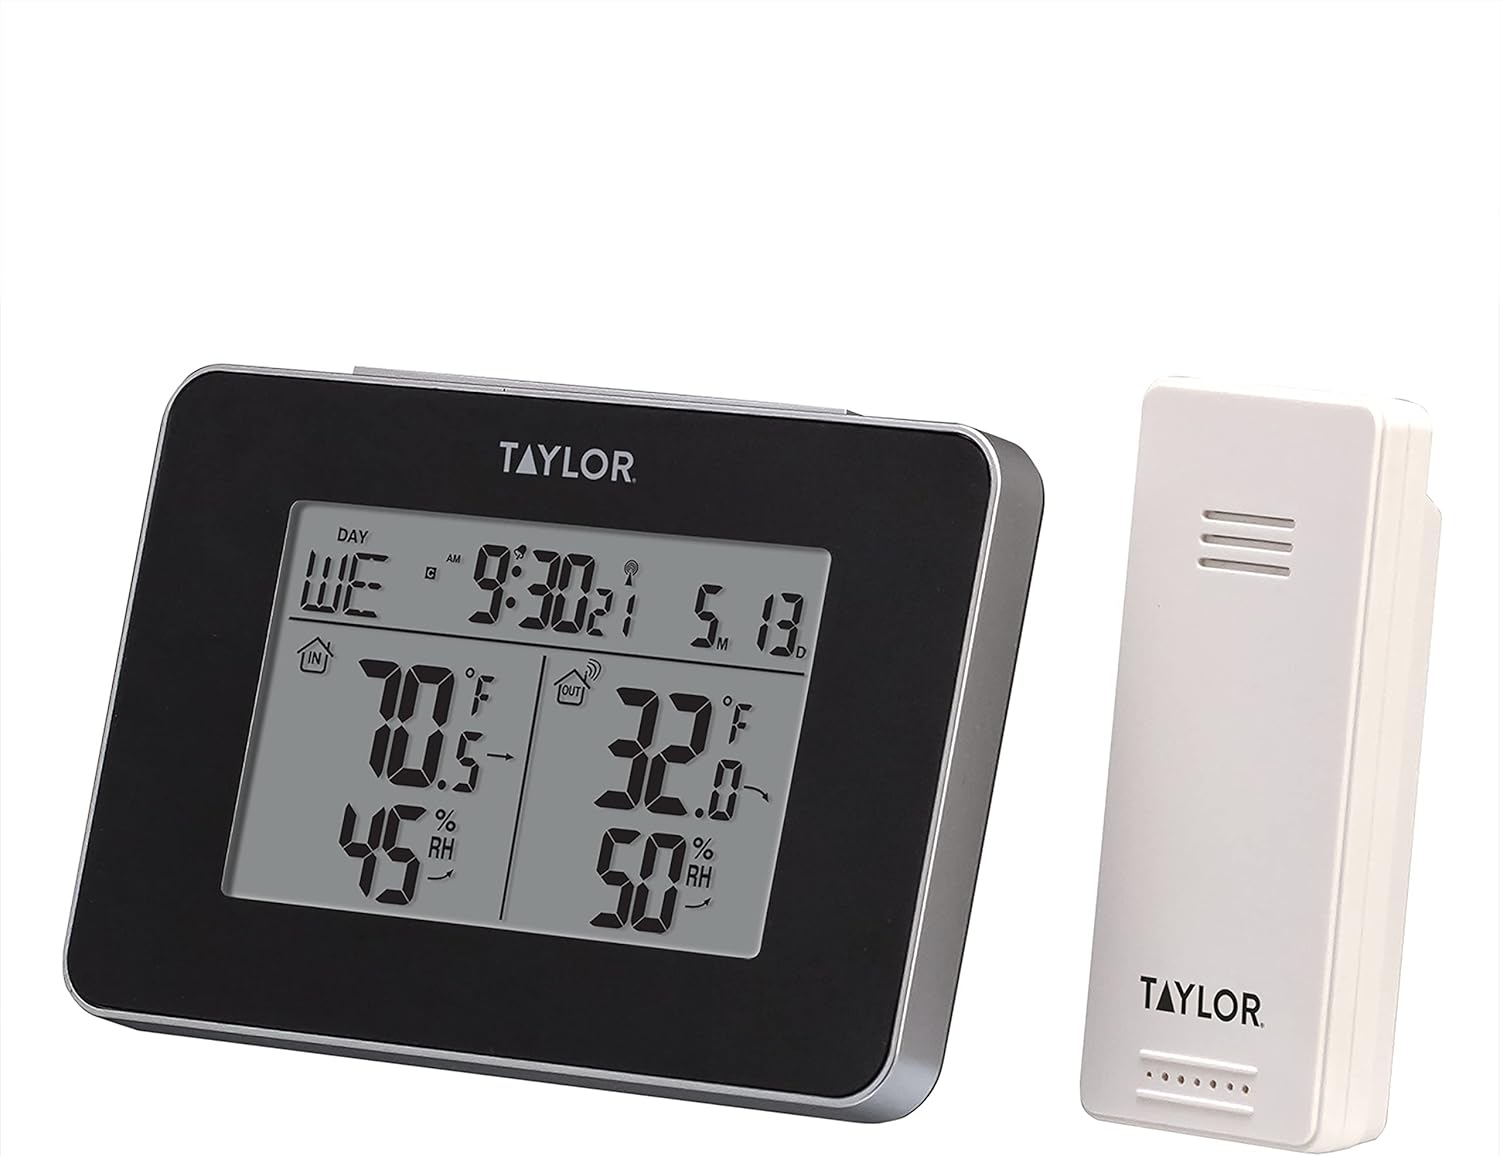
Image: The main display unit and the wireless outdoor remote sensor of the Taylor 1731 Weather Station.
Key Features
- Daily min/max recall & trend indicators for temperature & humidity
- Wireless remote sensor transmits up to 200ft
- Humidity range: 20%-95%
- Indoor temperature range: 32°F/122°F & 0°C/50°C
- Outdoor temperature range with alkaline batteries: -4°F/140°F & -20°C/60°C

Image: The weather station display highlighting its key features including wireless remote sensor, indoor/outdoor temperature and humidity readings, clock with alarm, and calendar.
Setup Guide
Battery Installation
The main unit requires 2 AA batteries, and the remote sensor requires 2 AAA batteries (not included). Ensure correct polarity when inserting batteries.
- Open the battery compartment on the back of the main display unit.
- Insert 2 AA batteries, observing the polarity markings (+/-).
- Close the battery compartment.
- Open the battery compartment on the back of the wireless remote sensor.
- Insert 2 AAA batteries, observing the polarity markings (+/-).
- Close the battery compartment.

Image: Rear view of the main unit and remote sensor, showing their respective battery compartments open for battery insertion.
Initial Synchronization
After inserting batteries, the main unit will automatically search for the remote sensor. This process may take a few minutes. Ensure both units are within range of each other during initial setup.
Placement Recommendations
- Main Unit: Place the main display unit indoors, away from direct sunlight or heat sources, on a flat surface or mounted on a wall.
- Remote Sensor: For accurate outdoor readings, place the remote sensor in a shaded area, protected from direct rain and sunlight. Ensure it is within the 200ft transmission range of the main unit. Avoid placing it near large metal objects or electrical appliances that could interfere with the wireless signal.

Image: Illustration showing the indoor station placed inside a home and the outdoor remote sensor positioned outside, demonstrating ideal placement for wireless transmission.
Operating Instructions
Display Overview
The main display shows indoor temperature and humidity on the left, and outdoor temperature and humidity on the right. It also displays the current time, day of the week, and date.
Setting Time and Date
Refer to the specific buttons on your device (typically labeled 'SET' or 'MODE') to enter the setting mode. Use the '+' and '-' buttons to adjust values and 'SET' or 'MODE' to confirm and move to the next setting (e.g., 12/24 hour format, hour, minute, year, month, day).
Switching Temperature Units (°F/°C)
Locate the °F/°C button, usually on the back or side of the main unit. Press it to toggle between Fahrenheit and Celsius temperature displays.
Min/Max Temperature and Humidity Recall
Press the 'MEM' or 'MIN/MAX' button to view the recorded minimum and maximum indoor and outdoor temperature and humidity readings since the last reset. Press again to cycle through the values. To clear the recorded min/max values, typically hold down the 'MEM' or 'MIN/MAX' button for a few seconds.
Alarm Function
This model includes an alarm feature. Consult your device's specific button layout (e.g., 'ALARM' or 'MODE' button cycling) to set and activate the alarm time.
Maintenance
Cleaning
To clean the weather station, simply wipe it with a clean, damp cloth. Do not use abrasive cleaners or immerse the unit in water.
Battery Replacement
Replace batteries in both the main unit and the remote sensor when the display becomes dim or readings become inconsistent. It is recommended to replace all batteries at the same time to ensure optimal performance.
Troubleshooting
| Problem | Possible Cause | Solution |
|---|---|---|
| No outdoor temperature/humidity reading | Remote sensor out of range or low battery; interference; synchronization issue. | Relocate sensor closer to main unit; replace sensor batteries; re-synchronize units (refer to manual for specific re-sync steps, often involves holding a button on the main unit). |
| Inaccurate readings | Sensor exposed to direct sunlight, heat sources, or moisture; low batteries. | Relocate sensor to a shaded, protected area; replace batteries. |
| Display is dim or blank | Low batteries in main unit. | Replace batteries in the main unit. |
Specifications
- Model: 1731
- Indoor Temperature Range: 32°F to 122°F (0°C to 50°C)
- Outdoor Temperature Range (Alkaline Batteries): -4°F to 140°F (-20°C to 60°C)
- Humidity Range: 20% to 95% RH
- Wireless Transmission Range: Up to 200 ft (60 meters)
- Power Source (Main Unit): 2 x AA Batteries (not included)
- Power Source (Remote Sensor): 2 x AAA Batteries (not included)
- Connectivity Technology: 433 MHz
- Material: Plastic
- Item Weight: 45 g
- Care Instructions: Wipe Clean

Image: The weather station display unit and remote sensor, accompanied by a list of detailed technical specifications including temperature ranges and battery requirements.

Image: A diagram illustrating the precise dimensions of both the main display unit and the wireless remote sensor.
Warranty and Support
Warranty Information
This Taylor Precision Products 1731 Wireless Indoor & Outdoor Weather Station comes with a 1-year limited warranty from the date of purchase. This warranty covers defects in materials and workmanship under normal use. Please retain your proof of purchase for warranty claims.
Customer Support
For technical assistance, troubleshooting, or warranty inquiries, please contact Taylor Precision Products customer support. Refer to the product packaging or the manufacturer's official website for the most current contact information.
Related documents1731


Ask a question about this manual
Ask about setup, troubleshooting, compatibility, parts, safety, or missing instructions. Manuals+ will review the question and use this page’s manual context to help answer it.