
Introduction
This manual provides comprehensive instructions for the setup, operation, and maintenance of your Pure Siesta Rise Digital Radio Alarm Clock. Please read this manual thoroughly before using the device to ensure proper functionality and to maximize your user experience.
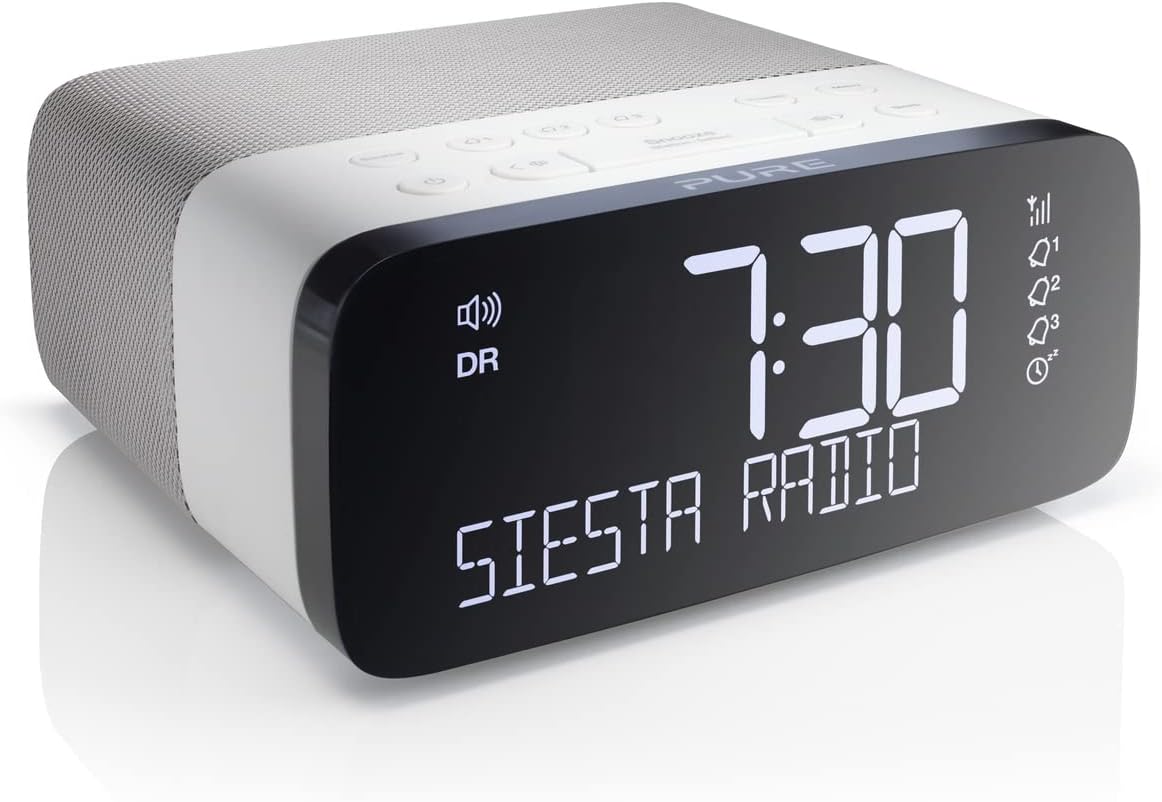
Figure 1: Pure Siesta Rise Digital Radio Alarm Clock. This image shows the front of the clock radio with its large, clear display indicating the time as 7:30 and the text "SIESTA RADIO". Alarm icons and signal strength indicators are also visible on the right side of the display.
Key Features
- FM/DAB+/DAB Radio: Access a wide range of digital and FM radio stations.
- USB Phone Charging: Convenient USB power port for charging compatible mobile devices.
- CrystalVue Auto-Dim Display: Large display with automatic brightness adjustment based on ambient light conditions.
- Multiple Alarms: Set up to three independent alarms with options for radio or tone, and different settings for weekdays and weekends.
- Compact Design: Sleek and unobtrusive, designed to fit easily on bedside tables.
- Digital Tick Approved: Ensures future compatibility with digital radio standards.
Setup
1. Unpacking and Placement
Carefully remove the Siesta Rise from its packaging. Place the unit on a stable, flat surface, such as a bedside table or shelf. Ensure there is adequate ventilation around the device.

Figure 2: The Siesta Rise positioned on a bedside table, demonstrating its compact size and suitability for bedroom environments. A bed with pillows and a window are visible in the background.
2. Power Connection
Connect the supplied power adapter to the DC input port on the rear of the Siesta Rise. Plug the adapter into a wall socket. The unit will power on automatically and begin initial setup.

Figure 3: Rear view of the Siesta Rise, highlighting the USB charging port and the power input connection. The model name "Siesta Rise" and "Imagination" logo are also visible.
3. Initial Scan (DAB/FM)
Upon first power-on, the Siesta Rise will automatically scan for available DAB and FM radio stations. This process may take a few minutes. Once complete, the clock will set its time automatically via DAB signal.
Operating Instructions
1. Controls Overview

Figure 4: Top panel of the Siesta Rise, displaying all control buttons. These include Source, Alarm 1, Alarm 2, Alarm 3, Presets, Menu, Power, Skip Back, Snooze/Station-Select, Skip Forward, Volume Down, Volume Up, and Sleep.
- Power Button (⏻): Press to turn the radio on or off (standby).
- Source Button: Toggles between DAB and FM radio modes.
- Alarm Buttons (1, 2, 3): Press to set or activate/deactivate individual alarms.
- Presets Button: Access and store your favourite radio stations.
- Menu Button: Enters the system menu for advanced settings.
- Snooze/Station-Select Button: Press to snooze an active alarm or to select options within menus. Rotate to navigate stations or menu options.
- Volume Buttons (◀ ▶): Adjust the audio volume.
- Sleep Button: Sets a sleep timer for the radio.
2. Setting Alarms
- Press one of the Alarm buttons (1, 2, or 3).
- Use the Snooze/Station-Select dial to set the desired alarm time (hour and minute), then press to confirm.
- Select the alarm source (DAB, FM, or Tone) and press to confirm.
- Choose the alarm frequency (Daily, Weekdays, Weekends, or Once) and press to confirm.
- Adjust the alarm volume and press to confirm. The alarm icon will appear on the display, indicating it is active.
3. USB Charging
The USB port on the rear of the Siesta Rise is designed for charging mobile devices. Connect your smartphone or other USB-powered device using its charging cable to the USB port. Charging will commence automatically.
4. Display Brightness
The CrystalVue display features an auto-dimming function that adjusts brightness according to ambient light. You can also manually adjust the display brightness via the Menu settings.
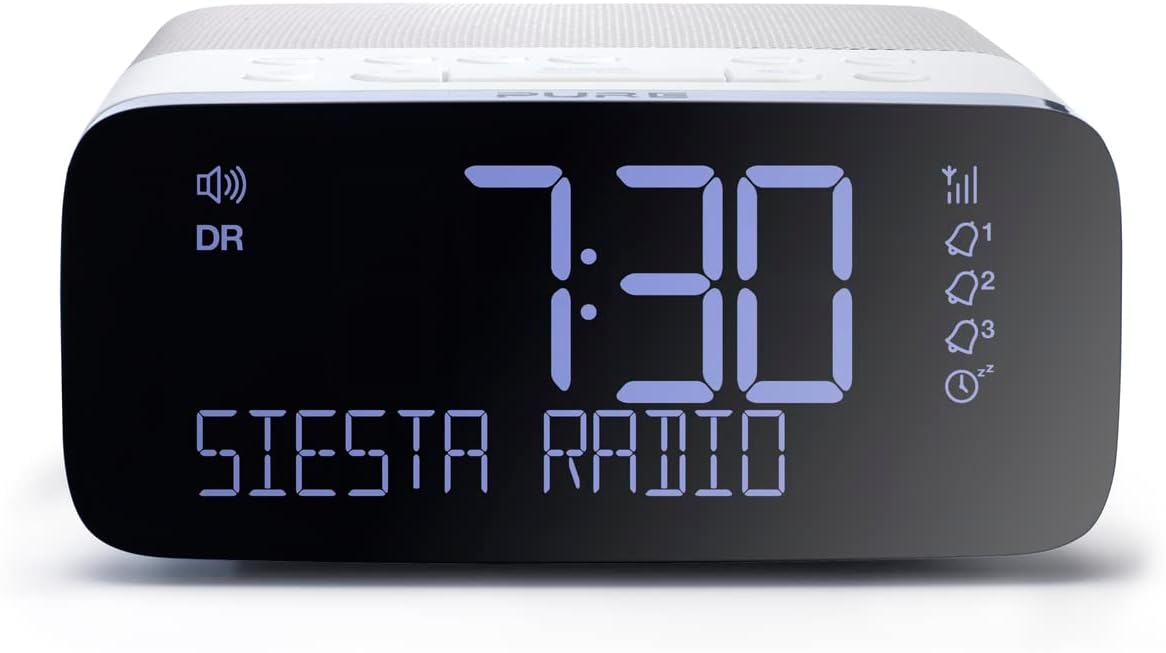
Figure 5: A close-up view of the Siesta Rise's CrystalVue display, showing the time 7:30 and "SIESTA RADIO" in clear, blue-tinted digits against a dark background. This illustrates the display's clarity and readability.
Maintenance
1. Cleaning
To clean the Siesta Rise, gently wipe the surfaces with a soft, dry, lint-free cloth. Do not use abrasive cleaners, waxes, or solvents as these may damage the finish. Ensure the device is unplugged before cleaning.
2. Software Updates
Periodically check the Pure website for any available software updates for your Siesta Rise (current software version is v1.2). Updates can improve performance and add new features. Follow the instructions provided with the update files carefully.
Troubleshooting
| Problem | Possible Cause | Solution |
|---|---|---|
| No power/display | Power adapter not connected or faulty socket. | Ensure power adapter is securely plugged into the unit and a working wall socket. Try a different socket. |
| Poor radio reception | Weak signal, interference, or antenna not extended. | Ensure the wire antenna is fully extended and positioned for best reception. Move the unit away from other electronic devices that may cause interference. Perform a full scan for stations. |
| Alarm does not sound | Alarm not activated, volume too low, or incorrect settings. | Verify the alarm is set and active (icon visible). Check alarm volume. Ensure alarm frequency (e.g., Weekdays) matches the current day. |
| USB charging not working | Device incompatibility or faulty USB cable. | Ensure your device is compatible with USB charging. Try a different USB cable. |
Specifications
- Model: P147504
- Dimensions (H x W x D): Approximately 13.7 cm x 14.1 cm x 6.3 cm
- Weight: 521 g
- Radio Frequencies: DAB/DAB+, FM
- Alarms: 3 independent alarms (Radio or Tone)
- Display: CrystalVue Auto-Dimming LED Display
- Connectivity: USB power output for charging
- Power Source: Corded Electric
- Colour: White/Black

Figure 6: Diagram illustrating the approximate dimensions of the Siesta Rise, showing a height of 13.7cm and a width of 14.1cm.
Warranty and Support
The Pure Siesta Rise comes with a 3-year warranty from the date of purchase. Please retain your proof of purchase for warranty claims.
For technical support, troubleshooting assistance beyond this manual, or warranty inquiries, please visit the official Pure support website or contact their customer service department. Contact details can typically be found on the Pure website or on the product packaging.
Note: Software version is v1.2.


