
1. Introduction
This manual provides essential information for the proper installation, operation, and maintenance of your Spyder Auto FL-DGC2011-C Fog Lights. Please read these instructions thoroughly before beginning any installation or use. Proper installation ensures optimal performance and safety.
These fog lights are specifically designed for the Dodge Caravan, offering a direct fit and integration with your vehicle's electrical system.
2. Safety Information
- Always disconnect the vehicle's battery before performing any electrical work to prevent electrical shock or damage to the vehicle's electrical system.
- Wear appropriate personal protective equipment, including safety glasses and gloves, during installation.
- Ensure the vehicle is parked on a level surface with the parking brake engaged.
- If you are unsure about any part of the installation process, it is recommended to seek assistance from a qualified automotive technician.
- Do not modify the fog light assembly or wiring harness. Unauthorized modifications can void the warranty and create safety hazards.
3. Product Overview
The Spyder Auto FL-DGC2011-C Fog Lights are designed to enhance visibility during adverse weather conditions such as heavy rain, snow, fog, and nighttime driving. These units are engineered as direct bolt-on replacement parts, ensuring a seamless fit and integration with your Dodge Caravan.
Each fog light assembly is manufactured by an OE approved and ISO certified manufacturer, guaranteeing quality that meets or exceeds original equipment standards. The design features a clear lens and a durable housing, providing a waterproof seal for reliable performance.

Image 3.1: Front view of the Spyder Auto FL-DGC2011-C fog light, showcasing the clear lens and black housing.
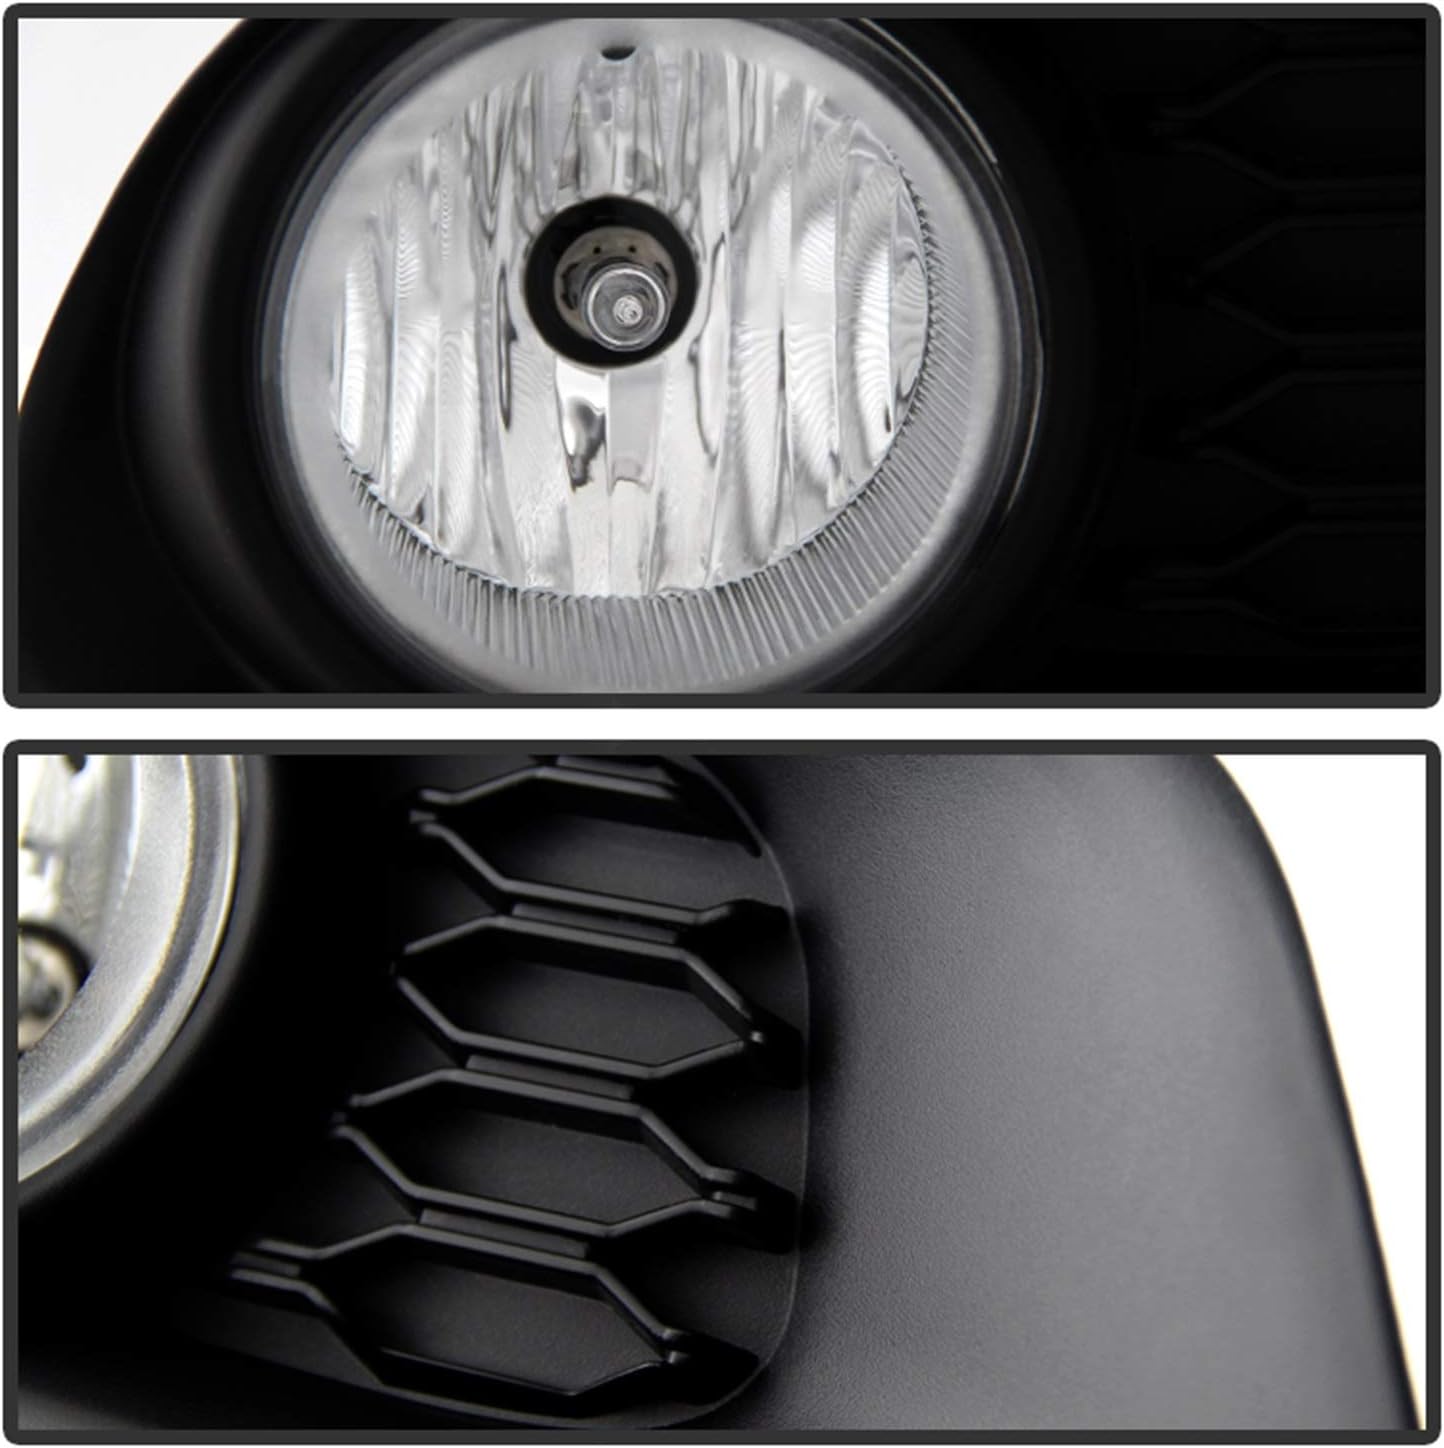
Image 3.2: Detailed view of the fog light's clear lens and the integrated grille pattern on the housing.
4. Setup and Installation
These fog lights are designed for a direct bolt-on installation, requiring no cutting, splicing, or soldering for vehicles with existing fog light provisions. For vehicles without factory-installed fog lights, a wiring harness, mounting hardware, and an in-cab switch are typically included for a complete installation.
Required Tools (May Vary):
- Socket wrench set
- Screwdriver set
- Trim panel removal tool (if bumper removal is necessary)
- Wire strippers/crimpers (if installing a new harness)
Installation Steps:
- Prepare Vehicle: Park the vehicle on a level surface and engage the parking brake. Disconnect the negative terminal of the vehicle's battery.
- Access Fog Light Area: Depending on your Dodge Caravan model, you may need to remove or partially loosen the front bumper cover or fender liner to access the fog light mounting locations. Refer to your vehicle's service manual for specific instructions.
- Remove Existing Fog Lights (if applicable): Unbolt the old fog light assembly and disconnect its electrical connector.
- Install New Fog Lights: Position the Spyder Auto FL-DGC2011-C fog light into the opening. Align the mounting tabs and secure the assembly using the original hardware or the provided mounting brackets.
- Connect Wiring:
- For vehicles with existing fog lights: Connect the new fog light's electrical connector to the vehicle's factory wiring harness. Ensure a secure connection.
- For vehicles without existing fog lights: Install the provided wiring harness. Route the harness safely away from moving parts and heat sources. Connect the fog lights to the harness, and connect the harness to the vehicle's power source (typically the battery with an inline fuse) and the included in-cab switch. Follow the wiring diagram provided with the harness.
- Secure Components: Ensure all bolts are tightened, and any removed panels or liners are reinstalled securely.
- Reconnect Battery: Reconnect the negative terminal of the vehicle's battery.
- Test Functionality: Turn on your vehicle's ignition and test the fog lights to ensure they function correctly. Adjust the beam aim if necessary using the adjustment screw (refer to Image 4.2).

Image 4.1: Rear view of the fog light assembly, highlighting the robust housing and the electrical connector port.

Image 4.2: Close-up of the electrical connector and the adjustment screw for beam alignment on the fog light unit.
5. Operating Instructions
Once installed, the Spyder Auto FL-DGC2011-C Fog Lights operate in conjunction with your vehicle's existing lighting controls or the provided in-cab switch (if applicable).
- Activation: Turn on your vehicle's headlights. Then, activate the fog lights using the dedicated fog light switch on your vehicle's dashboard or steering column. If an aftermarket switch was installed, use that switch to turn the fog lights on or off.
- Purpose: Fog lights are designed to provide a wide, low beam of light that cuts through fog, rain, or snow, illuminating the road surface directly in front of the vehicle without reflecting glare back into the driver's eyes. They are not intended for use as primary headlights.
- Deactivation: Turn off the fog lights when visibility improves or when they are no longer needed to avoid dazzling oncoming drivers.
6. Maintenance
Regular maintenance helps ensure the longevity and optimal performance of your fog lights.
- Cleaning: Clean the fog light lenses periodically with a soft cloth, mild soap, and water. Avoid abrasive cleaners or harsh chemicals, as these can damage the lens surface.
- Inspection: Routinely inspect the fog light assemblies for any signs of damage, cracks, or loose connections. Ensure the mounting hardware remains secure.
- Bulb Replacement: If a bulb burns out, replace it with a bulb of the correct type and wattage as specified by the manufacturer. Refer to your vehicle's service manual or the fog light manufacturer for specific bulb types. Disconnect the battery before attempting bulb replacement.
7. Troubleshooting
| Problem | Possible Cause | Solution |
|---|---|---|
| Fog light does not turn on | Blown fuse, faulty bulb, loose wiring connection, faulty switch | Check vehicle's fuse box for a blown fuse and replace if necessary. Inspect bulb for damage and replace if faulty. Verify all wiring connections are secure. Test the switch for proper operation. |
| Fog light flickers or is dim | Loose wiring connection, corroded terminals, low voltage | Check and secure all electrical connections. Clean any corroded terminals. Ensure proper voltage supply to the fog lights. |
| Moisture inside the lens | Compromised seal, condensation | Small amounts of condensation may dissipate naturally. If significant moisture or water ingress is present, inspect the housing for cracks or a compromised seal. Contact customer support if the issue persists. |
8. Specifications
| Feature | Detail |
|---|---|
| Brand | Spyder |
| Model Number | FL-DGC2011-C |
| Color | Clear |
| Special Feature | Waterproof |
| Auto Part Position | Front |
| Item Dimensions (L x W x H) | 30.5 x 22.9 x 15.2 cm |
| Item Weight | 1.29 kg |
| UPC | 847245080417 |
| Manufacturer Part Number | 5080417 |
9. Warranty and Support
For information regarding product warranty, please refer to the documentation included with your purchase or contact Spyder Auto directly. Warranty terms and conditions may vary.
If you require technical assistance, have questions about installation, or need to report a product issue, please contact Spyder Auto customer support through their official website or the retailer from whom the product was purchased. Please have your model number (FL-DGC2011-C) and purchase details ready when contacting support.
