
Apple MH182LL/A
Apple iPad Air 2 (MH182LL/A) User Manual
Model: MH182LL/A
Introduction
This manual provides essential information for setting up, operating, maintaining, and troubleshooting your Apple iPad Air 2. Please read this guide thoroughly to ensure optimal use of your device.
1. Setup and Initial Configuration
1.1 Unboxing Your iPad Air 2
Carefully remove your iPad Air 2 and its accessories from the packaging. The box typically contains the iPad Air 2 device, a Lightning to USB cable, and a USB power adapter.
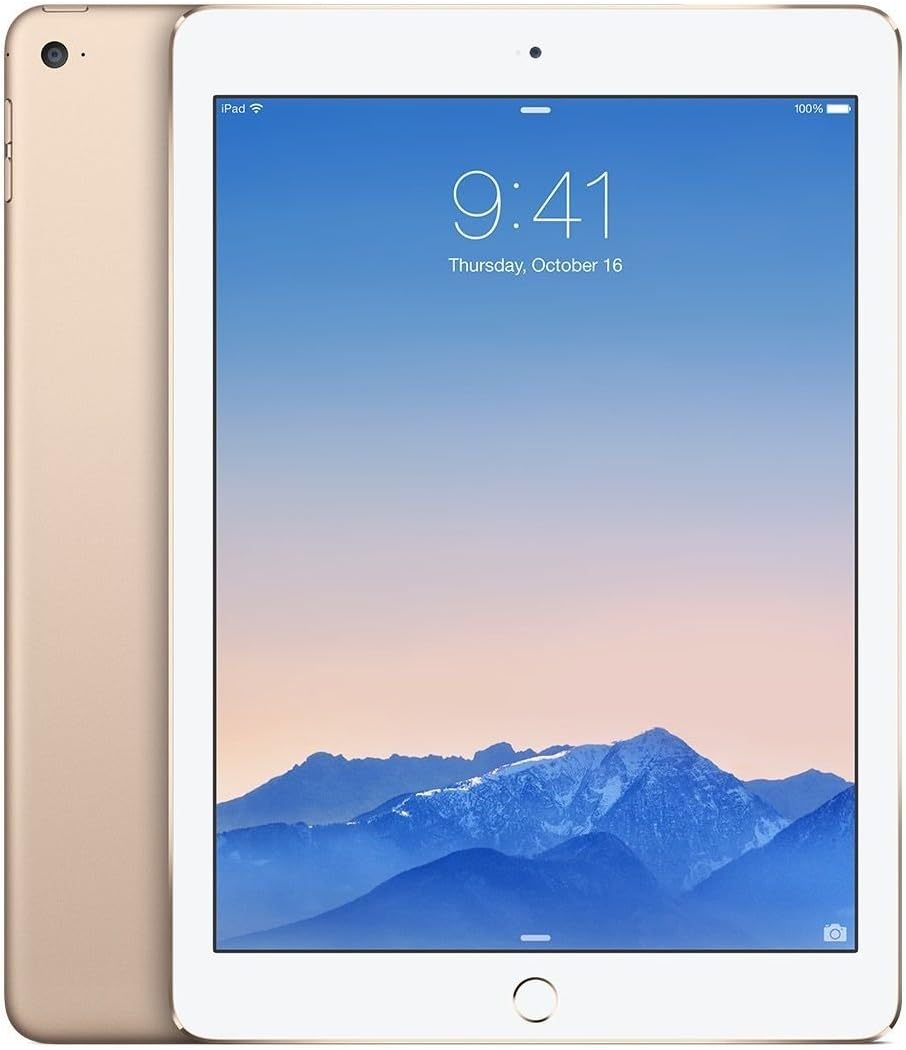
Image: Front and back view of the gold Apple iPad Air 2, showcasing its thin profile and gold finish.
1.2 Charging the Device
Before first use, it is recommended to fully charge your iPad Air 2. Connect the Lightning to USB cable to the iPad's charging port and the USB power adapter. Plug the adapter into a power outlet. The battery icon on the screen will indicate charging status.
1.3 Initial Setup Process
Upon powering on your iPad Air 2 for the first time, you will be guided through the initial setup steps:
- Select Language and Region: Choose your preferred language and country/region.
- Connect to Wi-Fi: Select a Wi-Fi network and enter the password if required.
- Enable Location Services: Decide whether to enable or disable location services.
- Set Up Touch ID: Follow the on-screen instructions to register your fingerprint for secure unlocking and purchases.
- Create a Passcode: Set a 4-digit or custom alphanumeric passcode.
- Restore or Set Up as New iPad: You can restore from an iCloud or iTunes backup, or set up the device as new.
- Sign in with Apple ID: Enter your Apple ID and password. If you don't have one, you can create one.
- Agree to Terms and Conditions: Read and accept Apple's terms and conditions.
- Set Up Siri: Configure Siri, Apple's voice assistant.
- Send Diagnostics: Choose whether to send diagnostic and usage data to Apple.
2. Operating Your iPad Air 2
2.1 Basic Navigation
- Home Button: Press once to return to the Home screen. Double-press to open the multitasking switcher. Press and hold to activate Siri.
- Touch ID: Use your registered fingerprint on the Home button to unlock the device or authorize purchases.
- Gestures: Swipe from the bottom for Control Center, swipe from the top for Notification Center, pinch to zoom, and swipe between apps.

Image: Side view of the gold Apple iPad Air 2, emphasizing its remarkably thin design.
2.2 Camera Usage
Your iPad Air 2 features an 8MP iSight camera on the rear and a 1.2MP FaceTime HD camera on the front.
- Taking Photos: Open the Camera app, select Photo mode, and tap the shutter button.
- Recording Videos: Select Video mode and tap the record button to start/stop.
- FaceTime Calls: Use the FaceTime app with the front camera for video calls over Wi-Fi.
2.3 Wi-Fi Connectivity
To connect to a Wi-Fi network:
- Go to Settings > Wi-Fi.
- Turn on Wi-Fi.
- Select your desired network from the list.
- Enter the password if prompted.
3. Maintenance and Care
3.1 Cleaning Your iPad Air 2
To clean your iPad Air 2, use a soft, lint-free cloth. Avoid using abrasive materials, aerosols, solvents, or ammonia-based cleaners. For the screen, a slightly damp cloth is sufficient. Do not spray cleaners directly onto the device.
3.2 Software Updates
Keep your iPad's software up to date for the best performance and security. Go to Settings > General > Software Update to check for and install available updates.
3.3 Battery Care
To maximize battery lifespan:
- Avoid extreme temperatures.
- Keep the software updated.
- Adjust screen brightness.
- Turn off Wi-Fi or Bluetooth when not in use.
4. Troubleshooting Common Issues
4.1 Device Not Responding
If your iPad Air 2 is unresponsive, try a force restart: Press and hold both the Home button and the Top (Sleep/Wake) button for at least ten seconds, until you see the Apple logo.
4.2 Wi-Fi Connection Problems
If you're experiencing Wi-Fi issues:
- Ensure Wi-Fi is enabled in Settings.
- Restart your Wi-Fi router.
- Go to Settings > General > Reset > Reset Network Settings.
4.3 Apps Crashing or Freezing
If an app is misbehaving, try closing it: Double-press the Home button, then swipe the app's preview upward to close it. If the issue persists, delete and reinstall the app.
5. Product Specifications
| Feature | Specification |
|---|---|
| Model Name | iPad Air 2 |
| Item Model Number | MH182LL/A |
| Display | 9.7-inch Retina Display, 2048x1536 resolution at 264 ppi |
| Processor | A8X chip with 64-bit architecture, M8 motion coprocessor |
| RAM | 2 GB DDR2 |
| Storage | 64 GB |
| Operating System | iOS 8 (upgradable) |
| Rear Camera | 8 MP iSight Camera |
| Front Camera | 1.2 MP FaceTime HD Camera |
| Wireless Connectivity | Wi-Fi (802.11a/b/g/n/ac), Bluetooth 4.0 |
| Battery Life | Up to 10 hours |
| Product Dimensions | 30 x 30 x 6 inches (packaging dimensions) |
| Item Weight | 15.4 ounces |
| Color | Gold |

Image: Angled view of the gold Apple iPad Air 2, highlighting its sleek design and display.
6. Product Videos
No official product videos from the seller are available for embedding at this time.
7. Warranty Information
Your Apple iPad Air 2 comes with a one-year limited warranty from Apple, covering manufacturing defects. For detailed warranty terms and conditions, please refer to the documentation included with your device or visit the official Apple website.
8. Customer Support
For further assistance, technical support, or service, please visit the official Apple Support website or contact Apple Customer Service directly. You can find contact information and extensive support resources at support.apple.com.
Related documentsMH182LL/A


Ask a question about this manual
Ask about setup, troubleshooting, compatibility, parts, safety, or missing instructions. Manuals+ will review the question and use this page’s manual context to help answer it.