

Introduction
This manual provides comprehensive instructions for the installation, operation, and maintenance of your A-Tech 4GB (2x2GB) DIMM DDR2 PC2-6400 800MHz RAM Memory Kit. This memory kit is designed to enhance the performance of compatible EliteGroup (ECS) Motherboards by providing additional system memory for improved multitasking and responsiveness.
Please read this manual thoroughly before proceeding with installation to ensure proper handling and optimal performance.
Safety Information
When handling computer components, it is crucial to observe proper safety precautions to prevent damage to the components and injury to yourself. Static electricity can severely damage electronic parts.
- Always ground yourself before touching any internal computer components. Use an anti-static wrist strap or periodically touch a grounded metal object, such as the computer case's unpainted metal surface.
- Ensure the computer is completely powered off and unplugged from the wall outlet before opening the case or installing any components.
- Handle memory modules by their edges, avoiding contact with the gold connectors or the chips.
- Store memory modules in their anti-static packaging until ready for installation.
Setup and Installation
This section guides you through the process of installing your new A-Tech RAM modules.

Image: A-Tech 4GB DDR2 RAM Kit (Model AT48GD4.Z) in anti-static packaging, ready for installation.
Pre-Installation Checklist:
- Verify compatibility: Ensure your motherboard supports DDR2 DIMM memory and the 800MHz speed. Refer to your motherboard's manual for specific memory requirements. This kit is compatible with various EliteGroup (ECS) Motherboards, including GeForce7050M-M, GF7050VT-M5, GF7100PVT-M, GF7100PVT-M3, GF8100VM-M3, GF8100VM-M5, GF8200A, GF8200SM-M3, and GF9300T-A.
- Gather tools: You may need a Phillips head screwdriver.
- Prepare your workspace: Ensure a clean, well-lit, and static-free environment.
Installation Steps:
- Power Down: Shut down your computer completely and unplug the power cord from the wall outlet.
- Open Case: Remove the side panel of your computer case to access the motherboard.
- Locate RAM Slots: Identify the DIMM slots on your motherboard. These are typically long slots near the CPU. Consult your motherboard manual for the correct slot configuration for dual-channel memory.
- Prepare Slots: Gently push down the small clips at each end of the DIMM slot to open them.
- Insert RAM: Align the notch on the bottom of the RAM module with the key in the DIMM slot. This ensures correct orientation. Place the module into the slot and apply firm, even pressure to both ends until the clips snap into place, securing the module.
- Repeat: Install the second RAM module into the appropriate slot as indicated by your motherboard manual for dual-channel operation.
- Close Case: Once both modules are securely installed, replace the computer case side panel.
- Power On: Reconnect the power cord and turn on your computer.
Post-Installation:
Upon booting, your operating system should automatically detect the new memory. You can verify the installed RAM amount in your system's BIOS/UEFI settings or within the operating system's system information (e.g., 'System' in Windows, 'About This Mac' in macOS).
Operating Principles
Random Access Memory (RAM) serves as your computer's short-term data storage, allowing for quick access to information by the CPU. Upgrading your RAM, especially to a 4GB kit operating at 800MHz, significantly improves system performance by:
- Faster Loading Times: Applications and files load more quickly.
- Enhanced Multitasking: Run more programs simultaneously without experiencing slowdowns.
- Improved Responsiveness: The overall system feels snappier and more fluid.
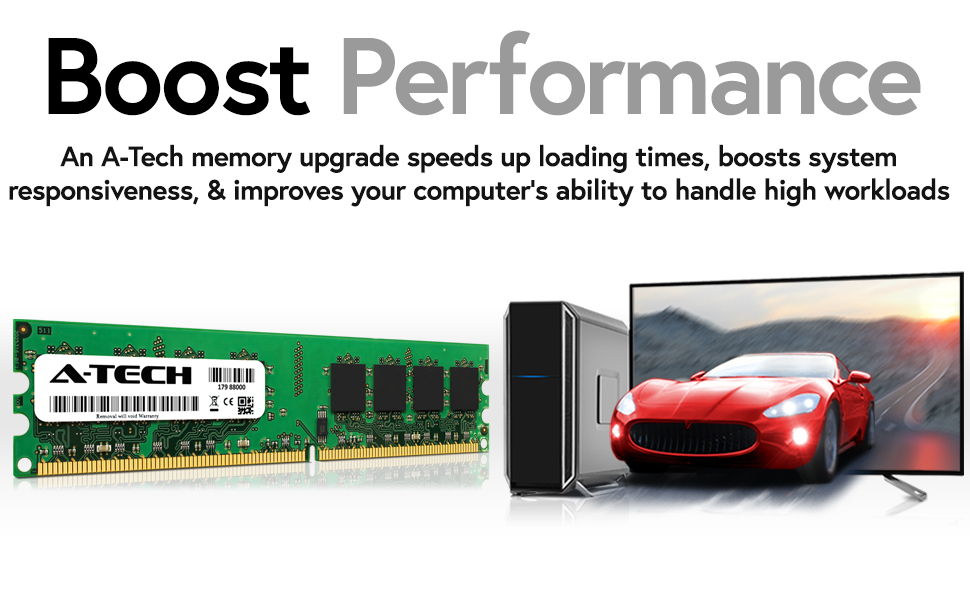
Image: Illustration of how an A-Tech memory upgrade can boost system performance and speed.

Image: A user efficiently multitasking with multiple applications open, demonstrating the benefit of increased RAM capacity.

Image: Visual representation of key benefits: Accelerate Speeds to 800MHz, Take on Greater Workloads, Designed for High Quality Performance.
Maintenance
A-Tech RAM modules are designed for long-term reliability and typically require minimal maintenance once installed. However, general computer maintenance practices contribute to the longevity of all internal components:
- Keep System Clean: Regularly clean the interior of your computer case to prevent dust buildup, which can impede airflow and lead to overheating. Use compressed air to gently remove dust from components and fans.
- Ensure Proper Ventilation: Make sure your computer case has adequate airflow and is not placed in an enclosed space that restricts ventilation.
- Software Updates: Keep your operating system and drivers updated to ensure optimal compatibility and performance with your hardware.
These Non-ECC (Error-Correcting Code) modules do not perform error checking and correction, which is typical for desktop and consumer-grade systems. No specific software maintenance is required for the memory modules themselves.
Troubleshooting
If you encounter issues after installing your A-Tech RAM, consider the following troubleshooting steps:
- System Not Booting/No Display:
- Ensure the RAM modules are fully seated in their slots. Remove and re-insert them, applying firm, even pressure until the clips lock.
- Verify that the modules are installed in the correct slots according to your motherboard's manual, especially for dual-channel configurations.
- If you have multiple modules, try booting with only one module at a time to identify a potentially faulty stick.
- Blue Screen Errors (BSOD) or System Instability:
- This can indicate memory issues. Run a memory diagnostic tool (e.g., Windows Memory Diagnostic, MemTest86) to check for errors.
- Ensure your motherboard's BIOS/UEFI is updated to the latest version, as this can improve memory compatibility.
- Check BIOS settings to ensure memory speed and timings are correctly detected.
- Incorrect RAM Amount Detected:
- Confirm that all modules are properly seated.
- Verify that your operating system is a 64-bit version to fully utilize 4GB or more RAM. 32-bit operating systems can only address approximately 3.5GB of RAM.
If issues persist, refer to the Warranty and Support section for further assistance.
Specifications

Image: Illustrates the physical form factor of DIMM (Desktop) and SODIMM (Laptop) memory modules. This product is a DIMM module.
| Brand | A-Tech |
| Model Number | MS661KMM4664 |
| Memory Type | DIMM DDR2 Non-ECC |
| Capacity | 4GB Kit (2 x 2GB Modules) |
| Speed | PC2-6400 (800MHz) |
| Voltage | Standard DDR2 Voltage (typically 1.8V) |
| Form Factor | 240-pin DIMM |
| Error Correction | Non-ECC |
| Compatibility | Designed for EliteGroup (ECS) Motherboards supporting DDR2 DIMM 800MHz memory, including GeForce7050M-M, GF7050VT-M5, GF7100PVT-M, GF7100PVT-M3, GF8100VM-M3, GF8100VM-M5, GF8200A, GF8200SM-M3, GF9300T-A. |
| Product Dimensions | 6.7 x 3.6 x 0.4 inches |
| Item Weight | 2.4 ounces |
Warranty and Support
A-Tech stands behind the quality of its products. This A-Tech RAM Memory Kit comes with a Lifetime Warranty, ensuring peace of mind regarding your investment.
For technical support, warranty claims, or any questions regarding your A-Tech memory product, please visit the official A-Tech website or contact their customer service directly.
Official Website: atechmemory.com
Please have your product model number (MS661KMM4664) and purchase information ready when contacting support.


