
Introduction
The Schlage Touch Keyless Touchscreen Lever provides convenience and security for your home. This manual will guide you through the installation, operation, and maintenance of your electronic keyless entry lock.
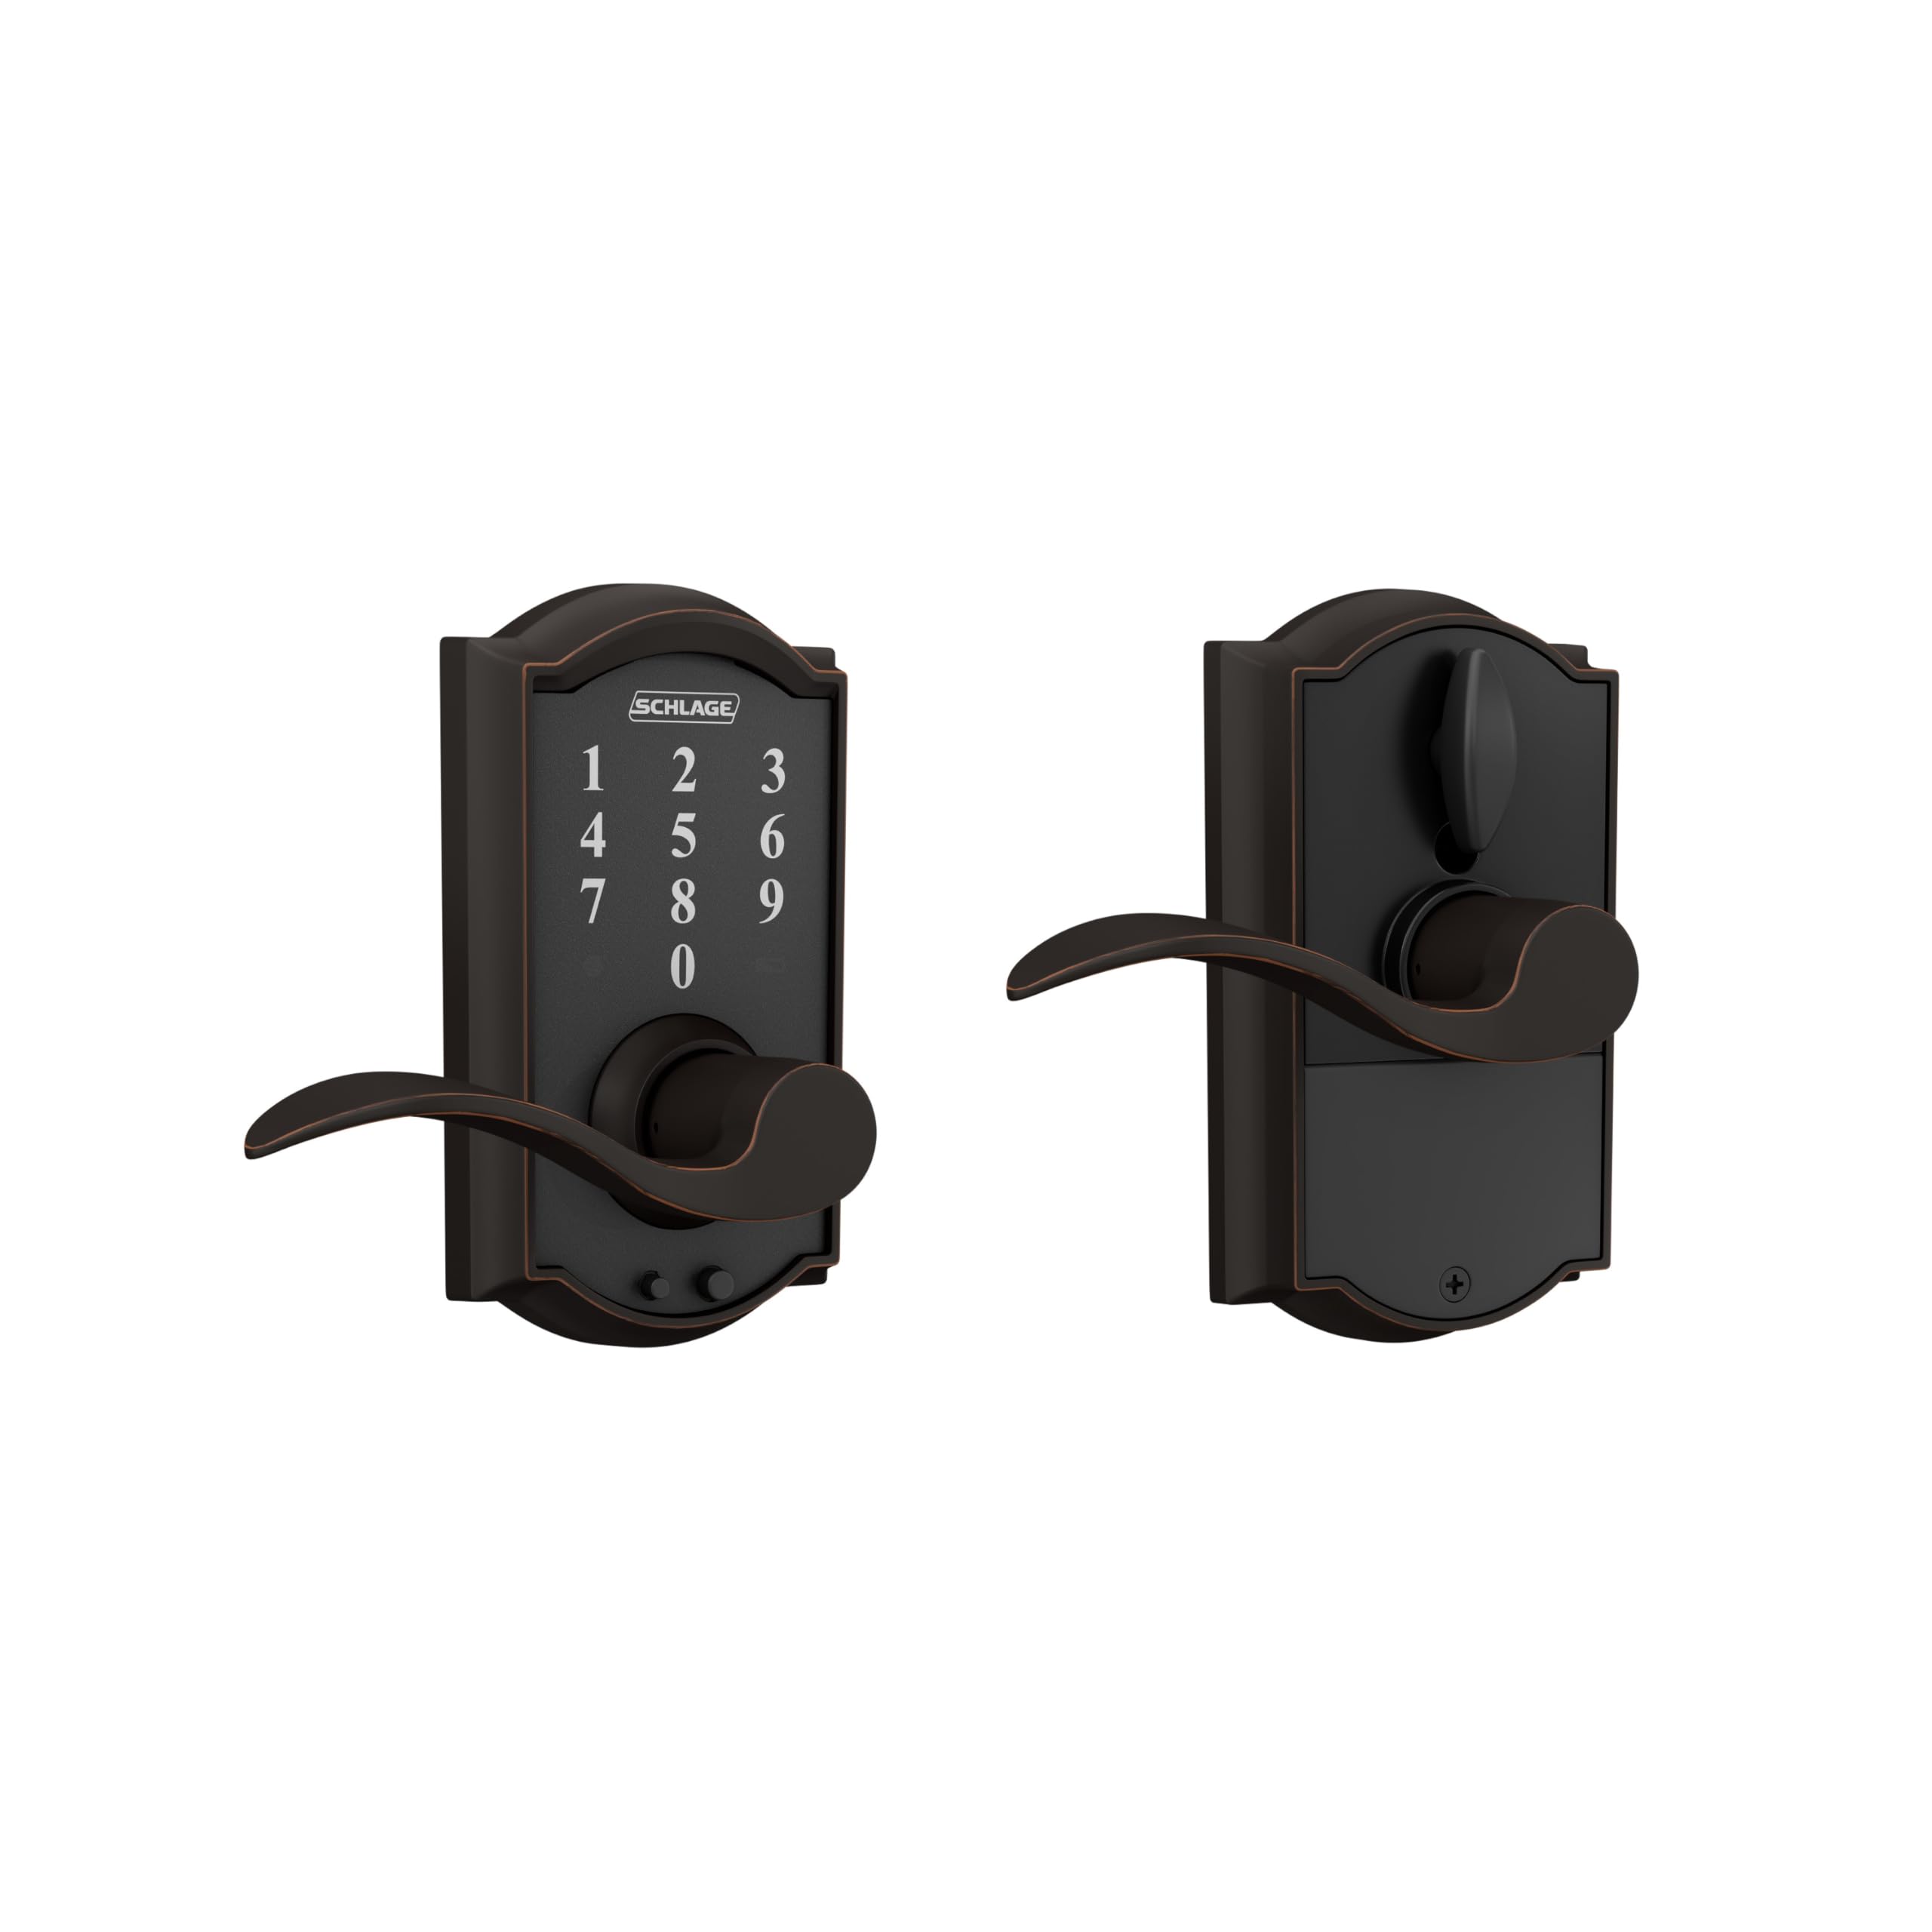
Image: Front view of the Schlage FE695 CAM 716 ACC Touch Camelot Lock with Accent Lever in Aged Bronze finish, showing the keypad and lever.
Setup and Installation
Before beginning installation, ensure you have the necessary tools: a tape measure, a #1 Phillips head screwdriver, and a #2 Phillips head screwdriver. If using a drive-in faceplate, you may also need a hammer, a block of wood, and a flat-head screwdriver. Do not use an electric drill as it can overtighten screws and damage the lock.
Door Measurement Verification
Verify your door dimensions to ensure proper fit:
- Crossbore Diameter: 2 1/8 inches.
- Backset: Either 2 3/8 inches or 2 3/4 inches from the door edge to the center of the crossbore.
- Latch Bore: 1 inch in diameter.
- Door Thickness: Between 1 3/8 inches and 1 3/4 inches.
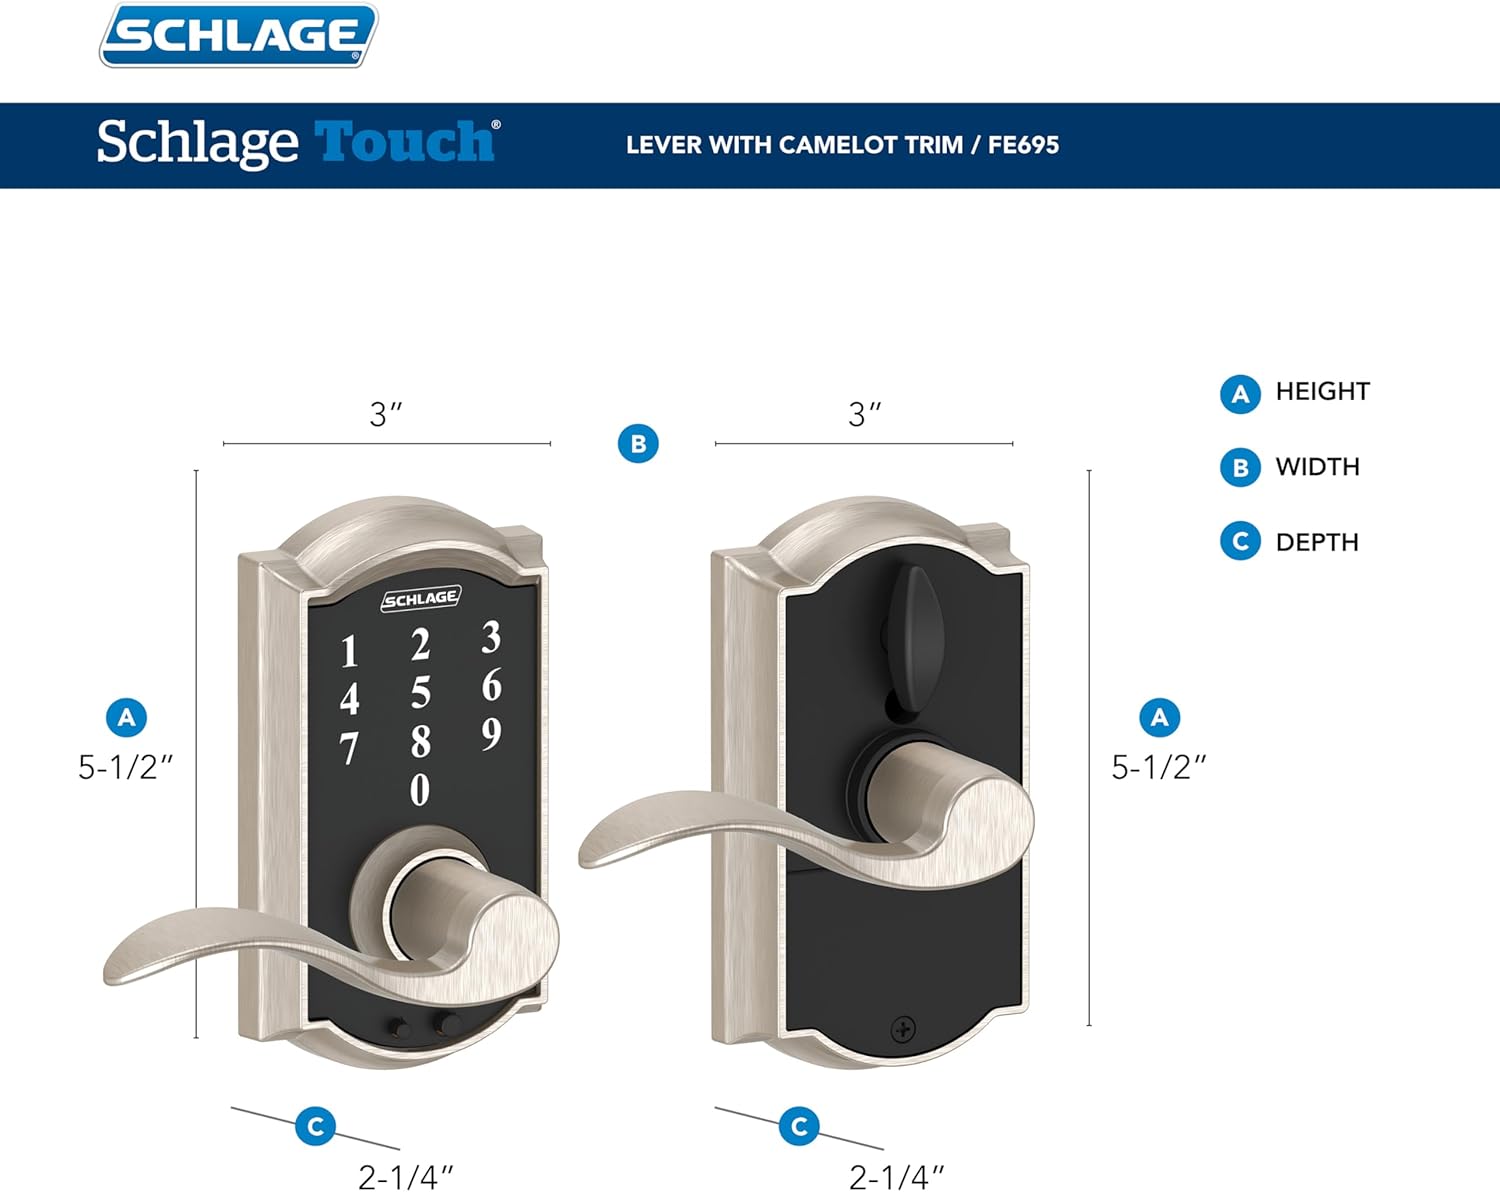
Image: Diagram showing the dimensions of the Schlage Touch Lock, including crossbore, backset, and thickness measurements.
Installation Steps
Follow these steps for installing your Schlage Touch lock. For a detailed visual guide, refer to the official installation video below.
- Remove Existing Hardware: Remove any existing lock hardware from your door.
- Install Latch: Insert the latch into the door edge, ensuring the bevel of the latch faces the door jamb and strike. Secure it with the provided shorter screws. If using a drive-in faceplate, remove the rectangular face and replace it with the round drive-in faceplate, then tap it into place flush with the door edge using a block of wood to protect it.
- Determine Lever Orientation: Hold the exterior keypad up to the exterior of your door. Choose the lever that points away from the door jamb, with the tip pointed down.
- Install Levers: Slide each lever onto its post and snap it into place.
- Route Battery Cable: Route the battery cable over the latch and snap the exterior assembly into the crossbore. Snap-and-stay clips will help hold the touchscreen in place.
- Position Interior Assembly: Route the battery cable through the wire routing slot on the rear of the inside assembly. Position the inside assembly on the door to align with the outside assembly.
- Secure Assemblies: Connect the inside and outside assemblies with the two longer screws. Do not fully tighten yet.
- Align and Tighten: Check that the lock is straight, then fully tighten the mounting screws.
- Connect Battery: Connect the exterior and interior battery cables. Attach the 9V battery and insert it into the holder. Carefully tuck the wires into the space surrounding the battery.
- Replace Battery Cover: Replace the battery cover on the inside assembly.
Video: Official installation guide for the Schlage Touch Lock, demonstrating step-by-step assembly and mounting.
Video: An animated overview of the Schlage Touch Lock features and basic operation.
Operating Instructions
Your Schlage Touch lock offers convenient keyless entry and customizable security features.
Keyless Entry
- Pre-programmed Codes: Use the 2 pre-programmed codes for immediate use.
- Custom Codes: Assign up to 19 unique 4-digit user codes for trusted individuals.
- Entering Codes: The downlighting illuminates numbers for easy entry in the dark. The fingerprint-resistant touchscreen helps protect the privacy of your access codes.
Locking Modes
- Auto-locking Mode: The lock will automatically re-lock after a set period.
- Unlocked Mode: The lock remains unlocked, allowing free entry and exit without a code.
- Interior Lever: The inside lever is always unlocked for easy exit, ensuring safety.
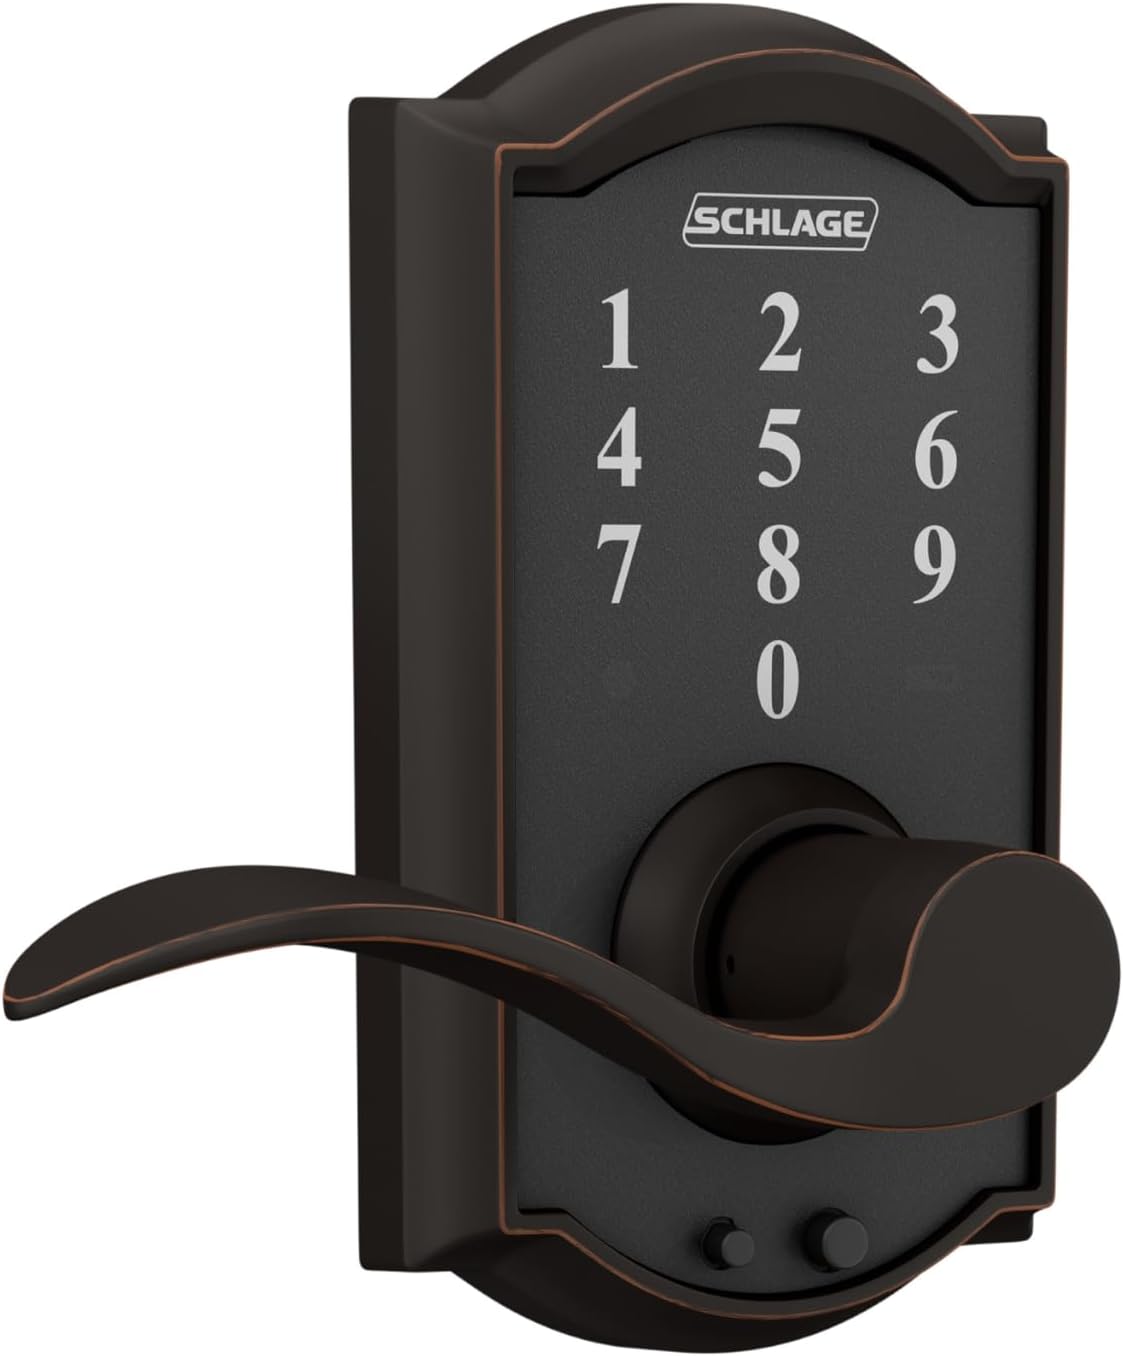
Image: The Schlage Touch Lock installed on a door, showcasing its sleek design and keypad.
Maintenance
Battery Replacement
The lock operates with an included 9V battery. A dedicated low-battery indicator will alert you when the battery needs replacement. To replace the battery, remove the battery cover on the inside assembly, disconnect the old battery, connect the new 9V battery, carefully tuck the wires, and replace the cover.
Jumpstart Feature
In case of complete battery failure, a jumpstart feature is available. Locate the two pins on the very bottom just under the handle. Touch a 9V battery to these posts to temporarily provide power, allowing you to enter your code and gain access. This feature only provides power for code entry; it does not automatically unlock the door.
Troubleshooting
If your lock does not perform properly after installation or during use, consult the troubleshooting section of your user guide. Common issues may include:
- Lock failing to latch.
- Keypad not responding.
- Difficulty entering codes.
Ensure all connections are secure and the battery has sufficient charge. For further assistance, refer to the support section.
Specifications
- Brand: SCHLAGE
- Model Number: FE695CAM716ACC
- Lock Type: Keypad
- Material: Plastic
- Color: Aged Bronze
- Style Name: Accent Lever
- Item Dimensions (L x W x H): 3 x 2.25 x 2.25 inches
- Item Weight: 1.74 kg
- Power Source: 9V Battery (included)
- Security Rating: Grade 2/AAA
- Recommended Uses: Residential doors, home offices, wine cellars
Warranty Information
Schlage locks are backed by a limited lifetime mechanical and finish warranty, and a 3-year electronics warranty. Please refer to the official Schlage warranty documentation for full details and terms.

Image: Icon representing lifetime warranty.
Support
For additional information, support, or to view more instructional videos, please visit:
- Website: www.schlage.com
- Customer Service: 888.805.9837


