
Aruba IAP-225-US
Aruba Networks Instant IAP-225 Wireless Access Point User Manual
Model: IAP-225-US
Introduction
The Aruba Networks Instant IAP-225 is a high-performance IEEE 802.11ac wireless access point designed for enterprise-grade wireless LAN (WLAN) deployments. It virtualizes Aruba Mobility Controller capabilities, offering a robust and scalable Wi-Fi solution. This access point can operate independently or as part of a larger Aruba Instant network, where one AP acts as a primary Virtual Controller managing up to 16 Instant APs. This manual provides essential information for the setup, operation, and maintenance of your IAP-225 device.
Product Overview
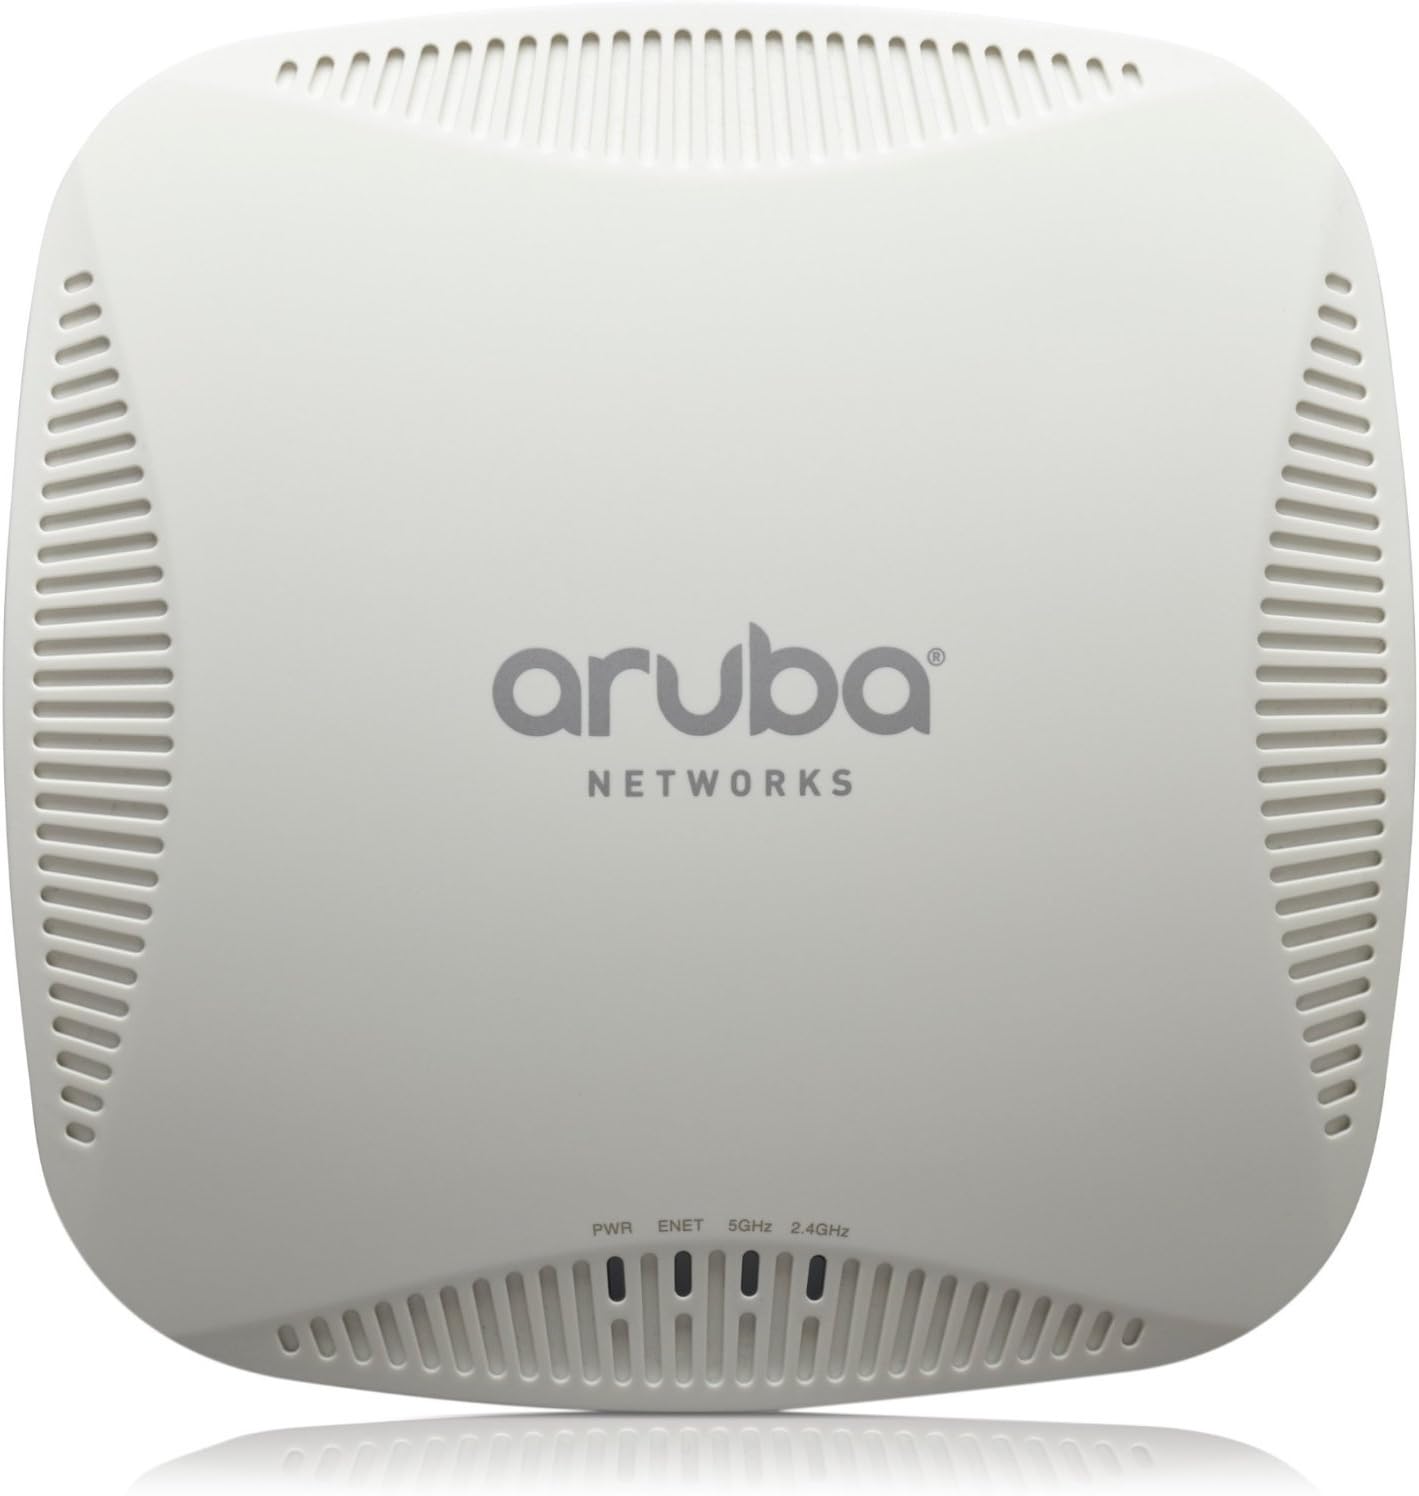
Figure 1: Front view of the Aruba IAP-225 Wireless Access Point. The front panel features LED indicators for Power (PWR), Ethernet (ENET), 5GHz radio, and 2.4GHz radio.

Figure 2: Rear view of the Aruba IAP-225 Wireless Access Point. This view shows the various ports including USB, Console, ENET 1, ENET 0, and the DC power input.
The IAP-225 is designed for flexible deployment, supporting both ceiling and wall mounting. It features multiple LED indicators on the front to provide quick status updates on power, network connectivity, and radio activity for both 2.4 GHz and 5 GHz bands. The rear panel includes essential connectivity ports for power, network, and console access.
Setup
1. Unpacking and Inspection
Carefully remove the IAP-225 from its packaging. Inspect the device for any signs of damage during transit. Ensure all components listed in the packing slip are present.

Figure 3: The Aruba IAP-225 Access Point securely packaged within its box, surrounded by protective foam inserts.
2. Physical Installation
The IAP-225 can be mounted on a ceiling tile rail or a wall. Refer to the separate installation guide for detailed instructions on mounting hardware and procedures. Ensure the chosen location provides optimal wireless coverage and is within reach of power and network cabling.
- Power Connection: Connect the appropriate power adapter to the DC input port on the rear of the AP, or use Power over Ethernet (PoE) through the ENET 0 port if your network switch supports it.
- Network Connection: Connect an Ethernet cable from your network switch or router to the ENET 0 port on the rear of the AP. This port supports PoE. The ENET 1 port can be used for additional wired connectivity if needed.
3. Initial Configuration
Upon first power-up, the IAP-225 will attempt to discover other Aruba Instant APs on the network. If it is the first Instant AP in a new network, it will automatically assume the role of a Virtual Controller. You can then access the web-based user interface (UI) for initial configuration using a web browser. The default IP address or discovery method will be detailed in the Aruba Instant Getting Started Guide.
- Connect a computer to the same network segment as the IAP-225.
- Open a web browser and navigate to the default IP address or the discovered hostname of the Virtual Controller.
- Follow the on-screen prompts to set up your wireless networks (SSIDs), security settings, and administrative credentials.
Operating the IAP-225
Once configured, the IAP-225 operates as part of your wireless network, broadcasting SSIDs and managing client connections. The Virtual Controller provides centralized management for all Instant APs in the cluster.
LED Indicators
The front panel LEDs provide visual status of the access point:
- PWR (Power):
- Solid Green: Device is powered on and operating normally.
- Flashing Green: Device is booting up or performing a firmware upgrade.
- Off: Device is powered off.
- ENET (Ethernet):
- Solid Green: Ethernet link is established.
- Flashing Green: Data activity on the Ethernet port.
- Off: No Ethernet link.
- 5GHz & 2.4GHz (Radio Status):
- Solid Green: Radio is enabled and operating normally.
- Flashing Green: Radio is active with client traffic.
- Off: Radio is disabled or not functioning.
For detailed operational parameters and advanced features, refer to the Aruba Instant User Guide available on the Aruba support website.
Maintenance
Regular maintenance helps ensure optimal performance and longevity of your IAP-225.
- Cleaning: Keep the device clean and free from dust. Use a soft, dry cloth for cleaning. Do not use liquid or aerosol cleaners.
- Ventilation: Ensure the ventilation slots are not obstructed to prevent overheating.
- Firmware Updates: Periodically check the Aruba support website for new firmware versions. Keeping the firmware updated ensures access to the latest features, performance improvements, and security patches. Firmware updates are typically managed through the Virtual Controller's web interface.
- Environmental Conditions: Operate the device within its specified environmental ranges (temperature, humidity) to prevent damage.
Troubleshooting
This section provides basic troubleshooting steps for common issues.
No Power / Device Not Turning On
- Check the power adapter connection to the AP and the power outlet.
- If using PoE, ensure the Ethernet cable is connected to a PoE-enabled port on your switch and the switch is providing power.
- Verify the PWR LED on the front panel. If off, check power source.
No Network Connectivity
- Check the Ethernet cable connection to the ENET 0 port and your network switch.
- Verify the ENET LED. If off, there is no link. Try a different cable or switch port.
- Ensure your network infrastructure (router, switch) is functioning correctly.
- Check the network configuration within the Virtual Controller's web interface.
Poor Wireless Performance
- Check the 5GHz and 2.4GHz radio LEDs. If off, the radios might be disabled or faulty.
- Ensure the AP is placed in an optimal location, free from obstructions and sources of interference (e.g., microwaves, cordless phones).
- Verify channel selection and power settings in the Virtual Controller's web interface. Consider performing a site survey.
- Ensure client devices are compatible with 802.11ac and have up-to-date drivers.
Cannot Access Virtual Controller Web Interface
- Ensure your computer is on the same network segment as the IAP-225.
- Verify the IP address of the Virtual Controller. It might have changed if DHCP is used.
- Try pinging the AP's IP address.
- If all else fails, a factory reset might be necessary (refer to the Aruba Instant User Guide for reset procedures, as this will erase all configurations).
Specifications
| Feature | Detail |
|---|---|
| Model Number | IAP-225-US |
| Wireless Type | IEEE 802.11ac, 802.11n, 802.11g |
| Data Transfer Rate | Up to 1.27 Gbps |
| Bands Supported | ISM Band, UNII Band (2.4 GHz and 5 GHz) |
| Item Weight | 1.65 pounds (0.75 kg) |
| Product Dimensions (LxWxH) | 7.99 x 7.99 x 2.13 inches (20.3 x 20.3 x 5.4 cm) |
| Manufacturer | hp (Hewlett Packard Enterprise) |
| Color | White |
| USB Ports | 1 (USB 2.0) |
Warranty and Support
For specific warranty terms and conditions, please refer to the documentation provided with your purchase or contact your point of sale. Warranty coverage may vary based on region and reseller. For technical support, product registration, and access to the latest documentation and software, please visit the official Aruba Networks support website or contact your authorized Aruba partner.
It is recommended to register your product to receive important updates and support notifications.
Related documentsIAP-225-US


Ask a question about this manual
Ask about setup, troubleshooting, compatibility, parts, safety, or missing instructions. Manuals+ will review the question and use this page’s manual context to help answer it.