1. Introduction
Thank you for choosing the HENDI 588369 Kitchen Line Whipped Cream Siphon. This manual provides essential instructions for the safe and efficient operation, maintenance, and care of your new appliance. Please read this manual thoroughly before first use and keep it for future reference.
This siphon is designed to create delicious whipped creams, mousses, cold foams, and sauces quickly and easily. It is ideal for garnishing beverages like cappuccinos, coffees, shakes, and desserts such as ice creams.
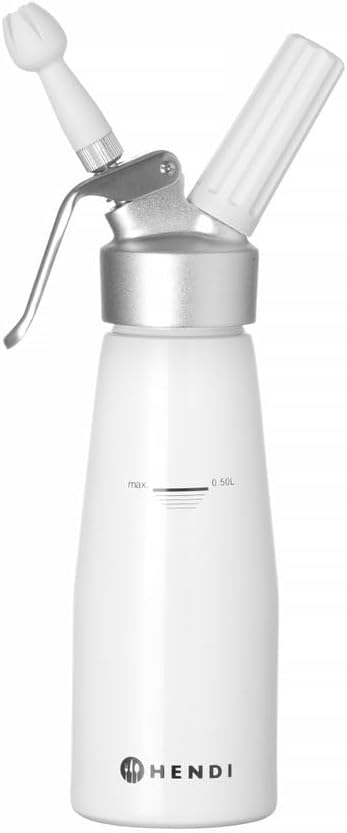
Image 1.1: The HENDI 588369 Kitchen Line Whipped Cream Siphon, fully assembled and ready for use.
2. Safety Instructions
WARNING: Failure to follow these safety instructions may result in injury or damage to the product.
- Use only N2O (nitrous oxide) cartridges specifically designed for whipped cream siphons. Other gas cartridges may be dangerous.
- Do not use this siphon for hot sauces or liquids. It is designed for cold preparations only.
- Never overfill the siphon. Always adhere to the maximum fill line indicated on the bottle.
- Do not open the siphon head while it is under pressure. Ensure all pressure is released before unscrewing the head.
- Keep the siphon and N2O cartridges out of reach of children.
- Handle N2O cartridges with care. They contain gas under pressure.
- Do not expose the siphon to direct heat sources or extreme temperatures.
- Always hand wash all components. Do not place in a dishwasher, as this can damage the seals and finish.
- Ensure all parts are clean and dry before assembly or storage to prevent bacterial growth.
3. Product Components
Your HENDI 588369 Whipped Cream Siphon includes the following parts:
- Aluminum Siphon Bottle (0.5L capacity)
- Aluminum Head with Lever
- Cartridge Holder
- 3 Polypropylene Nozzles (various designs)
- Cleaning Brush
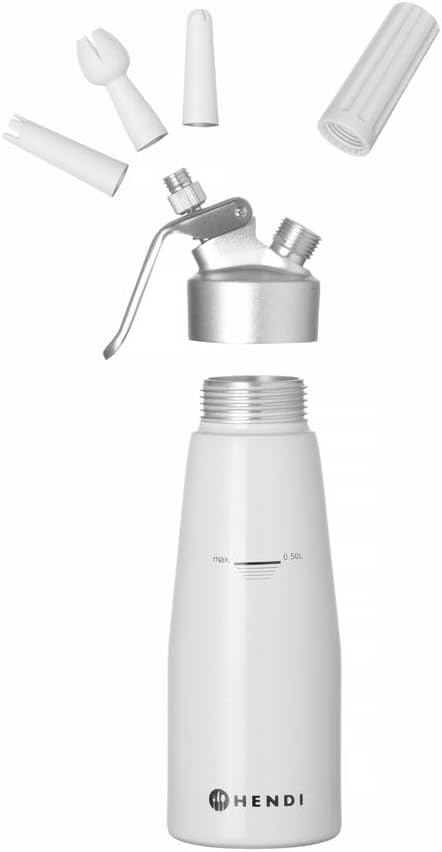
Image 3.1: All components of the HENDI 588369 Siphon, including the bottle, head, cartridge holder, three nozzles, and cleaning brush.
4. Setup and Initial Use
- Unpack and Clean: Carefully unpack all components. Before first use, wash all parts (bottle, head, nozzles, cartridge holder, cleaning brush) with warm soapy water. Rinse thoroughly and dry completely.
- Assemble Head: Ensure the silicone gasket is properly seated inside the siphon head.
- Attach Nozzle: Select your desired polypropylene nozzle and screw it firmly onto the dispenser outlet on the siphon head.
5. Operating Instructions
- Fill the Siphon: Pour your desired cold liquid (e.g., heavy cream, sweetened cream, mousse mixture) into the aluminum bottle. Do not exceed the 'MAX 0.5L' fill line indicated on the bottle.
- Secure the Head: Screw the aluminum head firmly onto the bottle. Ensure it is tightly sealed to prevent leaks.
- Insert N2O Cartridge: Place one N2O whipped cream cartridge into the cartridge holder.
- Charge the Siphon: Screw the cartridge holder onto the threaded pin on the side of the siphon head until you hear the gas release into the bottle. Continue screwing until the cartridge holder is tight.
- Shake: Shake the siphon vigorously 4-5 times (for cream) or more (for thicker mixtures) to properly mix the gas with the liquid.
- Dispense: Hold the siphon upside down, with the nozzle pointing downwards. Press the lever gently to dispense the whipped cream or foam. Adjust pressure for desired consistency.
- Release Pressure (before opening): When the siphon is empty or you need to open it, point the siphon downwards and press the lever until all residual gas is released and no more product comes out. Only then can you safely unscrew the head.
6. Cleaning and Maintenance
Proper cleaning is crucial for hygiene and extending the life of your siphon.
- Release Pressure: Always ensure all pressure is released from the siphon before disassembling (refer to step 7 in Operating Instructions).
- Disassemble: Unscrew the head from the bottle. Remove the nozzle and the cartridge holder.
- Wash Components: Wash all parts individually with warm water and a mild dish soap. Use the provided cleaning brush to thoroughly clean the head, nozzle, and any small crevices. Pay special attention to the dispenser outlet and the inside of the nozzles.
- Rinse: Rinse all components thoroughly under running water to remove all soap residue.
- Dry: Allow all parts to air dry completely before reassembling or storing. This prevents moisture buildup and potential bacterial growth.
- Storage: Store the siphon disassembled or fully dry and assembled in a cool, dry place.

Image 6.1: The HENDI Siphon with its included nozzles and cleaning brush, essential tools for proper maintenance.
7. Troubleshooting
| Problem | Possible Cause | Solution |
|---|---|---|
| Cream not dispensing or comes out watery. | No N2O cartridge inserted, cartridge empty, insufficient shaking, cream too thin. | Ensure a new N2O cartridge is properly installed. Shake the siphon more vigorously. Use cream with a higher fat content. |
| Cream is too thick or clogs the nozzle. | Cream mixture is too thick, nozzle is clogged. | Thin the cream mixture slightly. Clean the nozzle thoroughly with the cleaning brush. |
| Gas leaks from the siphon head. | Head not screwed on tightly, damaged gasket, cartridge holder not tight. | Ensure the head and cartridge holder are screwed on firmly. Check the silicone gasket for damage and replace if necessary. |
| Siphon cannot be opened after use. | Residual pressure inside the bottle. | Point the siphon downwards and press the lever until all gas is released. Do not force open. |
8. Specifications
- Brand: HENDI
- Model: 588369
- Material: Aluminum alloy (bottle and head), Polypropylene (nozzles)
- Capacity: 0.5 Liters
- Dimensions (L x W x H): 30.8 x 9.4 x 9 cm
- Item Weight: 840 g
- Color: White
9. Warranty and Support
For warranty information or technical support, please refer to the documentation provided at the time of purchase or contact your retailer. You may also visit the official HENDI website for further assistance.


