
USHA Stitch magic
Usha Janome Automatic Stitch Magic Sewing Machine
Instruction Manual
Introduction
This manual provides essential information for the safe and efficient operation, maintenance, and care of your Usha Janome Automatic Stitch Magic Sewing Machine. Please read this manual thoroughly before using the machine to ensure proper understanding and to prevent damage or injury. Keep this manual in a safe place for future reference.

Image: Front view of the Usha Janome Automatic Stitch Magic Sewing Machine, white and blue in color, showcasing its compact design and stitch selection dial.
1. Setup and Initial Use
1.1 Unpacking and Component Check
Carefully remove the sewing machine and all accessories from the packaging. Verify that all included components are present:
- Sewing Machine
- Foot Speed Controller
- Accessories Set
- Demo DVD
- Instruction Manual (this document)
1.2 Power Connection
Connect the foot speed controller to the machine and then plug the machine's power cord into a suitable electrical outlet. Ensure the power switch is in the 'OFF' position before connecting.
1.3 Free Arm and Accessory Compartment
The machine features a free arm for circular stitching and an integrated accessory compartment. To access the free arm, slide off the extension bed. The compartment stores various accessories.

Image: The sewing machine with its extension bed detached, revealing the free arm for circular stitching and the accessory storage compartment. Two spools of thread and various presser feet are shown next to it.
1.4 Included Accessories
The machine comes with a comprehensive set of accessories to support various sewing tasks:

Image: A visual representation of the free accessories included with the sewing machine. These include a Zig Zag Foot, Zipper Foot, Blind Hem Guide, Automatic Buttonhole Foot, Round Hemmer Foot, Needle Set, Seam Ripper, Screwdriver, Oil Bottle, and Bobbins.
- 1 N Zig Zag Foot
- 1 N Zipper Foot
- 1 N Blind Hem Guide
- 1 N Automatic Buttonhole Foot
- 1 N Round Hemmer Foot
- 1 N Needle Set
- 1 N Seam Ripper
- 1 N Screwdriver
- 1 N Oil Bottle (20 mL)
- 3 N Bobbins
For a visual guide on setup and basic operations, refer to the included Demo DVD.
2. Operating Instructions
2.1 Stitch Selection
Your Usha Janome Automatic Stitch Magic Sewing Machine offers 57 stitch functions, allowing for a wide range of sewing projects. Use the stitch selector dial to choose the desired stitch pattern.

Image: A chart illustrating the 57 different stitch functions available on the Usha Janome Automatic Stitch Magic Sewing Machine, including utility stitches, decorative stitches, and embroidery patterns.
2.2 Key Features and Adjustments
The machine incorporates several features designed to enhance your sewing experience:
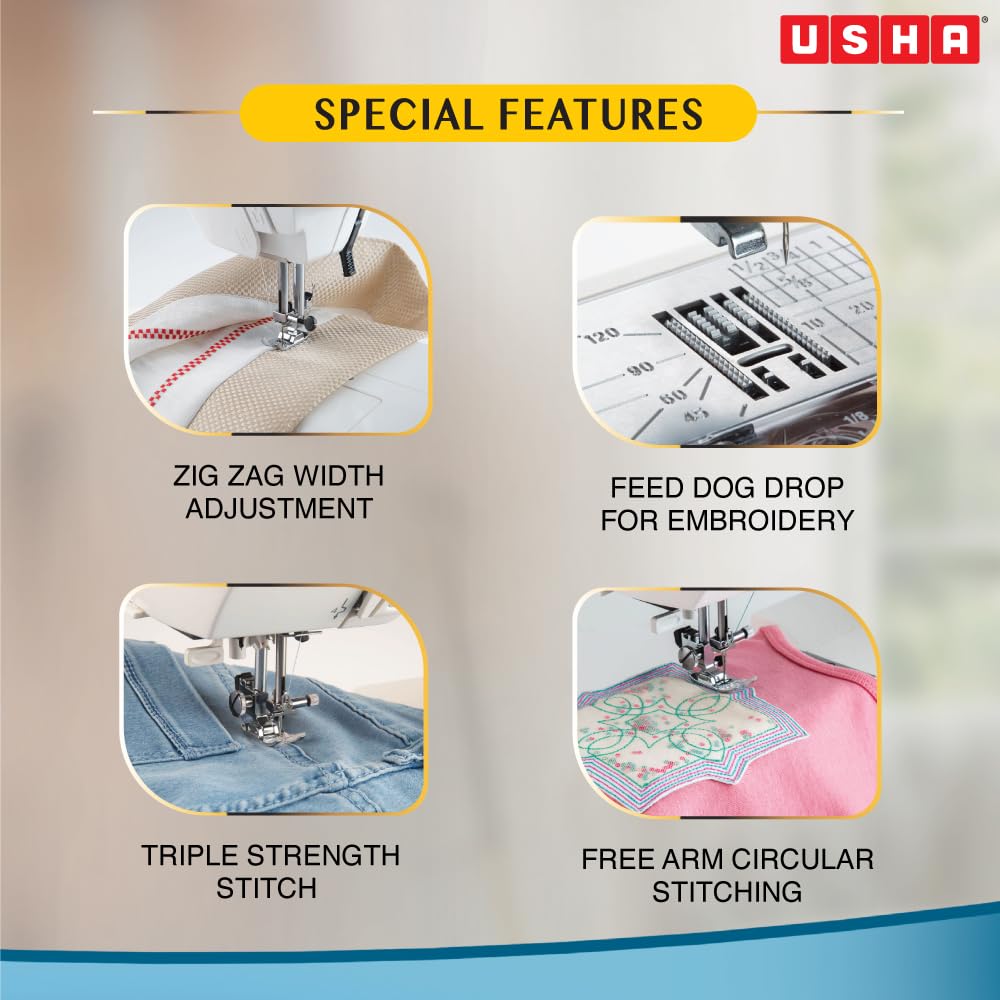
Image: Close-up views of four special features: Zig Zag Width Adjustment, Feed Dog Drop for Embroidery, Triple Strength Stitch, and Free Arm Circular Stitching.
- Zig Zag Width Adjustment: Allows precise control over the width of zig-zag stitches.
- Feed Dog Drop for Embroidery: Enables free-motion embroidery by disengaging the feed dogs.
- Triple Strength Stitch: Provides extra durable seams for heavy-duty fabrics.
- Free Arm Circular Stitching: The detachable extension bed allows for easy sewing of cuffs, sleeves, and other small, circular items.

Image: Close-up views of the Auto Needle Threader mechanism and the One Step Button Hole foot in action.
- Auto Needle Threader: Simplifies the threading process, saving time and reducing eye strain.
- One Step Button Hole: Creates perfectly sized buttonholes in a single step.
2.3 Foot Speed Controller
The included foot speed controller allows you to regulate the sewing speed, providing greater control, especially for intricate work or when learning.
3. Maintenance
Regular maintenance ensures the longevity and optimal performance of your sewing machine. Always disconnect the machine from the power supply before performing any maintenance.
3.1 Cleaning
- Lint Removal: Regularly remove lint and dust from the bobbin case area, feed dogs, and tension discs using a small brush or lint brush. Accumulated lint can affect stitch quality and machine operation.
- Exterior Cleaning: Wipe the exterior surfaces of the machine with a soft, dry cloth. For stubborn marks, a slightly damp cloth can be used, followed by drying. Avoid harsh chemicals.
3.2 Oiling
Use the provided oil bottle to apply a small drop of sewing machine oil to designated oiling points, as indicated in the detailed instruction manual (if separate from this document) or the Demo DVD. Oiling should be done periodically, depending on usage, to ensure smooth operation of moving parts.
3.3 Needle Replacement
Replace needles regularly, especially if they become bent, dull, or if you notice skipped stitches. Always use the correct type and size of needle for your fabric and thread.
4. Troubleshooting
This section addresses common issues you might encounter. For more complex problems, refer to the detailed instruction manual or contact customer support.
| Problem | Possible Cause | Solution |
|---|---|---|
| Skipped Stitches | Incorrect needle insertion, bent needle, wrong needle type for fabric, improper threading. | Reinsert needle correctly, replace needle, use appropriate needle, re-thread machine. |
| Thread Breaking | Improper threading, tension too tight, burr on needle plate, poor quality thread, bent needle. | Re-thread machine, adjust tension, check for burrs, use quality thread, replace needle. |
| Fabric Not Feeding | Feed dogs lowered, presser foot pressure too low, lint accumulation. | Raise feed dogs, increase presser foot pressure, clean feed dog area. |
| Machine Jamming | Thread tangled in bobbin case, needle hitting presser foot, heavy lint. | Remove bobbin case and clear thread, check needle alignment, clean machine thoroughly. |
5. Specifications
| Feature | Detail |
|---|---|
| Brand | USHA |
| Model Number | Stitch magic |
| Manufacturer | USHA International Ltd |
| Country of Origin | Thailand |
| Item Weight | 10 kg 100 g |
| Product Dimensions (LxWxH) | 7.9 x 5.9 x 7.9 Centimeters |
| Color | White |
| Stitch Functions | 57 |
| Included Components | Sewing Machine, Foot Speed Controller, Accessories Set, Demo DVD, Instruction Manual |
6. Warranty and Support
6.1 Manufacturer Contact
For warranty claims, technical support, or service inquiries, please contact USHA International Ltd:
- Registered Office: Surya Kiran Building, 19 K.G. Marg, New Delhi-110 001
- Toll Free No.: 18001033111
6.2 Legal Disclaimer
All matters are subject to Indore Jurisdictions.
Ask a question about this manual
Ask about setup, troubleshooting, compatibility, parts, safety, or missing instructions. Manuals+ will review the question and use this page’s manual context to help answer it.