Lutron Skylark LED+ Dimmer Switch SCL-153P-WH Instruction Manual
Model: SCL-153P-WH | Brand: Lutron
1. Introduction
This manual provides detailed instructions for the safe and proper installation, operation, and maintenance of your Lutron Skylark LED+ Dimmer Switch, model SCL-153P-WH. This dimmer is designed to provide optimal dimming performance for a wide range of dimmable LED, CFL, Halogen, and Incandescent bulbs.
Front view of the Lutron Skylark LED+ Dimmer Switch.
2. Safety Information
WARNING: To avoid serious injury or death, always turn off power at the circuit breaker or fuse box before wiring. Do not use this device with non-dimmable bulbs.
- Always disconnect power at the circuit breaker before installing or servicing the dimmer.
- Install in accordance with all national and local electrical codes.
- If you are unsure about any part of these instructions, consult a qualified electrician.
- Do not use with motors or transformer-supplied low-voltage lighting.
3. Key Features
- Optimized dimming performance for LED, CFL, Halogen, and Incandescent bulbs.
- Provides over 150 lighting levels for precise control.
- Supports single-pole or 3-way wiring configurations.
- No neutral wire required, simplifying installation in older homes.
- Rocker switch for ON/OFF functionality, returning to your favorite light level.
- Slide control for adjusting light intensity.
- Patented technology to optimize dimming range and prevent interference.

Diagram illustrating the features of the Skylark LED+ Dimmer Switch.
4. Technical Specifications
| Model Number | SCL-153P-WH |
| Operation Mode | ON-DIM-OFF |
| Current Rating | 1.25 Amps |
| Operating Voltage | 120 Volts |
| Wattage (LED/CFL) | 150W |
| Wattage (Incandescent/Halogen) | 600W |
| Circuit Type | 1-way (Single-Pole) or 3-way |
| Dimensions (L x W x H) | 0.3 x 2.94 x 4.69 inches |
| Item Weight | 3.2 ounces |
| Color | White |

Physical dimensions of the Lutron Skylark LED+ Dimmer Switch.
5. Installation Guide
Tools Required
- Screwdriver
- Pliers
- Electrical Tape
Before You Begin
- Turn OFF power at the circuit breaker or fuse box.
- Remove the existing wall plate and switch.
- If installing with other devices in a multi-gang box, break off the fins on the side of the dimmer where an adjacent dimmer or switch is present.

Back view of the dimmer showing wire leads.
Wiring Instructions (Single-Pole Application)
A single-pole application controls lights from one location.
- Connect the bare copper or green ground wire from the wall box to the green wire on the dimmer.
- Connect one of the two wires from your wall box (typically black) to the black wire on your new dimmer.
- Connect the remaining wire from your wall box to the solid red wire on your new dimmer.
- Cap the remaining red/white striped wire on the dimmer with a wire connector.

Diagram for single-pole wiring configuration.
Wiring Instructions (3-Way Application)
A 3-way application controls lights from two locations. You will have three wires plus a ground connected to your old switch.
- Identify and tag the common wire from your old switch (typically connected to a different colored screw, often black).
- Connect the bare copper or green ground wire from the wall box to the green wire on the dimmer.
- Connect the tagged common wire from the wall box to the black wire on your new dimmer.
- Connect the remaining two wires from the wall box (travelers) individually to the two red wires (solid red and red/white striped) on the dimmer. These two red wires are interchangeable.

Diagram for 3-way wiring configuration.
Mounting
- Carefully push all wires back into the wall box.
- Mount the dimmer to the wall box using the provided screws.
- Install the wall plate (sold separately).
- Turn the power back ON at the circuit breaker.
Official Lutron video demonstrating the installation process for LED+ Dimmer Switches.
6. Operating Your Dimmer
- Rocker Switch: Press the bottom of the rocker switch to turn lights ON or OFF. When turned ON, lights will return to the previously set dimming level.
- Slide Control: Move the slide control up to brighten lights and down to dim lights.

Illustration of the dimmer's rocker switch and slide control for setting light levels.
Adjusting the Dimming Range (Low-End Trim)
To optimize bulb performance and prevent flickering at low light levels, you can adjust the dimmer's low-end trim:
- Turn the lights ON and move the slide control as far down as it will go.
- If the lights are flickering or not turning on, locate the small blue lever on the side of the dimmer (behind the wall plate).
- Adjust the blue lever upwards until the flickering stops or the bulbs turn on consistently at their lowest stable level.
- Turn the lights OFF and then ON again to confirm the adjustment.

Diagram indicating the location and function of the blue low-end trim lever.
7. Bulb Compatibility
The Lutron Skylark LED+ Dimmer is compatible with a broad range of dimmable LED, CFL, Halogen, and Incandescent bulbs.
- Dimmable LED/CFL: Up to 150 Watts.
- Incandescent/Halogen: Up to 600 Watts.
For optimal performance, Lutron has tested thousands of bulbs. If you experience issues, visit the Lutron LED Finder tool online to check bulb compatibility.

Lutron's online LED Compatibility Tool helps identify suitable bulbs.
8. Care and Maintenance
- Clean the dimmer and wall plate with a soft, damp cloth. Do not use chemical cleaners.
- Ensure the dimmer is free from dust and debris to maintain proper operation.
9. Troubleshooting Common Issues
- Lights Flicker: Adjust the low-end trim lever as described in Section 6. Ensure all bulbs are dimmable and compatible.
- Lights Don't Turn ON/OFF: Verify power is ON at the circuit breaker. Check all wire connections for tightness. Ensure bulbs are properly seated.
- Dimmer is Warm: It is normal for the dimmer to feel warm during operation. This is due to heat dissipation from the internal electronics.
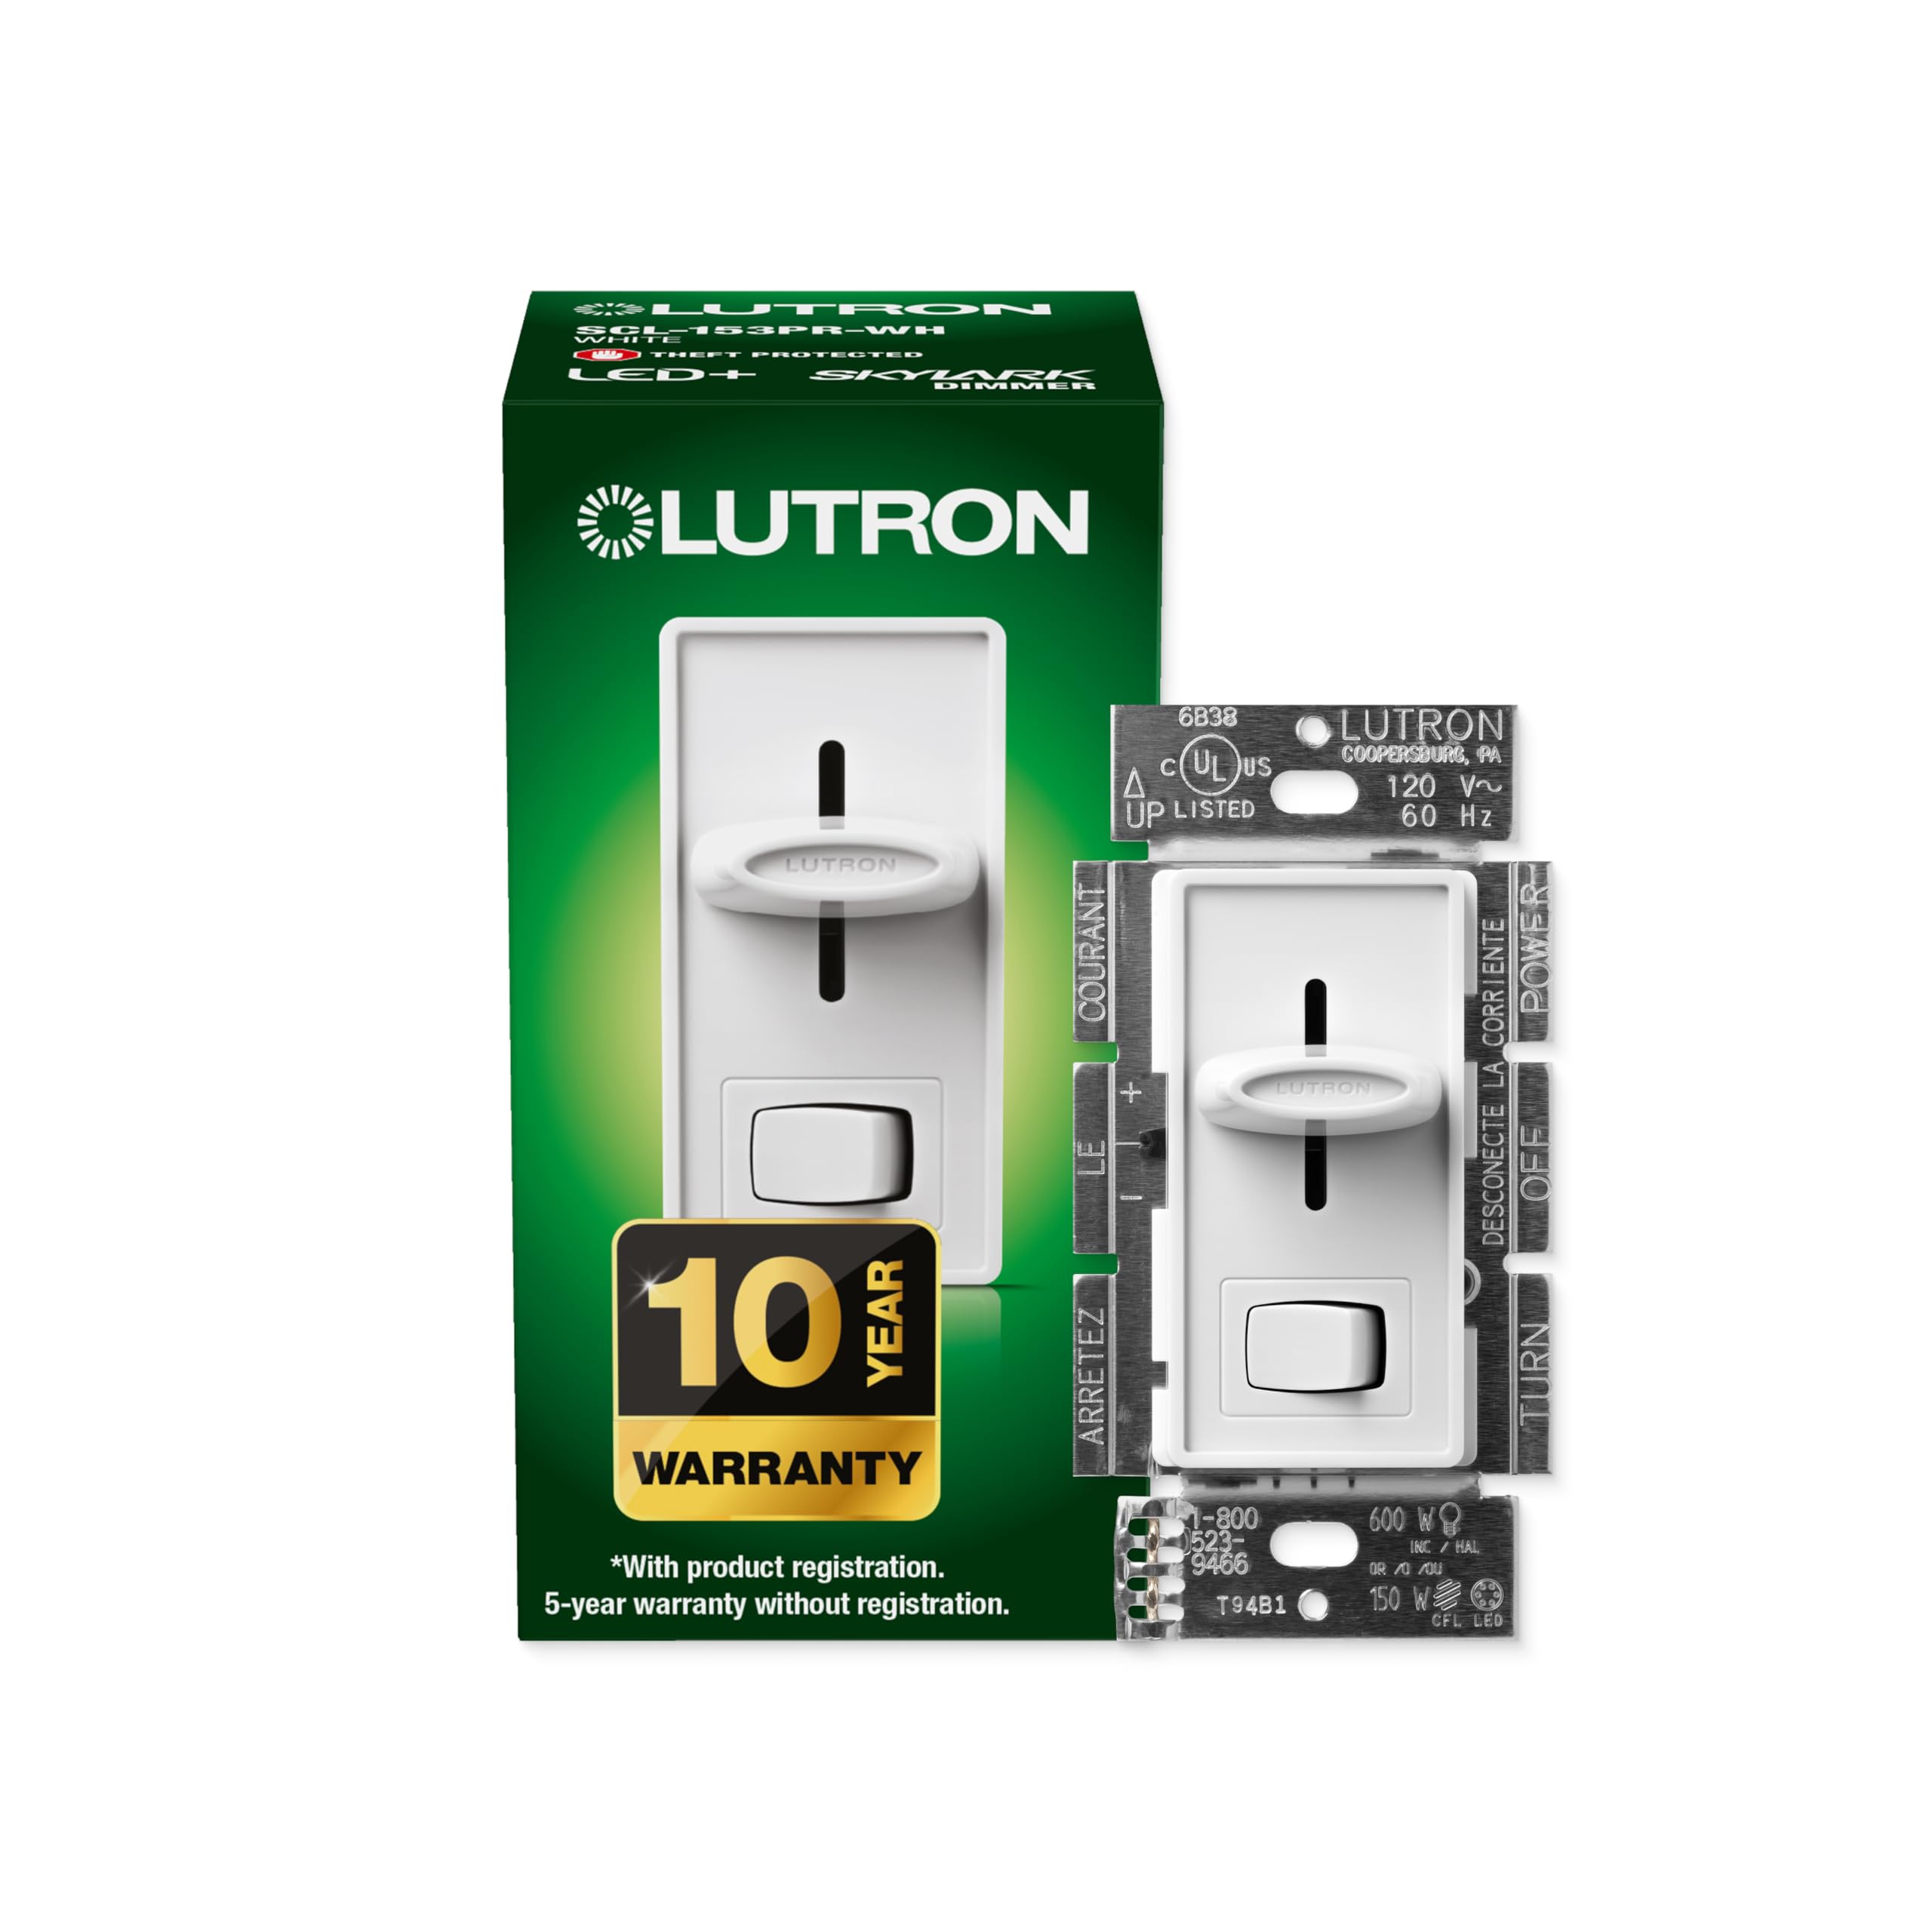
10. Warranty Information
Lutron offers a 10-year warranty with product registration. A 5-year warranty is provided without registration. Please refer to the product packaging or Lutron's official website for full warranty terms and conditions.
11. Customer Support
For any technical assistance or troubleshooting, Lutron provides 24/7 U.S.-based lifetime technical support. Contact information can be found on the product packaging or Lutron's official website.


