
1. Introduction
This manual provides essential information for the safe and effective use of your Einhell RT-MG 10,8/1 Li Cordless Multifunction Tool. Please read these instructions carefully before operating the tool and retain them for future reference. This tool is designed for various applications including cutting, grinding, polishing, sanding, engraving, drilling, deburring, cleaning, scraping, shaping, and punching.

Image 1.1: The Einhell RT-MG 10,8/1 Li Cordless Multifunction Tool, a versatile red and black handheld power tool with an oscillating head and an attached saw blade accessory.
2. General Safety Instructions
Always observe basic safety precautions to reduce the risk of fire, electric shock, and personal injury. Keep the work area clean and well-lit. Do not operate power tools in explosive atmospheres, such as in the presence of flammable liquids, gases, or dust. Always wear appropriate personal protective equipment, including eye protection, hearing protection, and gloves.
- Work Area Safety: Ensure adequate ventilation and keep bystanders away.
- Electrical Safety: Avoid body contact with earthed or grounded surfaces. Do not expose power tools to rain or wet conditions.
- Personal Safety: Stay alert, watch what you are doing, and use common sense. Do not use the tool while tired or under the influence of drugs, alcohol, or medication.
- Tool Use and Care: Do not force the power tool. Use the correct power tool for your application. Disconnect the battery pack before making any adjustments, changing accessories, or storing power tools.
- Battery Tool Use and Care: Recharge only with the charger specified by the manufacturer. Use power tools only with specifically designated battery packs.
3. Package Contents
Verify that all items listed below are present and undamaged upon unpacking. If any parts are missing or damaged, contact your retailer.
- Einhell RT-MG 10,8/1 Li Cordless Multifunction Tool
- 1 x Lithium-ion Battery (10.8V / 1300mAh)
- 1 x High-Speed Charger
- Assorted Sanding Pads (triangular)
- Scraper Blade
- Saw Blade
- Instruction Manual
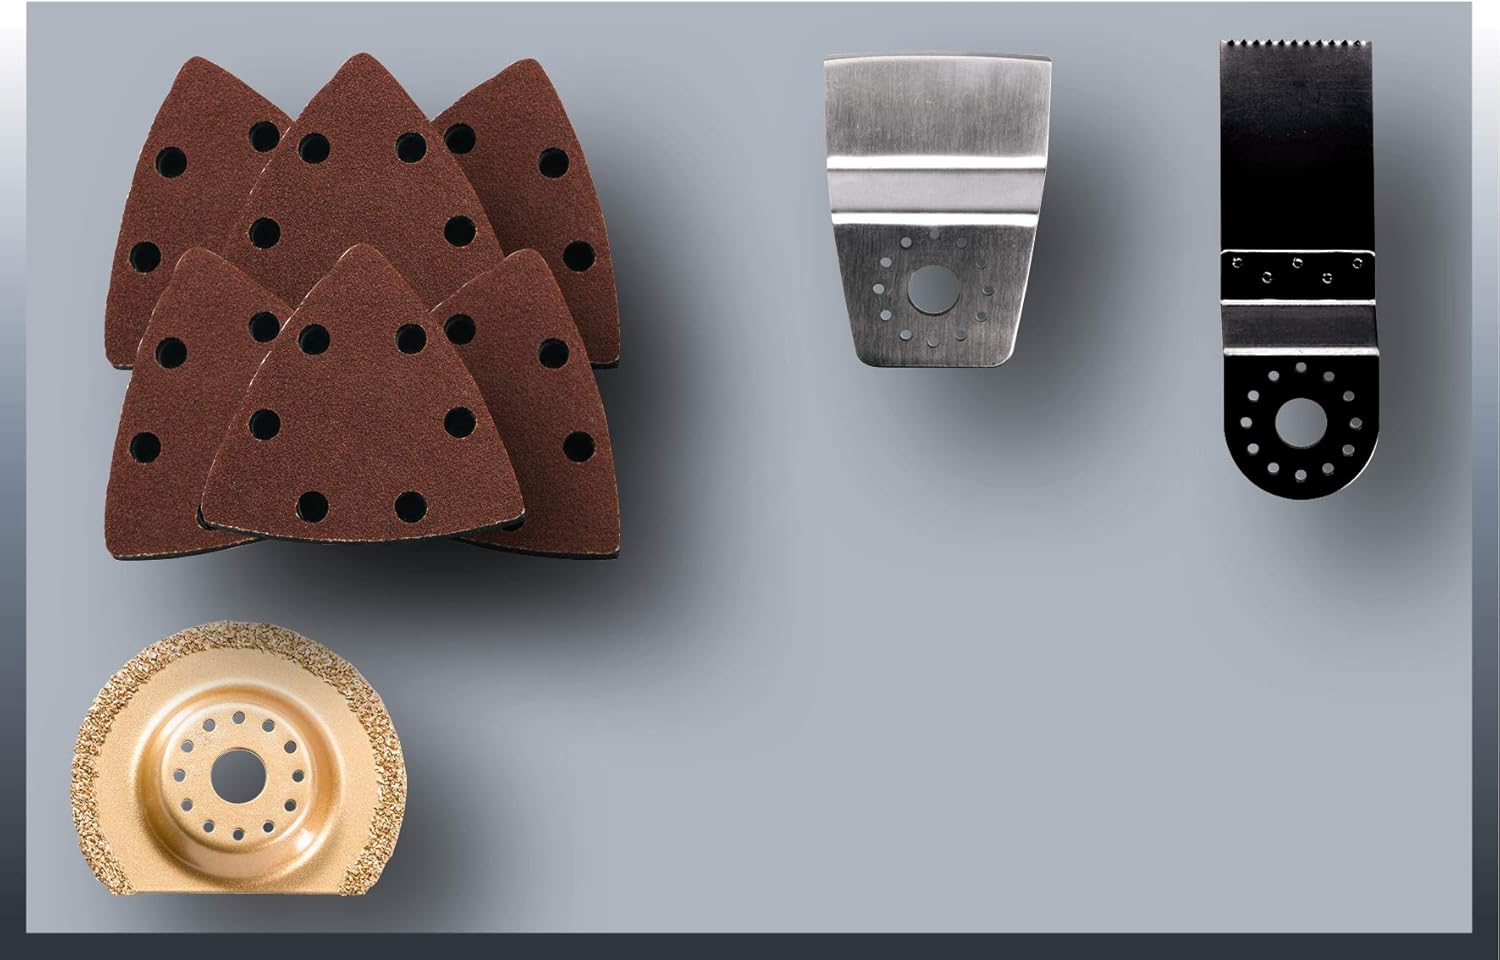
Image 3.1: Various accessories for the multifunction tool, including triangular sanding pads, a scraper blade, and a saw blade, ready for different applications.

Image 3.2: The black high-speed charger for the Einhell 10.8V lithium-ion battery, featuring ventilation slots and indicator lights.
4. Setup
4.1 Charging the Battery
- Insert the battery pack into the charger. Ensure it clicks into place.
- Plug the charger into a suitable power outlet.
- The charging indicator light on the charger will illuminate, indicating the charging process has begun.
- Allow approximately 60 minutes for a full charge. The indicator light will change or turn off when charging is complete.
- Once charged, unplug the charger and remove the battery.

Image 4.1: Graphic indicating a 60-minute high-speed charging capability for the battery, featuring a battery icon with four charge bars.
4.2 Attaching Accessories
The tool features a quick-release system for attaching and changing accessories. Ensure the tool is switched off and the battery is removed before changing accessories.
- Locate the accessory mounting head on the tool.
- Align the desired accessory (e.g., sanding pad, saw blade, scraper) with the mounting head. The accessory can be positioned at various angles for optimal working.
- Secure the accessory firmly using the tool's locking mechanism. Refer to the tool's specific locking design for proper engagement.

Image 4.2: Diagram illustrating the oscillating movement of the tool head and the multi-angle attachment capability for accessories, shown with a saw blade.
5. Operation
5.1 Powering On/Off
- Insert the charged battery pack into the tool handle until it clicks securely.
- To turn on the tool, slide the ON/OFF switch to the 'ON' position. The integrated LED light will illuminate the work area.
- To turn off the tool, slide the ON/OFF switch to the 'OFF' position.
5.2 Adjusting Speed
The tool features a variable speed control dial, allowing you to adjust the oscillation rate for different materials and applications.
- Locate the speed adjustment dial on the side of the tool.
- Rotate the dial to select the desired speed setting. Lower numbers correspond to slower speeds, higher numbers to faster speeds.
- Always start with a lower speed and gradually increase it as needed for optimal control and material removal.

Image 5.1: Close-up view of the speed adjustment dial on the side of the Einhell multifunction tool, showing settings from 1 to 6.
5.3 Application Examples
The Einhell RT-MG 10,8/1 Li is suitable for a wide range of tasks. Always ensure the correct accessory is fitted for the job.
- Sanding: Attach a triangular sanding pad. Use for smoothing surfaces, removing paint, or preparing wood. The oscillating motion allows for effective material removal in tight spaces.

Image 5.2: A person using the multifunction tool with a sanding pad to sand a wooden window frame, demonstrating precision work.
- Cutting: Attach a saw blade. Ideal for plunge cuts in wood, plastic, or soft metals, especially in confined areas where other saws cannot reach.

Image 5.3: A person using the multifunction tool with a saw blade to make a precise cut in a wooden board near a door frame.
- Scraping: Attach a scraper blade. Effective for removing old paint, adhesive residues, or grout from various surfaces.

Image 5.4: A person using the multifunction tool with a scraper blade to remove material from a tiled surface, demonstrating its scraping capability.

Image 5.5: Graphic illustrating the tool's versatility with icons for scraping, sanding, sawing, and cutting, highlighting its multi-functional design.
6. Maintenance
Regular maintenance ensures the longevity and optimal performance of your tool.
- Cleaning: After each use, clean the tool housing with a soft, damp cloth. Do not use harsh chemicals or abrasive cleaners. Ensure ventilation openings are free from dust and debris.
- Accessory Care: Inspect accessories before and after each use. Replace worn or damaged accessories immediately.
- Battery Care: Store batteries in a cool, dry place away from direct sunlight. Do not store fully discharged batteries for extended periods. Recharge batteries regularly, even if not in use, to maintain their lifespan.
- Storage: Store the tool and its accessories in a dry, secure location, out of reach of children.
7. Troubleshooting
If you encounter issues with your tool, refer to the following common problems and solutions:
| Problem | Possible Cause | Solution |
|---|---|---|
| Tool does not start | Battery not charged or improperly inserted | Ensure battery is fully charged and correctly inserted. |
| Reduced performance | Battery low or accessory worn | Recharge battery. Replace worn accessory. |
| Excessive vibration/noise | Accessory not properly secured or damaged | Check accessory attachment. Replace if damaged. |
| Battery not charging | Charger not plugged in or faulty battery | Check power connection. Try another battery if available. Contact support if issue persists. |
If the problem persists after attempting these solutions, please contact customer support.
8. Technical Specifications
| Feature | Specification |
|---|---|
| Model Number | 4465031 |
| Voltage | 12 Volts |
| Battery Type | Lithium-ion |
| Battery Capacity | 1300mAh (1.3 Ah) |
| Charger Type | High-Speed Charger |
| Charging Time | Approx. 60 minutes |
| Dimensions (L x W x H) | 32 x 8.5 x 25 cm |
| Weight | 750 grams |
| Special Features | Cordless, Integrated LED lighting, Variable Speed Control |

Image 8.1: Graphic highlighting the tool's 12V power capability, indicating its robust performance for various tasks.
9. Warranty and Support
Einhell products are manufactured to high-quality standards and undergo strict quality controls. This product is covered by a manufacturer's warranty. Please refer to the warranty card included with your purchase for specific terms and conditions, including the warranty period and coverage details.
For technical assistance, spare parts, or warranty claims, please contact Einhell customer service. Contact information can typically be found on the Einhell website or on the warranty documentation provided with your tool.
Please have your model number (4465031) and purchase date available when contacting support.


