
Wagner HV5500
Wagner Earlex HVLP Spray Station Pro HV5500 Instruction Manual
1. Introduction
The Wagner Earlex HVLP Spray Station Pro HV5500 is a high-volume, low-pressure (HVLP) paint spraying system designed for semi-professional use. It is suitable for a wide range of projects, including woodworking, light contractor tasks, and automotive finishing. This manual provides essential information for the safe and effective operation, maintenance, and troubleshooting of your HV5500 unit.
2. Safety Information
Always prioritize safety when operating the HVLP Spray Station Pro HV5500. Failure to follow safety guidelines can result in injury or damage to the equipment.
- Personal Protective Equipment: Always wear appropriate personal protective equipment (PPE), including eye protection (safety glasses or goggles), gloves, and a respirator suitable for paint fumes.
- Ventilation: Ensure the work area is well-ventilated to prevent the buildup of hazardous fumes. Work outdoors or in a well-ventilated workshop.
- Electrical Safety: Do not spray electrical components or outlets. Ensure the power cord and connections are in good condition before use.
- Material Contact: Avoid direct contact of paint or thinning agents with eyes, skin, and clothing. In case of contact, refer to the material's safety data sheet (SDS) for first aid instructions.
- Flammable Materials: When using flammable materials, ensure there are no ignition sources nearby.
3. Product Overview
The HV5500 system includes a powerful turbine and a professional spray gun designed for a superior finish.
Key Features:
- 650-Watt turbine generating 42 CFM and 2.2 PSI.
- Professional metal spray gun with a 2.0mm stainless steel tip and needle.
- 1-quart PTFE coated paint container with quick-release lever.
- Fast "Push N Click" 3-spray pattern changing system (round, horizontal, vertical).
- Paint volume control dial and dynamic control action trigger.
- 13-foot hose and 5.5-foot power cord.
- On-board storage for the spray gun, hose, and cord, with a carry handle for portability.

Figure 1: The professional spray gun and powerful turbine work together to provide a superior finish.

Figure 2: The HV5500 is capable of spraying a variety of finishing materials on different surfaces.

Figure 3: The unit features convenient built-in storage for the air hose within its base.
4. Setup
- Unpacking: Carefully remove all components from the packaging. Inspect for any damage.
- Hose Connection: Securely attach the 13-foot air hose to the turbine unit and the spray gun. Ensure connections are tight to prevent air leaks and accidental detachment during operation.
- Spray Gun Assembly: Verify that the spray gun components, including the tip, needle, and air cap, are correctly assembled and tightened. Attach the 1-quart paint container to the spray gun, ensuring it is securely fastened with the quick-release lever.
- Placement: Place the turbine unit on a stable, level surface in a well-ventilated area, away from the immediate spray zone.
5. Operating Instructions
5.1 Material Preparation
Proper material preparation is critical for achieving a smooth, even finish and preventing clogs.
- Thinning: Most paints, especially latex, will require thinning to achieve the correct viscosity for HVLP spraying. Refer to the paint manufacturer's recommendations for thinning ratios. A general guideline for latex is to thin with water, while oil-based materials may require mineral spirits or specific thinners. Test the viscosity on a scrap piece of material.
- Filtering: Always filter your paint through a paint strainer or mesh filter before pouring it into the container to remove any lumps or debris that could clog the spray gun.
5.2 Filling the Container
Once your material is prepared, carefully pour it into the 1-quart PTFE coated paint container. Do not overfill.
5.3 Adjusting Spray Pattern and Flow
- Spray Pattern: The spray gun features a "Push N Click" system to adjust the spray pattern. Rotate the air cap to select between round, horizontal fan, or vertical fan patterns.
- Flow Control: Use the paint volume control dial located on the spray gun to adjust the material flow rate. Start with a lower setting and gradually increase until the desired coverage is achieved.
5.4 Spraying Technique
Practice on a scrap piece of material to familiarize yourself with the sprayer's operation and achieve the desired finish.
- Distance: Maintain a consistent distance of approximately 6 to 8 inches from the surface being sprayed.
- Movement: Use smooth, even, overlapping passes. Begin moving the gun before pulling the trigger and release the trigger before stopping movement to avoid paint buildup at the start and end of each pass.
- Coats: Apply multiple thin coats rather than one thick coat to prevent runs and drips, allowing adequate drying time between coats.
- Finish Type: For a smooth finish, use less material flow. For a textured or "orange peel" effect, a slightly higher flow rate can be used, but maintain the recommended spraying distance.

Figure 4: The HV5500 is versatile for various applications, including cabinets, fences, spindles, and general woodworking projects.

Figure 5: Applying a smooth finish to kitchen cabinets using the HV5500 sprayer.

Figure 6: Efficiently coating a wooden fence with the HV5500 for even coverage.

Figure 7: Achieving a consistent finish on outdoor railings with the HVLP sprayer.

Figure 8: The sprayer provides excellent coverage for intricate shapes like wooden spindles.

Figure 9: Applying paint to ceiling trim for a professional finish.
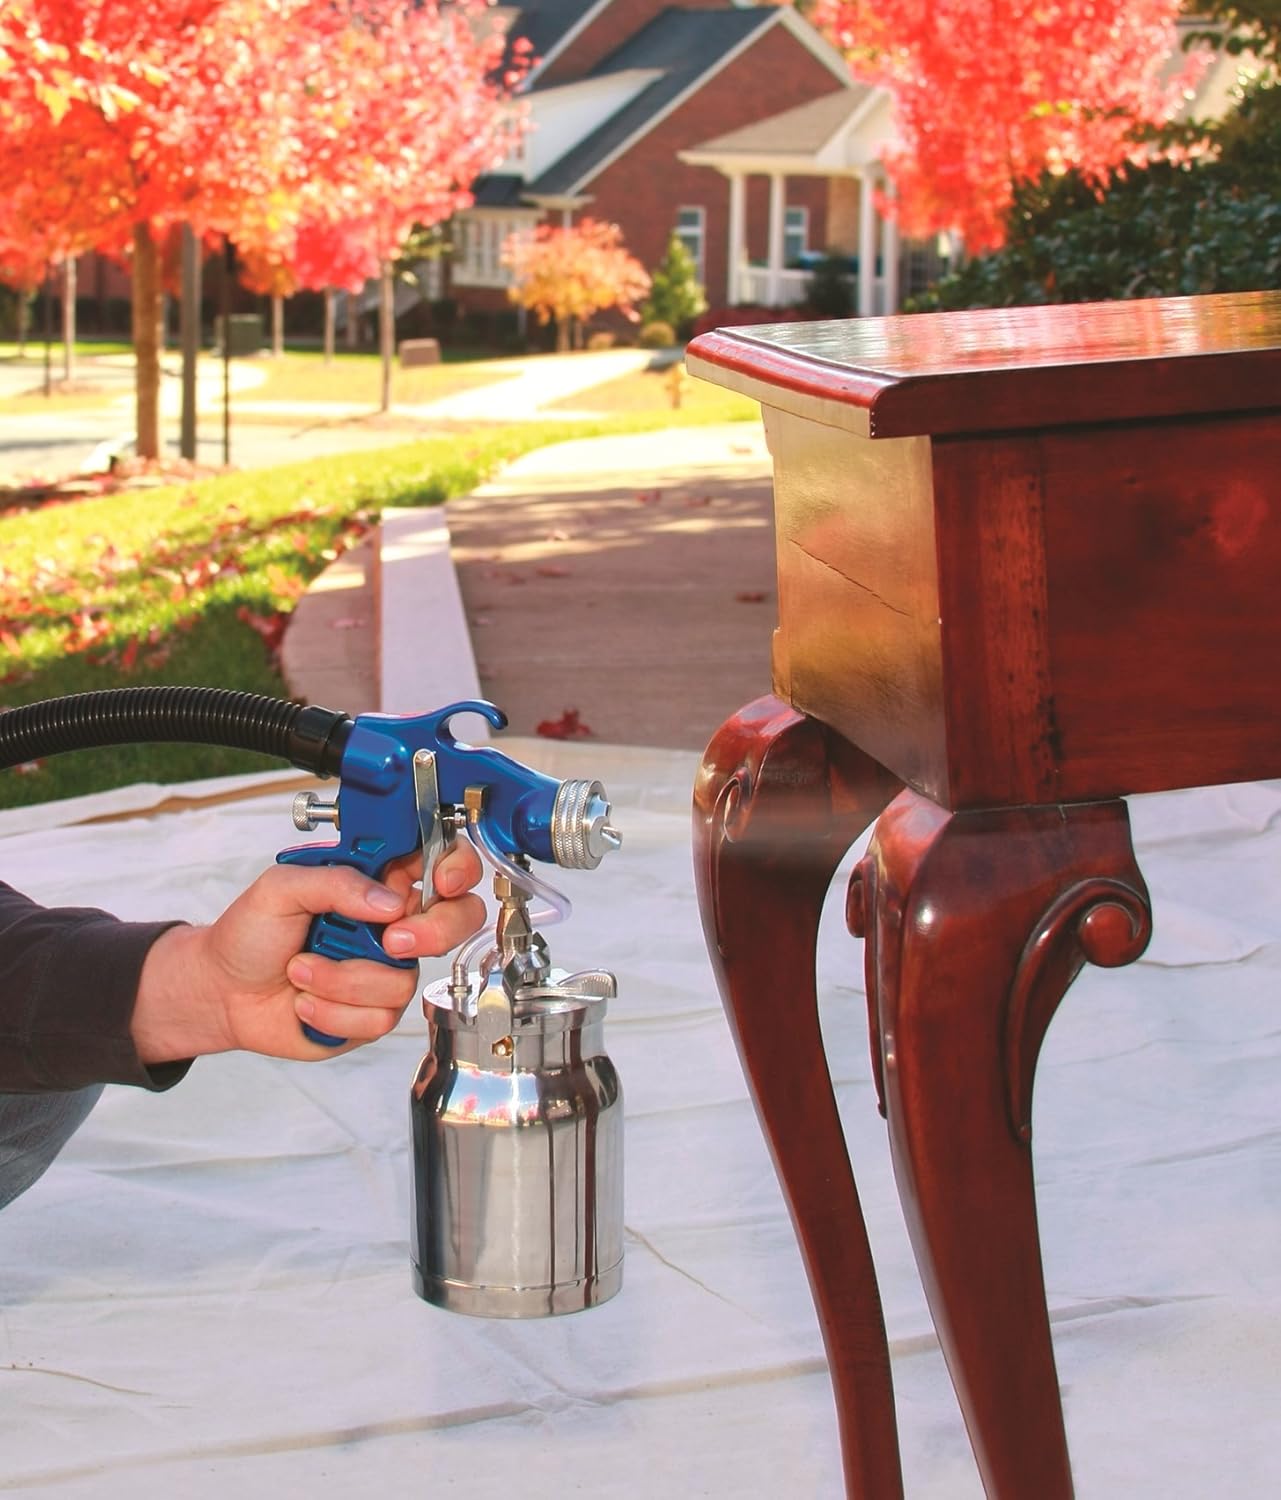
Figure 10: Refinishing a piece of wooden furniture with the HV5500 sprayer.
6. Maintenance
Proper cleaning and maintenance after each use will extend the life of your HV5500 and ensure consistent performance.
- Immediate Cleaning: Clean the sprayer immediately after each use. Do not allow paint to dry in the gun or container.
- Container Cleaning: Empty any remaining paint from the 1-quart PTFE coated container. The PTFE coating makes cleaning easier; use a soft cloth or sponge to avoid scratching the surface.
- Flushing the Gun:
- For water-based materials (e.g., latex): Fill the container with clean water and spray through the gun until the water runs clear.
- For oil-based materials (e.g., lacquers, enamels): Fill the container with the appropriate cleaning solvent (e.g., mineral spirits, paint thinner) and spray through until the solvent runs clear.
- Disassembly and Detailed Cleaning: Disassemble the air cap, tip, and needle. Use the provided cleaning brush or pipe cleaner to thoroughly clean all paint residue from these components. Ensure all air passages are clear.
- Exterior Cleaning: Wipe down the exterior of the spray gun and turbine unit with a damp cloth.
- Storage: Once clean and dry, reassemble the spray gun and store the unit in a clean, dry place, utilizing the on-board storage for the hose and gun.
7. Troubleshooting
Refer to this section for common issues and their solutions.
| Problem | Possible Cause | Solution |
|---|---|---|
| No spray or weak spray |
|
|
| Inconsistent spray pattern or spitting |
|
|
| Hose detaches during use |
|
|
8. Specifications
| Feature | Specification |
|---|---|
| Brand | Wagner |
| Model Name | HV5500 |
| Wattage | 650 Watts |
| Maximum Pressure | 2.2 PSI |
| Hose Length | 13 Feet |
| Power Cord Length | 5.5 Feet |
| Tank Volume | 1 Quart |
| Standard Tip Size | 2.0mm Stainless Steel |
| Material | Metal |
| Item Weight | 11.43 pounds |
| Product Dimensions | 12"W x 26"H |
9. Warranty
The Wagner Earlex HVLP Spray Station Pro HV5500 is covered by a 2-year limited warranty. This warranty typically covers defects in materials and workmanship under normal use. For complete details regarding coverage, limitations, and how to make a claim, please refer to the official warranty documentation included with your product at the time of purchase.
10. Support
For additional support, technical assistance, or to inquire about replacement parts and accessories, please contact Wagner customer service or visit their official website. Keep your product model number (HV5500) and purchase information readily available when seeking support.
Related documentsHV5500


Ask a question about this manual
Ask about setup, troubleshooting, compatibility, parts, safety, or missing instructions. Manuals+ will review the question and use this page’s manual context to help answer it.