
Introduction
The Rain Bird WP6 is a battery-powered irrigation programmer designed for automatic control of up to 6 irrigation zones. Its robust, waterproof design (IP-68 certified) allows for installation in various environments, including outdoors, indoors, or directly within valve boxes. Featuring an easy-to-use LCD screen and ergonomic keypad, the WP6 offers flexible programming options to manage your irrigation needs efficiently.
This manual provides comprehensive instructions for the installation, programming, and maintenance of your WP6 irrigation programmer to ensure optimal performance and longevity.
Setup
1. Battery Installation
The WP6 programmer operates on two high-quality 9V alkaline batteries (e.g., Varta type 6AM6 or 6LR6I). Batteries are not included and must be purchased separately.
- Locate the battery compartment on the back of the programmer.
- Open the compartment cover.
- Insert two 9V alkaline batteries, ensuring correct polarity.
- Securely close the battery compartment cover to maintain the waterproof seal.
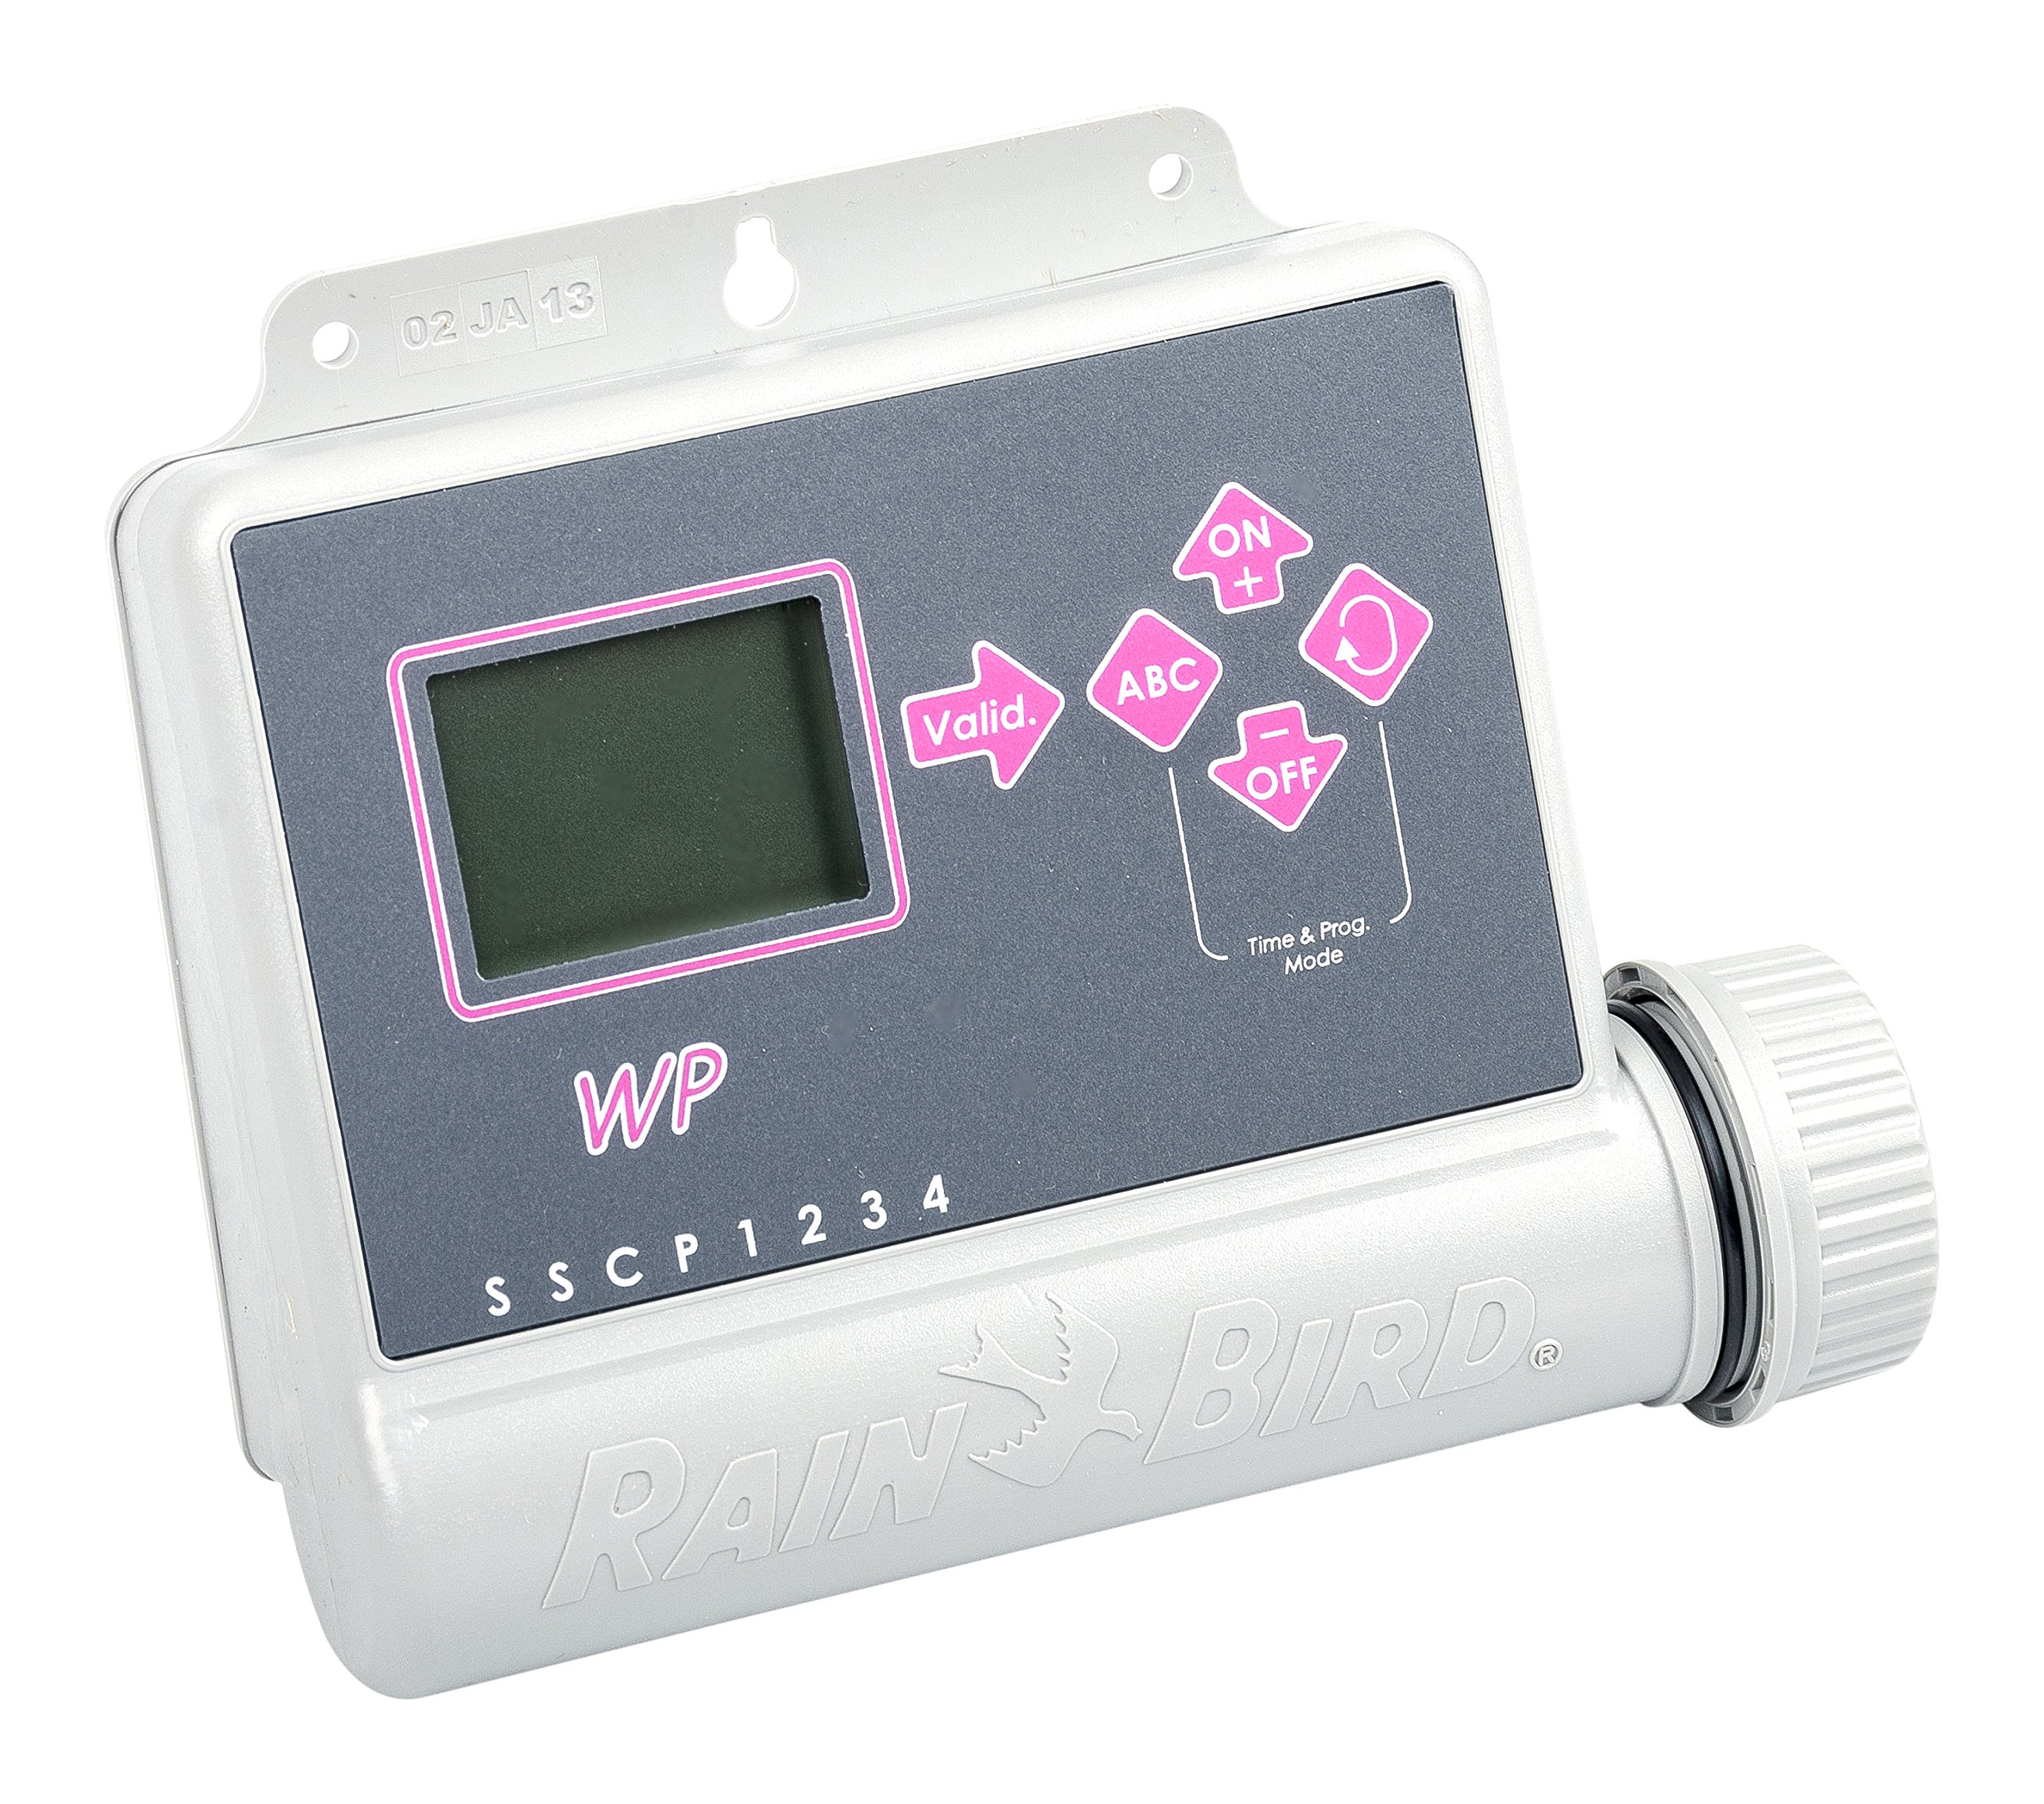
Image: Rain Bird WP6 Irrigation Programmer. This image shows the overall unit, including where the battery compartment would typically be located on the rear.
2. Mounting Options
The WP6 is designed for versatile installation due to its compact size and IP-68 certification.
- Wall Mounting: The unit can be mounted on a wall in an outdoor or indoor environment. Use appropriate screws and anchors for your wall type.
- Valve Box Installation: The WP6 can be placed directly inside a valve box, offering protection and discreet placement. Ensure the valve box is accessible for programming and maintenance.
3. Wiring Connections
Connect the irrigation valves to the corresponding terminals on the WP6 programmer. The WP6 supports up to 6 independent stations. Ensure all connections are secure and waterproof, especially if installed in a damp environment.
- Connect each valve's common wire to the common terminal on the WP6.
- Connect each valve's control wire to its designated station terminal (e.g., Station 1, Station 2, etc.).
- If using a rain sensor, connect it to the dedicated sensor terminals. The WP6 can immediately stop irrigation in case of rain when a compatible sensor is connected.
Operating Instructions
1. LCD Display and Keypad
The WP6 features an LCD screen with programming icons and an ergonomic 5-button keypad for easy navigation and setting adjustments.
- Familiarize yourself with the display icons, which indicate programming status, battery level, and active functions.
- Use the keypad buttons to navigate through menus, select options, and adjust values.
2. Programming Irrigation Schedules
The WP6 allows for up to three independent programs (A, B, C), offering versatile control over your irrigation.
- Select a Program: Use the program selection button to choose Program A, B, or C.
- Set Start Times: Each program can have up to 8 start times per day. Set the desired start times for your irrigation cycles.
- Set Watering Duration: For each station within a program, set the watering duration from 1 minute to 12 hours, in 1-minute increments.
- Set Watering Days: Program the weekly watering schedule, selecting specific days for irrigation.
- Save Settings: Ensure all settings are saved according to the on-screen prompts.
3. Manual Start
You can manually start a single station or an entire programmed cycle at any time, independent of the set schedule.
- Navigate to the manual operation menu.
- Select the desired station or program to run manually.
- Specify the duration if prompted, or confirm to start the pre-programmed duration.
4. Water Budget Function
The Water Budget function allows you to adjust irrigation times for all stations in a program simultaneously, from 0% (off) to 200% (double duration). This is useful for seasonal adjustments without reprogramming each station individually.
- Access the Water Budget menu.
- Adjust the percentage to increase or decrease watering durations across all active programs.
5. Rain Delay Function
The Rain Delay function allows you to suspend irrigation for a specific period (1 to 15 days). The system will automatically resume its schedule after the delay period.
- Activate the Rain Delay function.
- Select the number of days for the delay.
- The programmer will display the remaining delay time and automatically restart irrigation once the period expires.
6. Test Function
Use the Test function to quickly verify the operation of your irrigation system. This function runs all programmed stations for 2 minutes each.
- Access the Test function from the main menu.
- Confirm to start the 2-minute test cycle for all stations.
Maintenance
1. Battery Replacement
The WP6 display includes an icon that indicates when battery replacement is necessary. Replace batteries promptly to ensure continuous operation and prevent data loss.
- When the low battery icon appears, follow the battery installation steps outlined in the "Setup" section.
- Always use two new, high-quality 9V alkaline batteries.
2. General Care
The WP6 is IP-68 certified, meaning it is 100% waterproof and fully submersible, designed to resist humidity and harsh environments. Regular cleaning with a damp cloth can help maintain its appearance. Avoid using abrasive cleaners or solvents.
Troubleshooting
- Programmer Not Turning On:
Check if the batteries are correctly installed and fully charged. Replace batteries if the low battery indicator is on or if the unit does not power up.
- Irrigation Not Starting:
- Verify that programs are correctly set with valid start times and watering durations.
- Check if the Rain Delay function is active.
- Ensure the rain sensor (if connected) is not preventing irrigation due to detected rainfall.
- Inspect wiring connections to the valves for any loose or corroded contacts.
- Specific Station Not Working:
- Check the wiring for that specific station.
- Test the valve manually to ensure it is functioning correctly.
- Display Issues:
If the LCD display is dim or erratic, replace the batteries. If issues persist, contact customer support.
Specifications
| Model | WP6 |
| Brand | Rain Bird |
| Number of Stations | 6 |
| Power Source | 2 x 9V Alkaline Batteries (not included) |
| Watering Duration | 1 minute to 12 hours (in 1-minute increments) |
| Number of Programs | 3 independent programs |
| Starts per Program | Up to 8 per day |
| Programming Cycle | Weekly |
| Rain Delay | 1 to 15 days |
| Water Budget | 0% to 200% |
| Operating Temperature | -20°C to +70°C (-4°F to +158°F) |
| Waterproof Rating | IP-68 (100% waterproof, fully submersible) |
| Display Type | LCD |
| Material | Plastic |
| Color | Grey |
Warranty & Support
Specific warranty information for the Rain Bird WP6 programmer is not provided in this document. Please refer to the warranty card included with your product or visit the official Rain Bird website for detailed warranty terms and conditions.
For technical support, troubleshooting assistance, or to inquire about replacement parts, please contact Rain Bird customer service through their official website or the contact information provided in your product packaging.
Official Product Videos: No official product videos from the seller were provided in the product data.
