1. Introduction
This manual provides comprehensive instructions for the installation, operation, and maintenance of your Westek THWH21 Heavy Duty Water Heater Timer Switch. This device is designed to manage your water heater's operation, allowing you to take advantage of off-peak utility rates and ensure your hot water heater runs only when needed. Please read these instructions carefully before installation and use to ensure safe and efficient operation.
2. Product Features
- Switch ratings: 250V, SPST (Single Pole Single Throw), 25 AMP.
- Features 48 "On" and 48 "Off" settings for precise control.
- Programming flexibility with 15-minute increments.
- Constructed to withstand temperature extremes.
- Durable plastic housing.
3. Package Contents
Your Westek THWH21 Water Heater Timer Switch package should contain:
- Westek THWH21 Heavy Duty Water Heater Timer Switch
- Instruction Manual
4. Safety Information
WARNING: Risk of Electric Shock. Installation requires working with high voltage electricity. Improper installation can result in serious injury or death. It is strongly recommended that installation be performed by a qualified electrician.
- ALWAYS disconnect power at the circuit breaker or fuse box before installing or servicing the timer switch.
- Ensure all wiring connections are secure and comply with local and national electrical codes.
- Do not exceed the specified electrical ratings (250V, 25 AMP).
- This device is for indoor use only.
- Keep the timer switch housing closed and secured after installation.
5. Setup and Installation
The Westek THWH21 is a hardwire timer switch designed for direct connection to your water heater's electrical circuit. Due to the nature of hardwiring, professional installation is highly recommended.
- Disconnect Power: Locate the circuit breaker controlling your water heater and switch it to the "OFF" position. Verify power is off using a voltage tester.
- Mount the Timer: Choose a suitable location near your water heater for mounting the timer switch. Secure the plastic housing to a wall stud or junction box using appropriate screws.
- Wire Connections:
Open the timer switch housing. You will see terminals for wiring connections. Carefully follow the wiring diagram provided inside the timer's cover or in the detailed instructions. Connect the incoming power supply wires and the outgoing water heater wires to the appropriate terminals. Ensure all connections are tight and secure.

Image 1: Interior view of the Westek THWH21 timer switch with the cover open, revealing the mechanical timer dial and printed wiring instructions. This image illustrates the internal components and connection points for hardwiring.
- Secure Housing: Once wiring is complete and verified, close the timer switch housing and secure it.
- Restore Power: Return to the circuit breaker and switch the power back "ON."
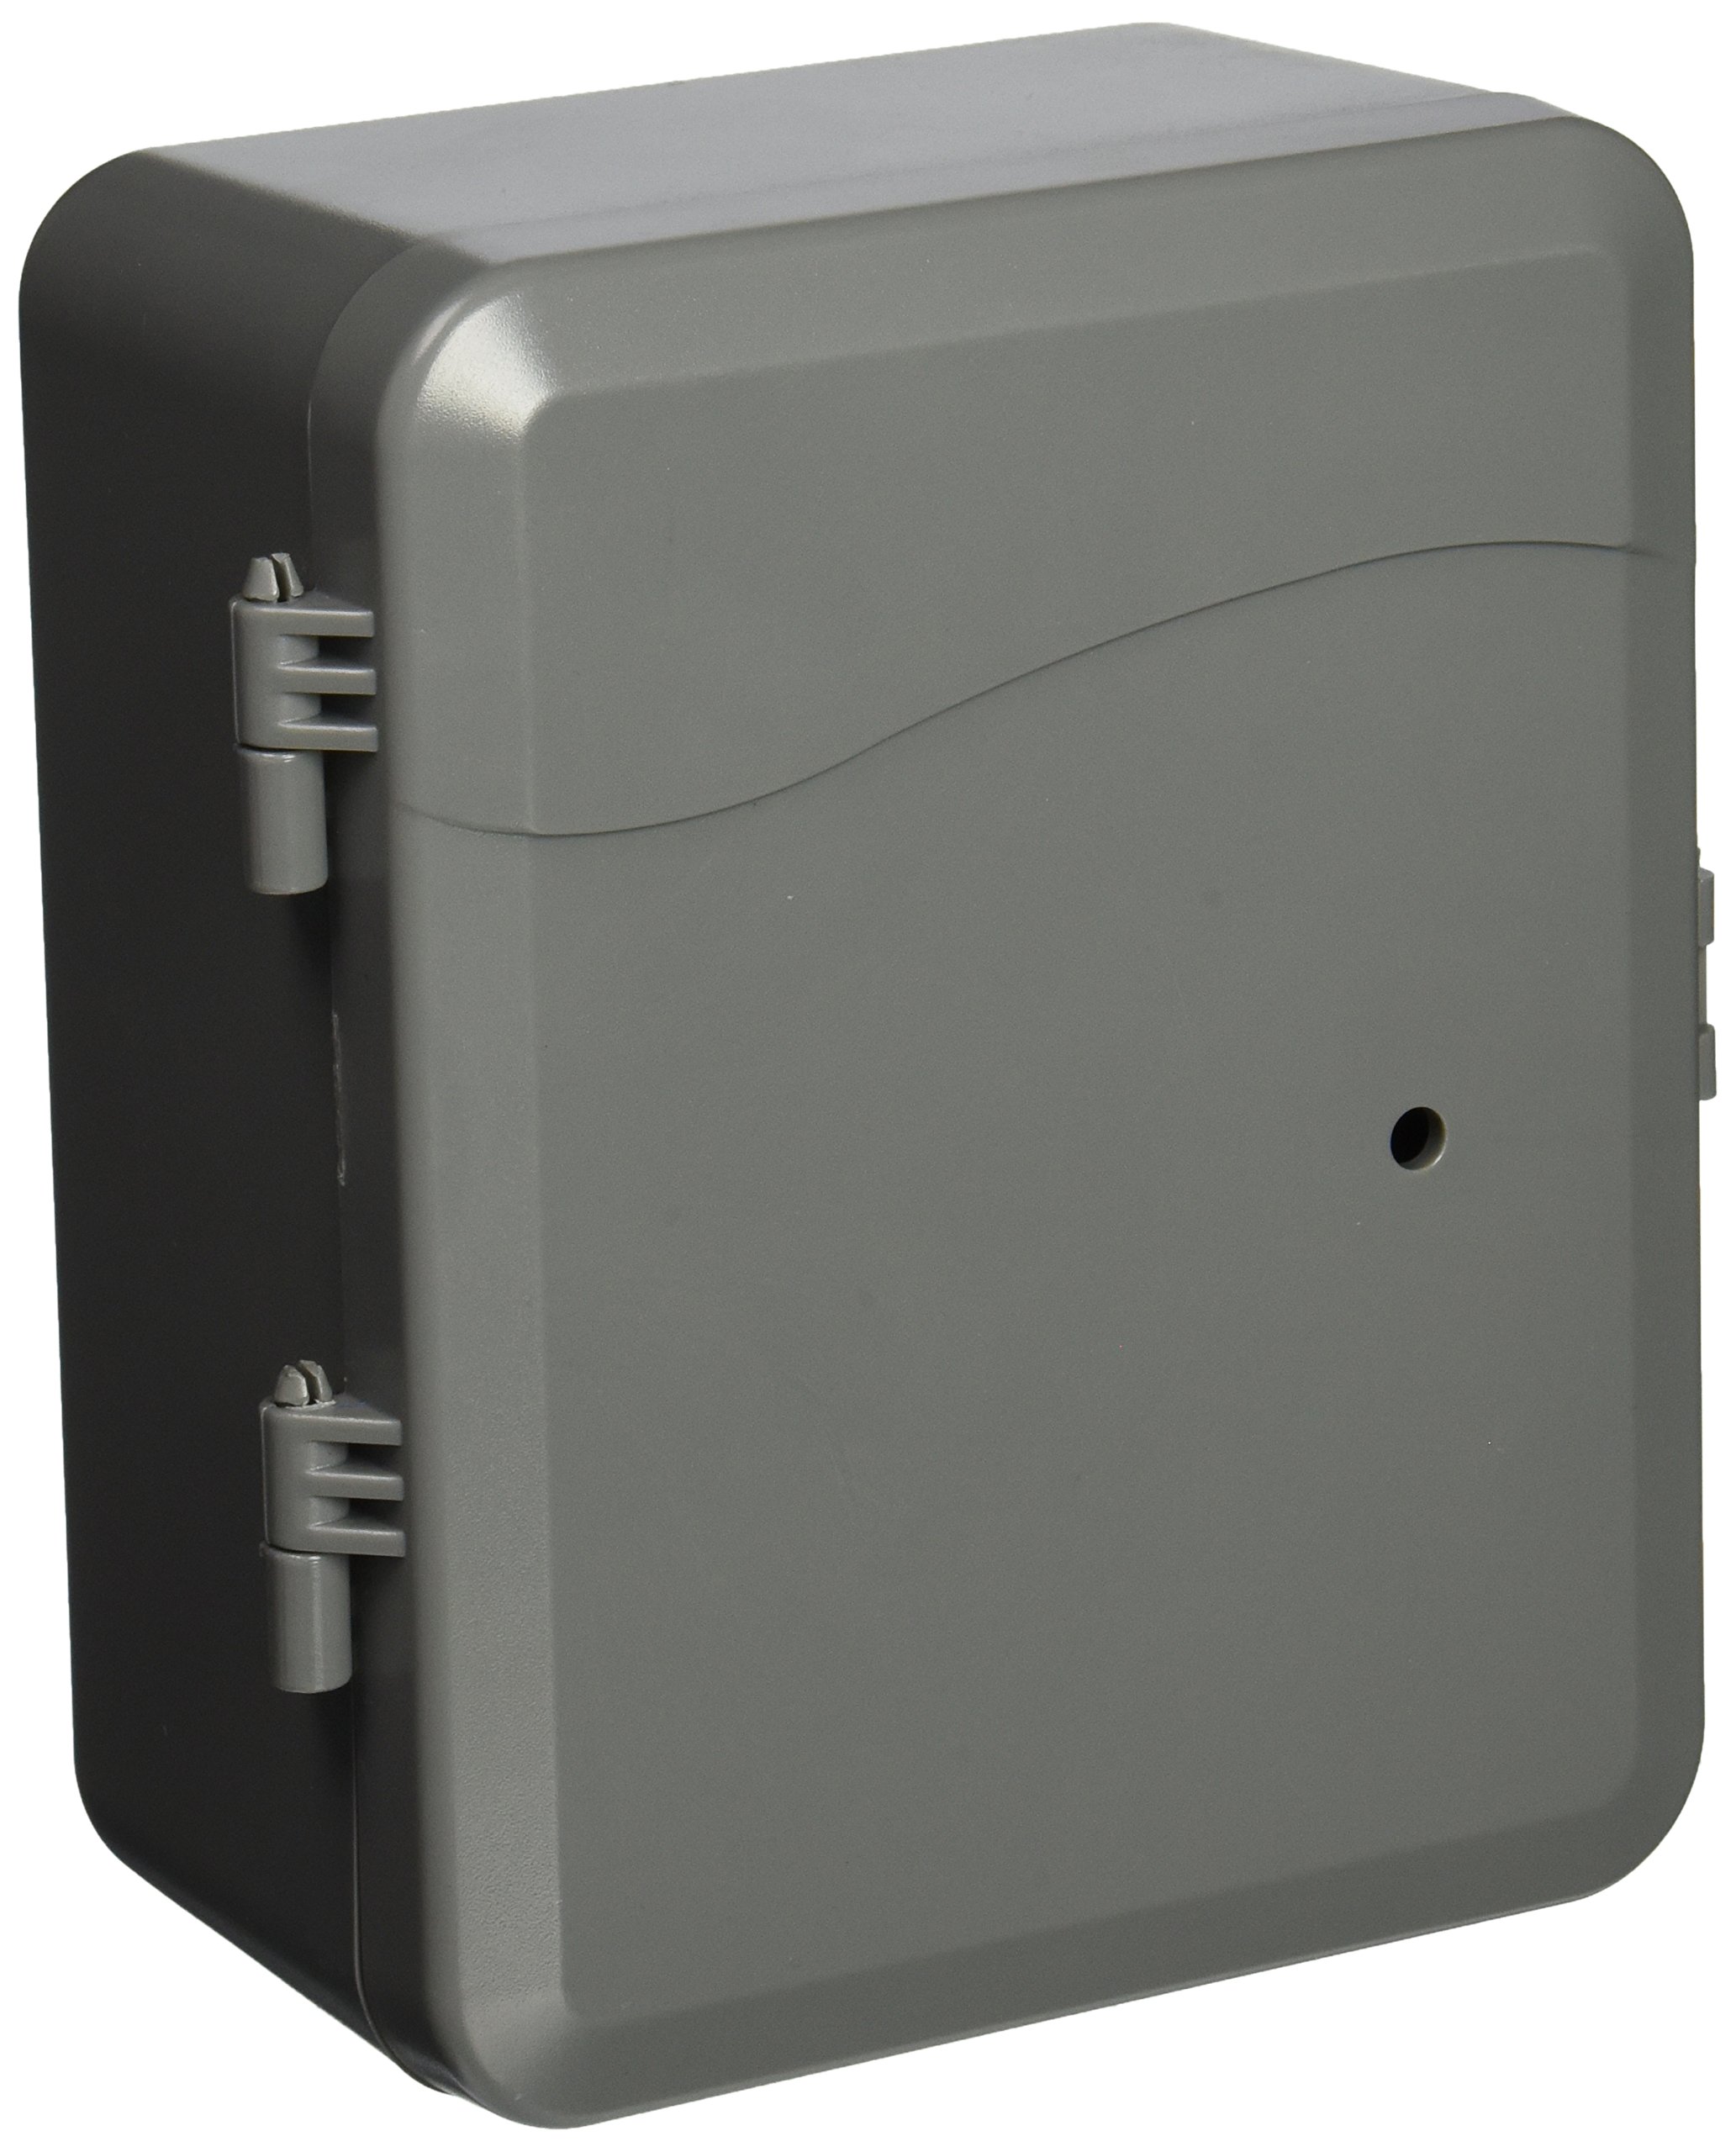
Image 2: Exterior view of the Westek THWH21 Heavy Duty Water Heater Timer Switch. The image shows the closed, gray plastic housing with hinges on the left side, indicating a secure enclosure for the internal components.
6. Operating Instructions
The THWH21 timer uses a mechanical dial with non-removable pins for programming. It offers 48 "On" and 48 "Off" settings, allowing for precise control in 15-minute increments.
- Set Current Time: Rotate the outer dial clockwise until the current time aligns with the "Time Set" arrow or indicator on the timer mechanism.
- Program ON/OFF Times:
- The dial is marked with 24 hours. Each segment represents 15 minutes.
- To set an "ON" period, push the pins corresponding to the desired "ON" time segment inwards towards the center of the dial.
- To set an "OFF" period, leave the pins corresponding to the desired "OFF" time segment outwards.
- Ensure that you have at least one "ON" and one "OFF" pin set for each desired cycle.
- Manual Override Switch: The timer may include a manual override switch (often a small lever or button) that allows you to temporarily turn the water heater ON or OFF, overriding the programmed settings until the next programmed event. Consult the specific markings on your timer for its function.
The non-removable pins ensure that they cannot be lost, simplifying the programming process.
7. Maintenance
The Westek THWH21 timer switch requires minimal maintenance.
- Cleaning: Periodically wipe the exterior of the timer with a soft, dry cloth. Do not use abrasive cleaners or solvents. Ensure power is disconnected before cleaning.
- Inspection: Occasionally inspect the housing for any signs of damage. If damage is observed, disconnect power and have the unit inspected by a qualified electrician.
8. Troubleshooting
- Timer Not Operating:
- Ensure power is supplied to the circuit breaker.
- Verify all wiring connections are secure and correct.
- Check if the manual override switch is in the correct position.
- Water Heater Not Turning ON/OFF at Programmed Times:
- Confirm the current time is accurately set on the timer dial.
- Ensure the "ON" and "OFF" pins are correctly pushed in/out for the desired schedule.
- Verify that the pins are not stuck or obstructed.
- Difficulty with Wiring/Installation:
If you encounter difficulties during installation, it is highly recommended to consult a qualified electrician. Ensure adequate space for wiring within the enclosure.
9. Specifications
| Feature | Detail |
|---|---|
| Manufacturer | Westek |
| Model Number | THWH21 |
| Switch Rating | 250V, SPST, 25 AMP |
| Item Weight | 1.45 pounds |
| Package Dimensions | 7.1 x 6.3 x 4.3 inches |
| Color | Gray |
| Material | Plastic |
| Mounting Type | Wall Mount |
| Switch Style | Temperature Switch (Note: This seems to be a misclassification in the source data, it is a timer switch) |
| Batteries Required | No |
10. Warranty and Support
The Westek THWH21 Water Heater Timer Switch comes with a 1-Year Warranty from the date of purchase.
For technical support, warranty claims, or further assistance, please visit the official Westek store or contact their customer service department.
Official Westek Store: Westek Store on Amazon


