
Introduction
This manual provides comprehensive instructions for the assembly of the Tamiya 1/12 scale Yamaha YZR-M1 2004 motorcycle model kit. Please read all instructions carefully before beginning assembly. This kit is designed for hobbyists aged 10 years and up, and adult supervision is recommended for younger builders. The finished model is a static display piece and is not intended for riding or active play.
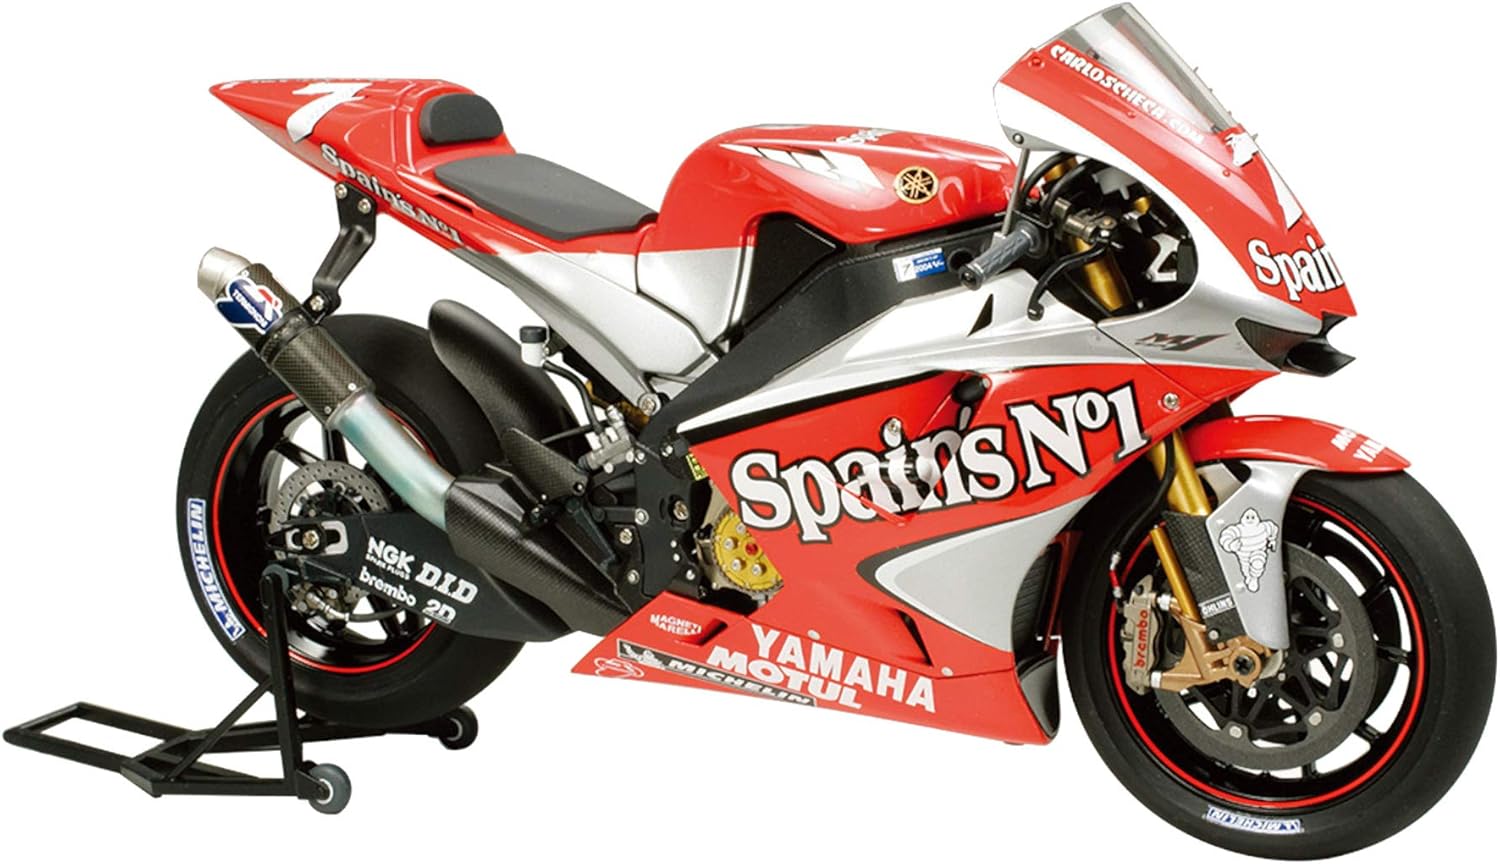
Image: Completed Tamiya 1/12 Yamaha YZR-M1 2004 model kit.
Safety Information
Always prioritize safety during model assembly. This kit contains small parts that may pose a choking hazard for young children. Keep all components and tools out of reach of infants and toddlers.
- Sharp Tools: Exercise caution when using hobby knives, cutters, and other sharp tools. Always cut away from your body.
- Adhesives and Paints: Use adhesives and paints in a well-ventilated area. Avoid inhaling fumes. Refer to the specific product's safety data sheet for detailed information.
- Small Parts: Ensure all small parts are securely attached to prevent accidental detachment and ingestion.
- Eye Protection: Consider wearing eye protection when cutting or sanding to prevent debris from entering your eyes.
Package Contents
The Tamiya 1/12 Yamaha YZR-M1 2004 model kit includes the following components:
- Plastic model kit parts (unpainted, unassembled)
- Assembly instructions manual
- Decal sheet for markings and sponsor logos
- Optional YZR-M1 front fork set
- Extra seat cowling
Tools and Materials Required
The following tools and materials are recommended for successful assembly. These are not included in the kit and must be purchased separately.

Image: Recommended tools for model assembly.
Recommended Tools:
- Angled Tweezers (Art. Nr. 300074003)
- Cutter Knife (Art. Nr. 300074013)
- Decal Scissors (Art. Nr. 300074031)
- Side Cutters for Plastic (Art. Nr. 300074035)
- Paint Brush Set "Basic" (Art. Nr. 30007066)
- Masking Tape 10mm with Dispenser (Art. Nr. 300070831)
Adhesives and Decal Solutions:
- Plastic Cement 40ml Tamiya (Art. Nr. 300087003)
- Plastic Cement 40ml extra thin Tamiya (Art. Nr. 300087038)
- Mark Fit (Strong) Decal Softener 40ml (Art. Nr. 300087193)
- Decal Adhesive Soft / Haftmittel 10ml
Assembly Instructions
Follow the numbered steps in the included paper instruction manual for detailed assembly. The general process involves cutting parts from sprues, cleaning mold lines, assembling sub-assemblies, painting, applying decals, and final assembly.
- Part Preparation: Carefully cut each part from its sprue using side cutters. Use a hobby knife or sandpaper to remove any excess plastic (mold lines or flash).
- Sub-Assembly: Assemble smaller sections of the model first, such as the engine, frame, wheels, and suspension. Test fit parts before applying adhesive.
- Painting: Refer to the painting guide section for recommended colors. Paint parts as indicated in the instructions, often before final assembly for better coverage.
- Decal Application: Apply decals after painting and a clear gloss coat (if desired). Use decal softener for better conformity to curved surfaces.
- Final Assembly: Join the painted and decaled sub-assemblies to complete the model.

Image: Exploded view and various angles of the Yamaha YZR-M1 model.
Detailed Views:

Front wheel and brake detail.
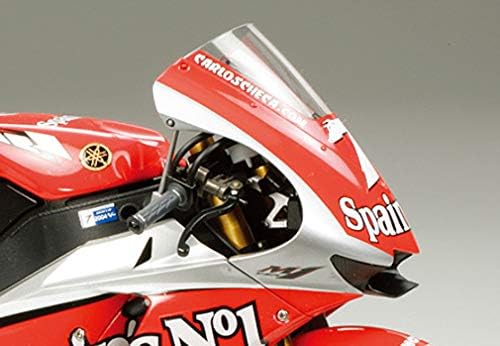
Cockpit and windscreen detail.
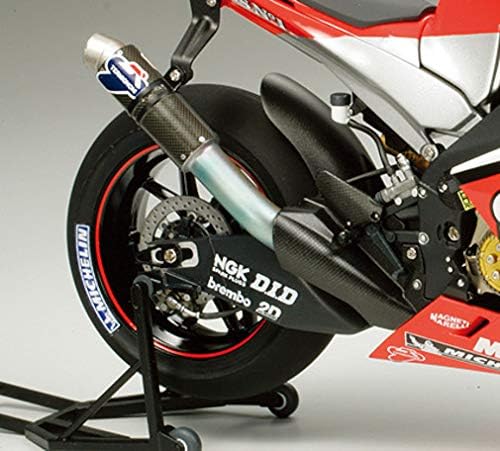
Rear wheel and exhaust detail.

Rear seat cowling and exhaust detail.
Painting Guide
Refer to the color chart below for recommended Tamiya paint colors. These are suggestions, and you may choose alternative colors based on your preference. Ensure proper ventilation when painting.

Image: Tamiya paint chart for the Yamaha YZR-M1 2004 model.
Required Paints (Examples):
- XF-1 Flat Black
- XF-16 Flat Aluminum
- X-2 White Gloss
- X-7 Red Gloss
- TS-14 Black (Spray)
- TS-49 Bright Red (Spray)
Decal Application
Decals add fine details and sponsor logos to your model. Follow these steps for best results:
- Prepare Surface: Ensure the surface where the decal will be applied is clean and smooth. A gloss clear coat can help prevent silvering.
- Cut Decal: Carefully cut out the desired decal from the sheet, leaving a small margin around the design.
- Soak Decal: Dip the decal in lukewarm water for 10-20 seconds until it can slide freely on its backing paper.
- Position Decal: Gently slide the decal from the backing paper onto the model surface. Use tweezers or a wet paintbrush to position it accurately.
- Remove Excess Water: Blot away excess water with a soft cloth or cotton swab.
- Apply Softener (Optional): For decals on curved surfaces, apply a decal softener (e.g., Tamiya Mark Fit Strong) to help the decal conform.
- Seal (Optional): Once dry, a clear topcoat (gloss or matte, depending on the desired finish) can protect the decals.
Maintenance
To ensure the longevity and appearance of your Tamiya Yamaha YZR-M1 model, follow these maintenance tips:
- Dusting: Regularly dust the model with a soft brush or compressed air to prevent dust buildup. Avoid abrasive cloths.
- Cleaning: For stubborn dirt, gently wipe with a slightly damp cloth. Avoid harsh chemicals or solvents, as they may damage paint or plastic.
- Display Environment: Display the model in a stable, dry environment away from direct sunlight, extreme temperatures, and high humidity to prevent fading, warping, or adhesive degradation.
- Handling: Handle the model by its base or sturdy parts to avoid damaging delicate components.
Troubleshooting
Encountering issues during model assembly is common. Here are some general troubleshooting tips:
- Parts Not Fitting:
- Ensure you are using the correct parts for the step.
- Check for excess plastic (flash) on the parts that might be preventing a flush fit. Carefully trim with a hobby knife.
- If parts are too tight, gently sand mating surfaces. If too loose, a small amount of filler or thicker cement might be needed.
- Paint Issues:
- Uneven Coat: Apply paint in thin, even layers. Allow each layer to dry before applying the next.
- Bubbles/Orange Peel: Ensure paint is properly thinned and applied at the correct distance (for spray paints). Humidity can also affect paint finish.
- Decal Silvering:
- This occurs when air is trapped under the decal. Apply decals over a gloss surface. Use decal softener and gently press out air bubbles.
- Missing Parts:
- Double-check the sprues and packaging. Sometimes small parts can detach during shipping.
- Contact Tamiya customer support if a part is genuinely missing.
Specifications
| Feature | Detail |
|---|---|
| Brand | TAMIYA |
| Model Name | 1/12 Yamaha YZR-M1 04 |
| Item Model Number | 14100 |
| Scale | 1:12 |
| Material | Plastic |
| Product Dimensions (L x W x H) | 6.77 x 2.2 x 2.56 inches (assembled, approximate) |
| Item Weight | 13.7 ounces (package weight) |
| Recommended Age | 10 years and up |
| Included Components | Plastic model kit, assembly instructions, decals, optional YZR-M1 front fork set, extra seat cowling |
Warranty and Support
Tamiya products are known for their quality and precision. For any issues regarding missing or defective parts, please contact Tamiya customer support directly. Keep your proof of purchase for any warranty claims. Specific warranty details may vary by region; please refer to the official Tamiya website or contact your local distributor for more information.
For additional resources, tips, and community forums, visit the official Tamiya website: www.tamiya.com


