
1. Introduction
The SOLO 456 Professional Handheld Sprayer is designed for efficient and reliable application of various liquids in garden and outdoor settings. This heavy-duty sprayer is built to withstand demanding tasks, offering durability and ease of use for professional and home users alike.
Key Features:
- Large 4-1/2-inch tank opening for effortless filling and cleaning.
- 20-inch unbreakable wand provides extended reach for various applications.
- Commercial shut-off valve with lock-on/lock-off feature minimizes user fatigue during extended use.
- Chemical-resistant seals ensure outstanding durability and compatibility with a wide range of liquids.
- Four-nozzle assortment included for multiple spraying tasks, offering versatility.

Figure 1: The SOLO 456 2.25 Gallon Professional Handheld Sprayer, showcasing its robust design and included carrying strap.
2. Safety Precautions
WARNING: Failure to follow these safety precautions may result in serious injury or property damage.
- Always read and follow the manufacturer's instructions for the specific chemical being sprayed.
- Keep the sprayer out of reach of children and pets.
- Never leave the sprayer unattended while in use.
- Always use the lock-on/lock-off feature when spraying for extended periods to prevent user fatigue and accidental discharge.
- Always wear appropriate personal protective equipment (PPE), including rubber gloves and safety goggles, when handling chemicals.
- Do not fill sprayer over maximum fill mark.
- Relieve pressure only with sprayer upright and while standing on the side of the relief valve.
- Do not modify sprayer or pressure relief valve.
- Never spray in the direction of humans, animals, or property which might be damaged by spray formula.
- Do not use disinfectants, solvents, or impregnating agents unless formulated for use in a Solo sprayer.
- Do not use liquids with a temperature above 120°F (45°C).
- Do not inflate sprayer or pressure relief valve.
- Do not use gasoline, acid, acetone, caustic, or potentially injurious chemicals.
3. Setup and Assembly
The SOLO 456 sprayer comes mostly pre-assembled. Follow these steps for final assembly and preparation for use:
- Unpacking: Carefully remove all components from the packaging. Ensure all parts listed in the manual are present.
- Attach the Wand: Connect the spray wand to the shut-off valve. Ensure the O-ring is properly seated for a leak-free connection. The wand features a built-in retainer for convenient storage.
- Select Nozzle: Choose the appropriate nozzle for your spraying task from the included assortment. The sprayer comes with a plastic adjustable nozzle, plastic fan spray nozzle, hollow cone nozzle, and jet stream nozzle. Screw the selected nozzle onto the end of the wand.
- Attach Carrying Strap: Securely attach the carrying strap to the designated points on the sprayer tank for comfortable transport.

Figure 2: Exploded diagram illustrating the various components and features of the SOLO 456 sprayer, including the pump, tank, wand, and nozzles.

Figure 3: The SOLO 456 sprayer equipped with its carrying strap, demonstrating portability and ease of handling.
4. Operating Instructions
- Filling the Tank: Unscrew the pump assembly from the tank. The large 4-1/2-inch opening facilitates easy filling. Pour your desired chemical solution (mixed according to manufacturer instructions) into the tank. Do not exceed the maximum fill line.
- Pressurizing the Sprayer: Re-insert and securely tighten the pump assembly onto the tank. Pump the handle up and down repeatedly to build pressure inside the tank. The automatic relief valve will vent excess pressure at 45 PSI.
- Spraying: Aim the nozzle at the target area. Squeeze the shut-off valve handle to begin spraying. For continuous spraying, engage the lock-on feature on the handle. Release the lock for intermittent spraying.
- Adjusting Spray Pattern: Rotate the nozzle cap to adjust the spray pattern from a fine mist to a solid stream, depending on your application needs.
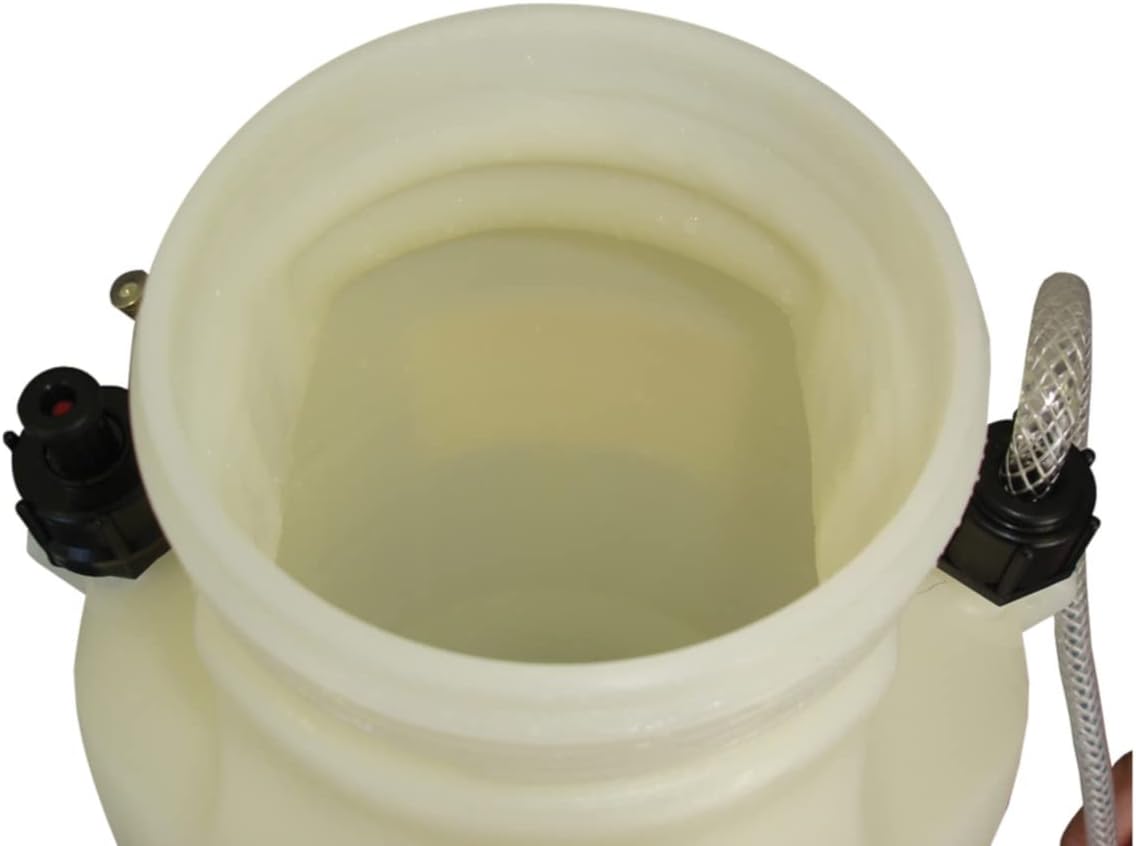
Figure 4: Close-up view of the large 4-1/2-inch tank opening, designed for easy filling and cleaning of the sprayer.

Figure 5: An internal view of the sprayer tank, showing the wide mouth for convenient access.

Figure 6: The pump handle of the SOLO 456 sprayer, used to pressurize the tank for spraying.

Figure 7: A user demonstrating the application of liquid to plants using the SOLO 456 handheld sprayer.

Figure 8: The SOLO 456 sprayer in use, applying a fine mist to a bed of colorful flowers.
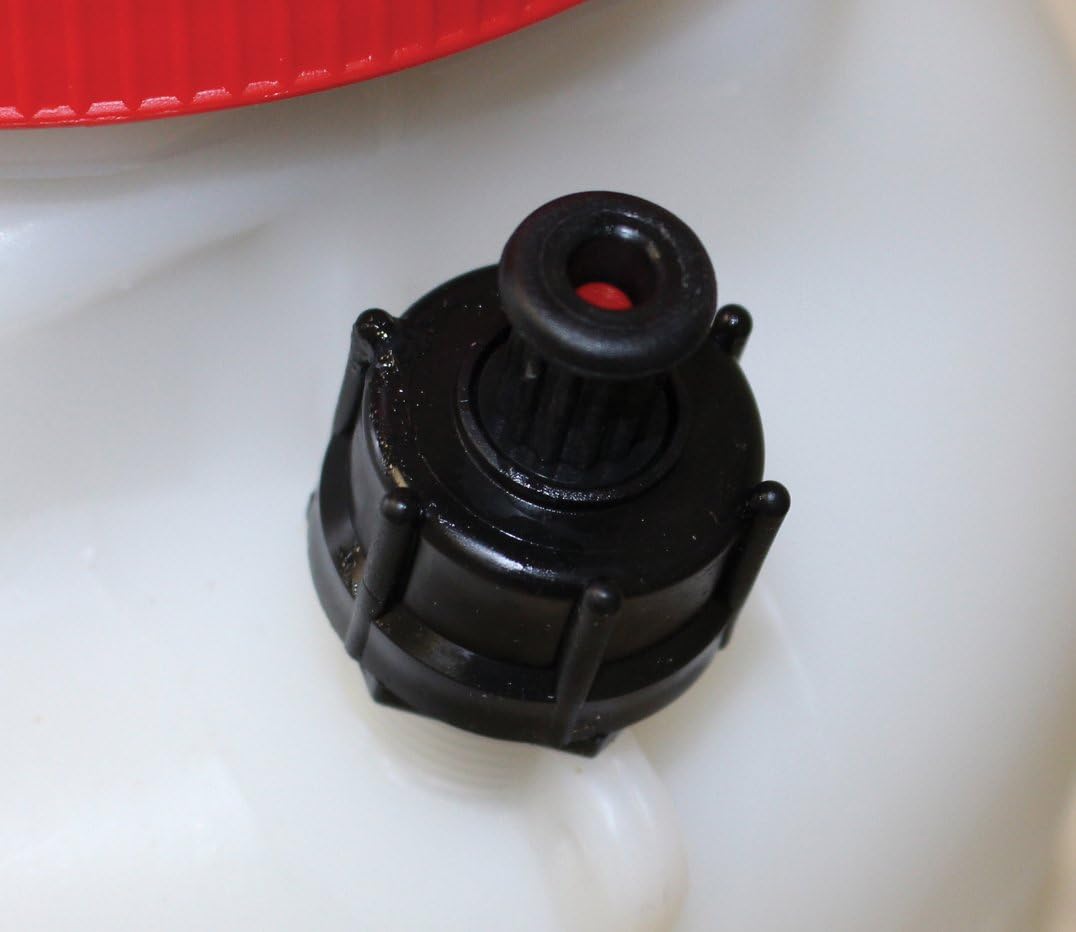
Figure 9: A detailed view of the sprayer's nozzle, highlighting its adjustable design for various spray patterns.
Video: Solo Sprayer Overview
This video provides a comprehensive overview of various Solo sprayer types, including handheld models, their functions, and intended uses. It helps in understanding how to select the right sprayer for specific tasks and chemicals.
5. Maintenance
Proper maintenance ensures the longevity and optimal performance of your SOLO 456 sprayer.
- Cleaning After Each Use: After each use, clean the sprayer thoroughly. Fill the tank with clean water and spray until the tank is empty to flush out any chemical residue from the wand and nozzle. For certain chemicals, a mild detergent may be required.
- Nozzle Cleaning: If the nozzle becomes clogged, remove it and clean it with a soft brush or by rinsing with water. Do not use metal objects to clear the nozzle as this may damage it.
- Filter Maintenance: The shut-off valve may contain a filter. Periodically check and clean this filter to ensure proper flow and prevent clogging.
- Seal Inspection: Regularly inspect all seals and O-rings for wear or damage. Replace any worn parts to prevent leaks and maintain pressure. The chemical-resistant Viton® seals provide outstanding durability.
- Storage: Store the sprayer in a cool, dry place, away from direct sunlight and freezing temperatures. Ensure the tank is empty and clean before storage. Relieve any pressure in the tank before storing.
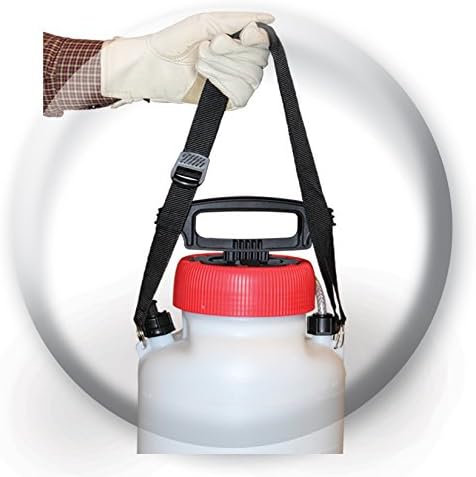
Figure 10: The pump assembly of the SOLO 456 sprayer, which can be removed for cleaning and maintenance.
6. Troubleshooting
This section addresses common issues you might encounter with your SOLO 456 sprayer.
- No Pressure or Low Pressure:
- Ensure the pump assembly is securely tightened onto the tank.
- Check for any leaks around the pump, hose, or nozzle connections. Tighten connections or replace worn seals/O-rings.
- Inspect the pump piston cup for wear or damage. Replace if necessary.
- Verify that the pressure relief valve is not stuck open.
- No Spray or Irregular Spray Pattern:
- Check if the nozzle is clogged. Clean it as described in the Maintenance section.
- Ensure the filter in the shut-off valve is clean and free of debris.
- Confirm that the liquid in the tank is sufficient and not too viscous for the sprayer.
- Leaking:
- Tighten all connections, including the pump, hose, and nozzle.
- Inspect all O-rings and seals for cracks, tears, or hardening. Replace any damaged seals.
- Ensure the tank cap is properly sealed.
7. Specifications
| Feature | Detail |
|---|---|
| Brand | SOLO |
| Model Name | Solo 456 2.25 Gallon Professional Handheld Sprayer with Carrying Strap |
| Item Model Number | 456 |
| Tank Volume | 2.25 Gallons (2-1/4 Gallon) |
| Color | White |
| Material | Plastic (High-Density Polyethylene - HDPE) |
| Product Dimensions | 9"W x 24"H |
| Item Weight | 5.89 pounds |
| Power Source | Handheld (Manual Pump) |
| Maximum Pressure | 45 Pound per Square Inch (PSI) |
| Included Components | Sprayer, Wand, Shut-off Valve, 4 Nozzles, Carrying Strap, Instructions Guide |
| Seals | Viton® (Chemical Resistant) |
8. Warranty and Support
SOLO Compression Sprayers are covered by Solo's 5-Year Limited Warranty against defects in material or workmanship. For specific warranty details, please refer to the warranty page in your product's instruction guide or visit the official Solo website.
If you are missing parts, have questions, or need to make a warranty claim, do not take this unit back to the store. Please call 1-800-SOLO-INC or visit us.solo.global for customer service and support.
Return Policy: This product is eligible for a 30-day refund/replacement return policy when purchased through Amazon.


