
Introduction
The Stant Radiator Cap Model 10229 is a crucial component of your vehicle's cooling system, designed to maintain the correct pressure within the radiator. This pressure raises the boiling point of the coolant, preventing overheating and ensuring efficient engine operation. This cap is specifically engineered for a 13 PSI system and fits a 3/4" deep "A" size filler neck. It features a durable metal construction with a 4-ear design, suitable for both open and closed cooling systems.
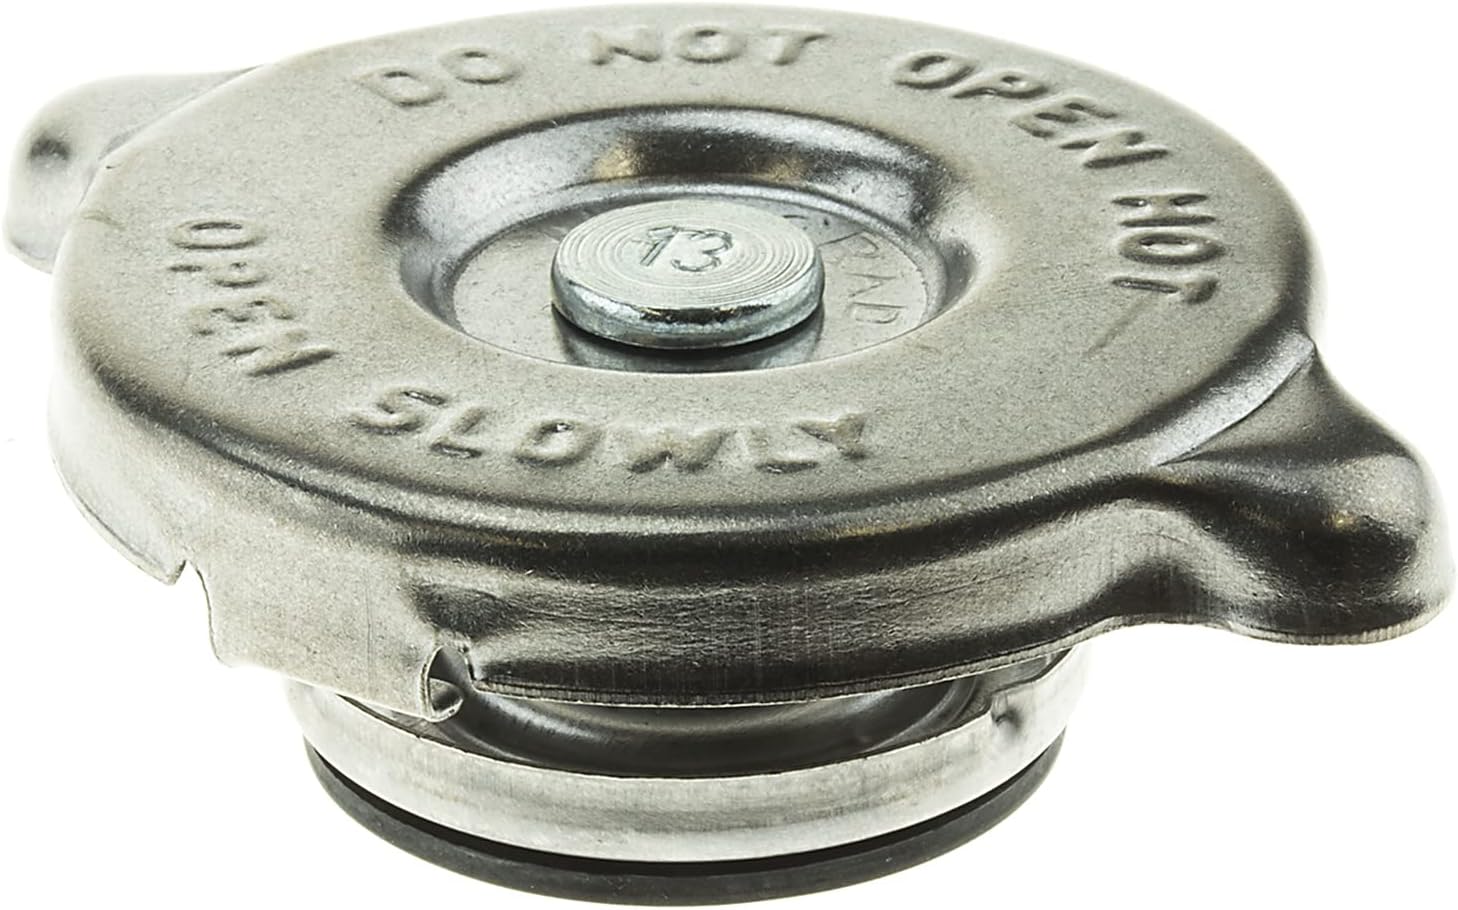
Image: Top view of the Stant Radiator Cap 10229, clearly displaying the 'DO NOT OPEN HOT' warning and the '13' pressure rating in the center. This view highlights the cap's robust metal construction and the four-ear design for secure fitting.
Setup and Installation
Proper installation of your Stant Radiator Cap is essential for the safe and effective operation of your vehicle's cooling system. Always ensure the engine is completely cool before attempting to remove or install the radiator cap.
Safety Precautions:
- Never open a hot or warm cooling system. Pressurized hot coolant can cause severe burns.
- Wear appropriate personal protective equipment, such as gloves and eye protection.
- Ensure the vehicle is on a level surface and the parking brake is engaged.
Installation Steps:
- Verify the engine is completely cool.
- Slowly twist the old radiator cap counter-clockwise to release any residual pressure. If you hear a hissing sound, stop and wait for it to subside before fully removing the cap.
- Inspect the radiator filler neck for any debris, corrosion, or damage. Clean if necessary.
- Take your new Stant Radiator Cap Model 10229. Ensure the rubber seal on the bottom of the cap is clean and free of defects.
- Place the new cap onto the radiator filler neck, aligning the ears of the cap with the slots on the neck.
- Press down firmly and twist clockwise until the cap is securely seated and locked into place. Do not overtighten.

Image: Side view of the Stant Radiator Cap 10229, illustrating the internal spring mechanism and the lower rubber seal. This view is helpful for understanding how the cap creates a pressure seal within the radiator neck.
Operating Principles
The Stant Radiator Cap Model 10229 is designed to maintain a specific pressure (13 PSI) within your vehicle's cooling system. As the engine heats up, the coolant expands, increasing pressure. The cap's spring-loaded valve allows pressure to build up to the specified limit. This increased pressure raises the boiling point of the coolant, preventing it from boiling over at normal operating temperatures. When the engine cools down, the coolant contracts, creating a vacuum. The cap's vacuum valve opens to allow coolant from the overflow reservoir back into the radiator, preventing the radiator hoses from collapsing.
It is critical to ensure the cap is always securely fastened during vehicle operation to maintain proper system pressure and prevent coolant loss.

Image: A close-up top view of the Stant Radiator Cap 10229, emphasizing the '13' marking in the center, which indicates its pressure rating of 13 PSI. This detail is crucial for ensuring compatibility with your vehicle's cooling system requirements.
Maintenance
Regular inspection of your radiator cap is important for the longevity and efficiency of your cooling system. A faulty cap can lead to overheating or coolant loss.
Inspection Guidelines:
- Visual Check: Periodically inspect the cap for any signs of damage, such as cracks, dents, or corrosion.
- Rubber Seal: Check the condition of the rubber seals (both the main seal and the vacuum valve seal). They should be pliable and free of cracks, hardening, or swelling. A damaged seal can prevent the cap from holding pressure correctly.
- Spring Mechanism: Gently press the center valve to ensure the spring moves freely and returns to its original position without sticking.
- Filler Neck: Inspect the radiator filler neck for any corrosion or damage that might prevent a proper seal.
Cleaning:
If the cap appears dirty, wipe it clean with a damp cloth. Avoid using harsh chemicals that could damage the rubber components.
Replacement:
Radiator caps are wear items. It is generally recommended to replace your radiator cap every 2-3 years, or whenever you perform a major cooling system service, even if it appears to be in good condition. This proactive approach helps prevent unexpected cooling system issues.

Image: Bottom view of the Stant Radiator Cap 10229, clearly showing the main rubber seal that creates the pressure seal against the radiator neck, and the smaller vacuum valve in the center. This view is critical for inspecting the integrity of the sealing components.
Troubleshooting
If you experience issues with your vehicle's cooling system, the radiator cap can sometimes be a contributing factor. Here are common symptoms and potential cap-related causes:
| Symptom | Potential Radiator Cap Issue | Action |
|---|---|---|
| Engine Overheating | Cap not holding pressure (worn spring, damaged seal) | Inspect cap seals and spring; replace cap if faulty. |
| Coolant Leaking from Cap | Damaged or improperly seated cap; incorrect pressure rating | Ensure cap is fully tightened; inspect seals; verify correct pressure rating for vehicle. |
| Collapsed Radiator Hoses (after cooling) | Vacuum valve stuck closed, preventing coolant return | Inspect vacuum valve for debris or sticking; replace cap. |
| Coolant Reservoir Overflowing Excessively | Pressure valve opening too early or stuck open | Inspect pressure valve; replace cap. |
If troubleshooting the radiator cap does not resolve your cooling system issues, it is recommended to consult a qualified automotive technician for further diagnosis.
Specifications
Key specifications for the Stant Radiator Cap Model 10229:
- Brand: Stant
- Model: 10229 (Radiator Cap, Cam-On, 13 psi, Metal)
- Pressure Rating: 13 PSI
- Filler Neck Compatibility: 3/4" deep "A" size filler neck
- Material: Metal
- Color: Black (though the cap itself is metallic silver)
- Closure Type: Twist-On
- Item Dimensions (L x W x H): 2.6 x 2.6 x 2.6 inches
- Item Weight: Approximately 2.4 ounces (0.15 Pounds)
- Vehicle Service Type: Car (Vehicle Specific Fit)
- Manufacturer Part Number: 10229
- UPC: 033342110311, 333420012996, 033342001299
- Country of Origin: China
Warranty Information
Specific warranty details for the Stant Radiator Cap Model 10229 are provided by the manufacturer. Please refer to the official Stant website or contact Stant customer service for the most current and comprehensive warranty policy applicable to this product.
Support
For technical assistance, product inquiries, or support regarding your Stant Radiator Cap Model 10229, please contact Stant directly through their official customer support channels. Contact information can typically be found on the Stant corporate website or product packaging.