Learn how to seamlessly integrate aftermarket radios in select Nissan vehicles with the RP4-NI13 RadioPRO Radio Replacement Interface. This user manual provides step-by-step instructions and important notes, including wiring connection charts and SWC compatibility. Ensure smooth installation and retain steering wheel controls with this efficient interface. Ideal for users of RP4-NI13 and other PAC radio replacement interfaces.
The RP4.2-TY11 RadioPRO 4 Radio Replacement Interface for Select Toyota Vehicles user manual provides instructions on how to install and use the interface, which allows for the replacement of a factory radio while retaining features such as steering wheel controls and factory audio amplifier. Learn how to program two radio functions per SWC button and connect the four interface connectors properly. Check the revision info before installation.
The CRUX SWRNS-63T Radio Replacement Interface Owner's Manual provides pre-programmed settings to retain steering wheel controls, supports Bose amplified and non-amplified systems, and includes EIA color coded wiring for easy installation. Learn about dip switch settings and troubleshooting for this product. Get the most out of your aftermarket radio in select Nissan vehicles.
Kit Assembly1. Decide which main frame (faceplate) to use for installa-tion (with or without the splash guard).2. Install the side brackets to rear of main frame.3. Insert the stainless steel nuts (provided) to the side brackets.They are sized to fit snug in the hex openings. NOTESome torce may be required to seat them all the way inthe openings.4. Insert an ISO mountable single DIN radio between theleft and right IsO mount brackets and loosely attach tosides of the radio using the screws provided with radiowhen possible, or use the screws supplied with kit.5. Using the main frame of the HDKO01X as a guide, slideradio forward or backward to desired depth/look and thentighten screws to the radio. lf the main frame with splashguard is used for installation, ensure the hinged dooropens and shuts properly before tightening of the screwsto the radio.6. Slide the included rubber gasket onto the front edge ofthe main frame being used.7. Insert the kit and radio combo into the factory radio opening from the back side of the inner fairing.8. If the kit does not fit snug between the radio mountingbrackets then the optional spacers (included) may needto be used.9. Secure the kit and radio combo using the supplied hard-ware (use the short screws, or longer screws if spacerswere used).
The CRUX SWRHN-62B Radio Replacement Interface is a pre-programmed solution that retains factory features in select Honda vehicles while functioning with an aftermarket radio. With easy-to-follow installation instructions and EIA color coded wiring, this interface includes an antenna adapter and is designed to retain factory steering wheel controls and auxiliary input. Please note that it does not support amplified systems, retain rear seat entertainment systems, or factory navigation systems. Ideal for Honda 2006-2011 Civic/Si, 2006-2011 CR-V, 2010-2013 Insight (Non-Nav), and 2008-2011 Odyssey models.
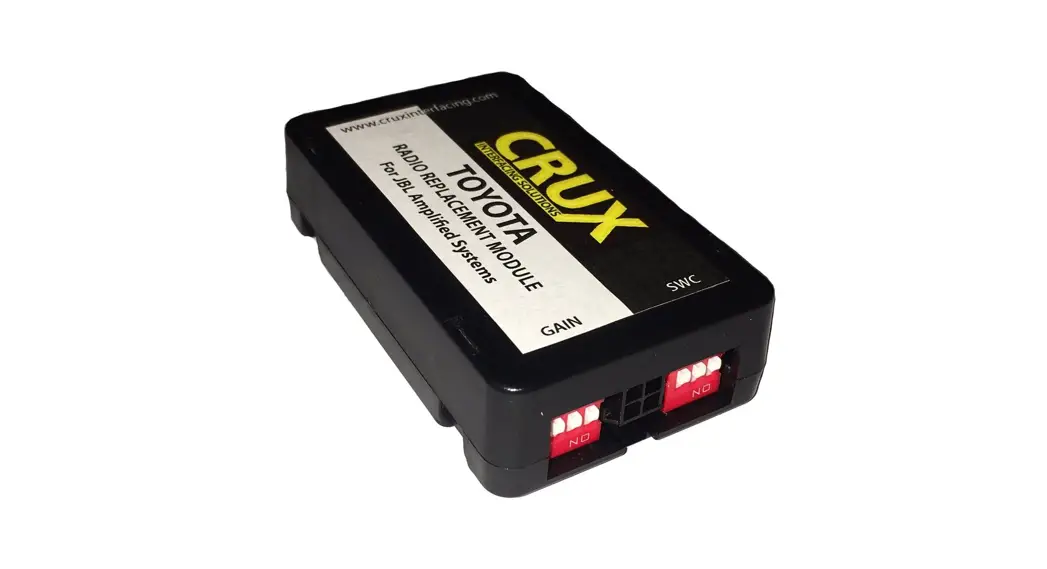
The SWRTY-61P Interface for Select Toyota Models with JBL is a radio replacement interface that retains factory features, including steering wheel controls and JBL amplifier, while functioning with an aftermarket radio. This instruction manual includes installation diagram and instructions, as well as dip switch settings for different radio brands. Compatible with Toyota vehicles 2018-up.
The RP5-GM32 Radio Replacement Interface with Steering Wheel Control and Telematics Retention is a must-have for select General Motors vehicles with 29 Bit Data Systems. This user manual provides installation steps and important notes for retaining factory features such as Warning Chimes, Bose Amplifier, and Rear Seat Entertainment. Get the best possible sound out of the CMX by mounting it in a place free and clear of obstructions.
The CRUX SWRTY-61P Radio Replacement Interface user manual provides installation instructions and features for this product, including retaining factory features in select Toyota vehicles while functioning with an aftermarket radio, pre-programmed to retain factory Steering Wheel Controls, retaining the factory JBL amplifier, and more. Compatible with various Toyota models such as Camry, RAV4, and 4Runner.
The SWRGM-49 Radio Replacement Interface with Steering Wheel Control is designed for select GM LAN 29-Bit vehicles, retaining factory features while functioning with an aftermarket radio. This product provides iPhone Voice Recognition, Bose and non-Bose audio system support, and chime function retention. Additionally, this interface retains factory backup camera and sensors/park assist system functions. Installation is made easy by EIA color coding wiring and included parts. Get the most out of your car entertainment system with the SWRGM-49 from CRUX.
The RP5-GM31 Radio Replacement Interface with Steering Wheel Control and Telematics Retention allows for the replacement of a factory radio in select General Motors vehicles with 29 Bit Data-Bus while retaining factory features. This user manual provides step-by-step instructions and important notes for proper installation and functionality of the RP5-GM31. Perfect for those looking to upgrade their GM vehicle's audio system.