1. Bubuka
The Leica 8x42 Geovid R Rangefinder Binoculars combine high-quality optical performance with an integrated laser rangefinder. This manual provides detailed instructions for the proper setup, operation, and maintenance of your Geovid R binoculars to ensure optimal performance and longevity.
These binoculars are designed for various outdoor activities, offering clear visuals and precise distance measurements. The integrated Equivalent Horizontal Range (EHR) function assists in calculating accurate distances for angled shots.
2. komponén Leuwihview
Familiarize yourself with the main components of your Leica Geovid R binoculars.
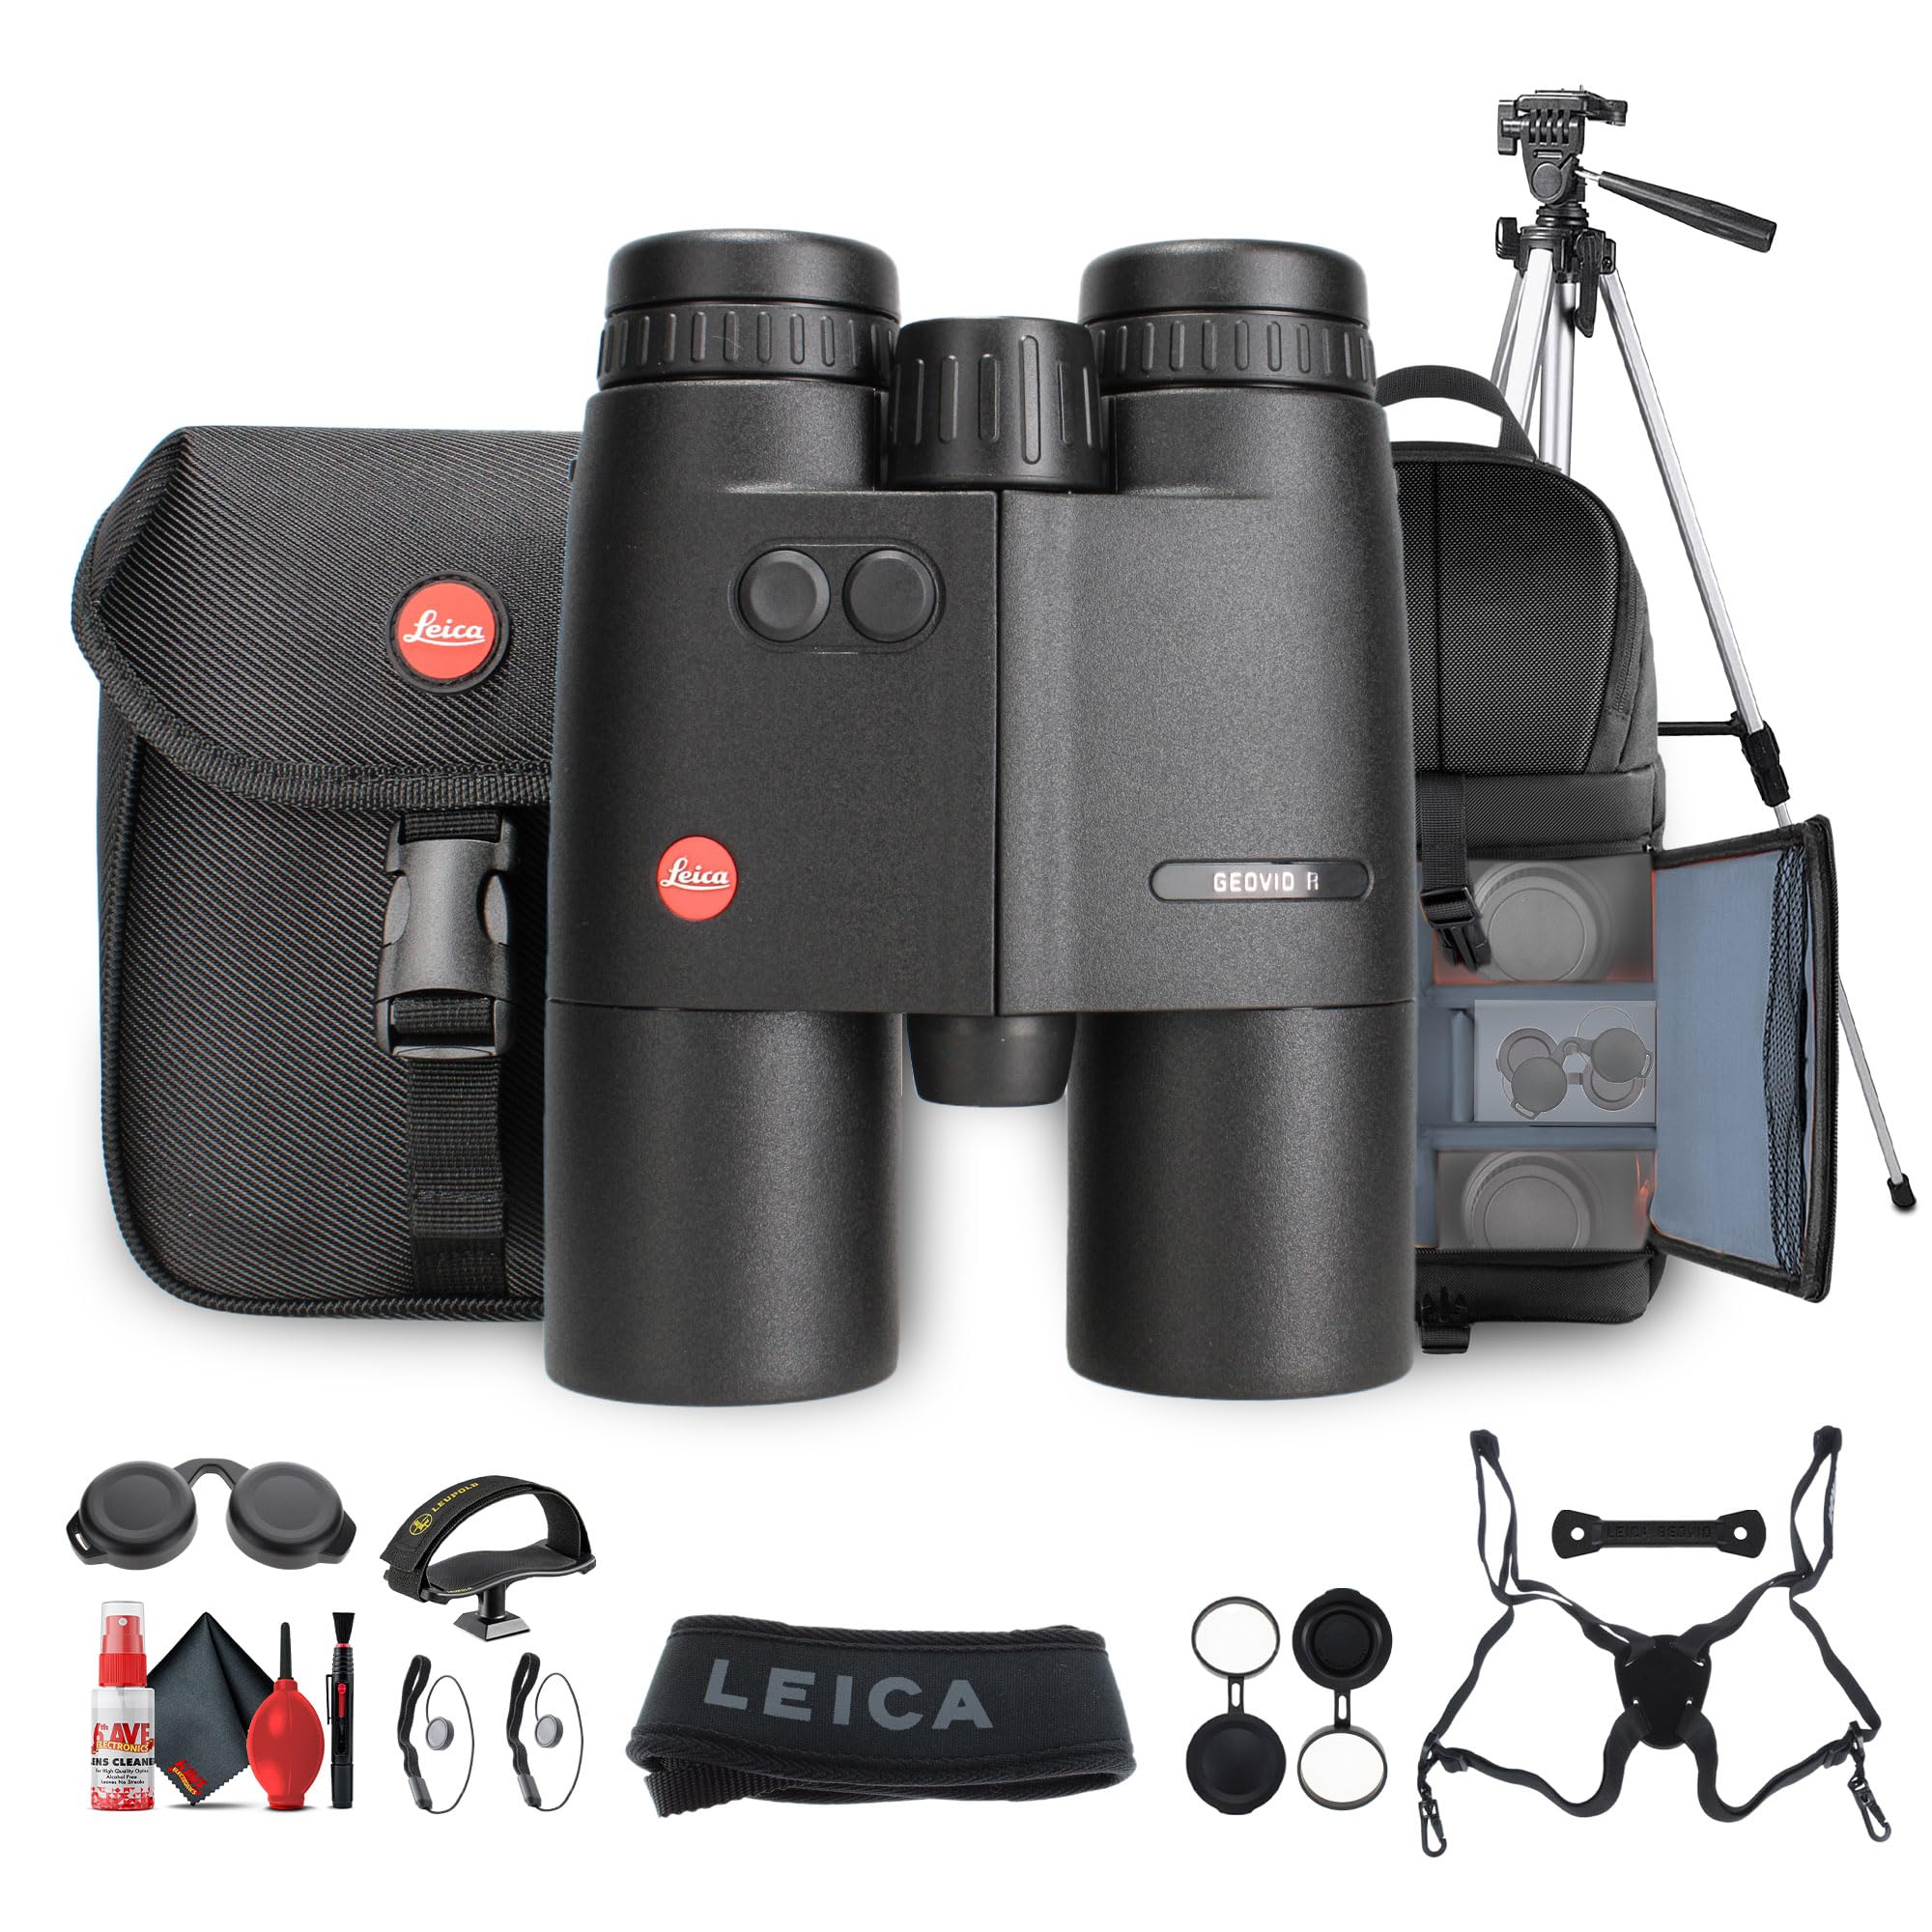
Gambar 2.1: Hareupeun view of the Leica 8x42 Geovid R Rangefinder Binoculars. This image shows the objective lenses, the central focusing wheel, and the two control buttons on the top housing.
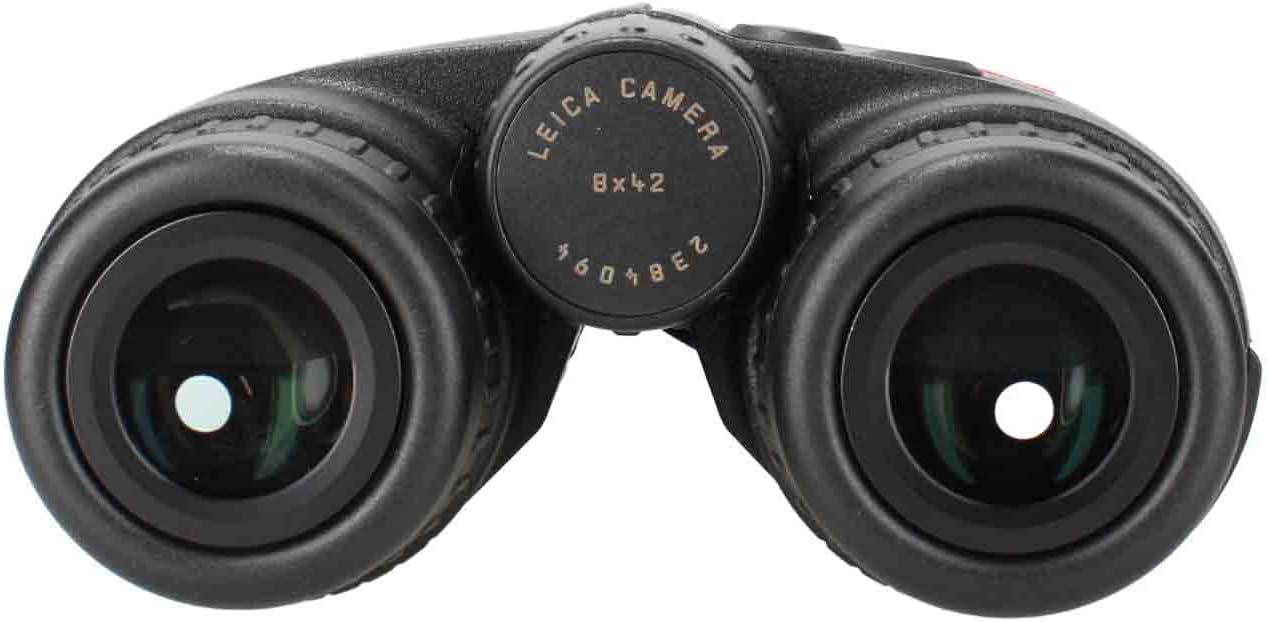
Gambar 2.2: Kacamata view of the Leica 8x42 Geovid R Rangefinder Binoculars. This image highlights the adjustable eyecups and the diopter adjustment ring on the right eyepiece.
- Lensa Objektif: The large lenses at the front of the binoculars, responsible for gathering light.
- Cangkir panon: Bisa diatur supaya nyaman viewnganggo atanapi henteu nganggo kacamata.
- Penyesuaian Diopter: Perenahna dina okuler katuhu, dianggo pikeun ngimbangan bédana paningal antara panon anjeun.
- Roda Fokus Tengah: Used to bring objects into sharp focus.
- Rangefinder Buttons: Two buttons on the top housing for activating and operating the laser rangefinder.
- Engsel: Allows adjustment of the interpupillary distance.
3. Setélan
3.1. Ngagantelkeun Tali Mawa
Thread the provided neoprene carrying strap through the strap lugs on the sides of the binoculars. Ensure it is securely fastened before use.
3.2. Nyelapkeun Batré
The Geovid R requires one CR2 battery for the rangefinder function. Locate the battery compartment, typically on the underside or side of the main body. Unscrew the cap, insert the CR2 battery with the correct polarity, and securely replace the cap.
3.3. Nyaluyukeun Eyecups
Rotate the eyecups counter-clockwise to extend them for use without eyeglasses. Rotate clockwise to retract them for use with eyeglasses. Adjust until you see a full, clear field of view tanpa vignét.
3.4. Nyaluyukeun Jarak Antarpupillary
Hold the binoculars up to your eyes and adjust the hinge by moving the barrels closer together or further apart until you see a single, circular field of view.
3.5. Diopter adjustment
- Close your right eye and look through the left eyepiece at a distant object. Rotate the central focusing wheel until the object is in sharp focus.
- Close your left eye and look through the right eyepiece. Rotate the diopter adjustment ring (on the right eyepiece) until the object is in sharp focus.
- Your binoculars are now adjusted for your individual vision. Future focusing will only require the central focusing wheel.
4. Parentah Operasi
4.1. Observasi Dasar
Once the binoculars are set up, simply look through the eyepieces and use the central focusing wheel to bring your desired object into sharp focus.
4.2. Using the Laser Rangefinder
The Geovid R features an integrated laser rangefinder for precise distance measurements.
- Aim the binoculars at your target.
- Press one of the rangefinder buttons (located on the top housing) briefly. A reticle will appear in the display.
- Press the button again to activate the laser and measure the distance. The measured distance will be displayed in yards or meters (depending on your settings).
- For continuous scanning, press and hold the rangefinder button. The display will continuously update the distance as you scan across different targets.
The maximum range for distance measurement is up to 2000 yards.
4.3. Equivalent Horizontal Range (EHR) Function
The EHR function provides a ballistically corrected distance for angled shots, particularly useful in mountainous or uneven terrain. This function calculates the horizontal distance to the target, which is crucial for accurate trajectory compensation.
- To activate EHR, refer to your device's specific menu settings (usually accessed by holding down a rangefinder button or through a combination of presses).
- Once activated, when you take a measurement, the display will show both the line-of-sight distance and the EHR value.
- The EHR function is accurate up to 1200 yards.
5. Pangropéa
5.1. Cleaning the Optics
Use a soft, lint-free cloth or a lens brush to remove dust and loose particles from the lenses. For stubborn smudges or fingerprints, use a specialized optical cleaning solution and a clean microfiber cloth. Avoid using abrasive materials or excessive pressure, which can scratch the lens coatings.
5.2. Cleaning the Housing
Ngusap perumahan luar ku lemes, damp lawon. Ulah make bahan kimia atawa pangleyur kasar.
5.3. Panyimpenan
Store your binoculars in a cool, dry place, preferably in the provided Cordura case, away from direct sunlight and extreme temperatures. Remove the battery if storing for extended periods to prevent leakage.
6. Cara ngungkulan
| Masalah | Mungkin Cukang lantaranana | Solusi |
|---|---|---|
| Gambar buram atawa teu fokus. | Improper focus or diopter setting. | Adjust the central focusing wheel. Re-adjust the diopter if necessary (refer to Section 3.5). |
| Rangefinder not displaying distance. | Low battery, incorrect target, or obstruction. | Replace the CR2 battery. Ensure the target is within the rangefinder's capabilities and not obscured. |
| Layarna redup atanapi teu katingali. | Batré lemah atanapi kaayaan cahaya anu ekstrim. | Replace the CR2 battery. Adjust display brightness settings if available (refer to device menu). |
| Teu bisa ngahontal hiji, widang sirkular tunggal view. | Incorrect interpupillary distance. | Adjust the hinge until a single field of view is achieved (refer to Section 3.4). |
7. Spésifikasi
- model: Leica 8x42 Geovid R (40811)
- Magnification: 8x
- Diaméter lensa objektif: 42 mm
- Ukuran produk: 10 x 7 x 8 inci (25.4 x 17.78 x 20.32 cm)
- Beurat barang: 8.56 pon (3.88 kg)
- Laser Rangefinder Range: Nepi ka 2000 yard
- EHR (Equivalent Horizontal Range) Range: Nepi ka 1200 yard
- Jenis Batré: CR2
- Pabrikan: Leica
8. Garansi jeung Rojongan
For detailed warranty information and customer support, please refer to the official Leica website or contact your authorized Leica dealer. Keep your proof of purchase for warranty claims.
Pabrikan: Leica
Websitus: www.leica-camera.com (This is a general link, specific support links may vary by region).