1. Bubuka
This manual provides detailed instructions for the installation, operation, and maintenance of your KICKER CX1200.1 Mono Amplifier and KISLOC2 Line Output Converter bundle. Please read this manual thoroughly before attempting installation or operation to ensure proper use and optimal performance of your car audio system components.
2. Émbaran Kasalametan
Salawasna perhatikeun pancegahan kaamanan di handap ieu salami instalasi sareng operasi:
- Disconnect the vehicle's battery negative terminal before beginning any wiring.
- Pastikeun sadaya kabel dihubungkeun sareng diamankeun kalayan leres pikeun nyegah karusakan atanapi korsleting.
- Use appropriate gauge wiring for power, ground, and speaker connections as specified.
- Avoid mounting components in locations that obstruct vehicle operation or safety devices.
- Do not expose components to moisture or extreme temperatures.
- Milarian pamasangan profésional upami anjeun henteu yakin kana léngkah naon waé.
3. Eusi Paket
Your KICKER CX1200.1 Mono Amplifier and KISLOC2 Line Output Converter bundle includes:
- KICKER 46CXA12001 Mono Class D Subwoofer Amppangagung
- KICKER 46KISLOC2 K-Series Stereo Line-Output Converter
- User Manuals for each component (this document serves as a combined guide)

Image: KICKER CX1200.1 Mono Amplifier and KISLOC2 Line Output Converter Bundle
4. Produk Langkungview
4.1 KICKER CX1200.1 Mono Amplifier (Model: 46CXA12001)
The KICKER CX1200.1 is a powerful Class-D mono amplifier designed for subwoofer applications. It delivers high power output with efficient operation and includes advanced features for precise sound tuning.
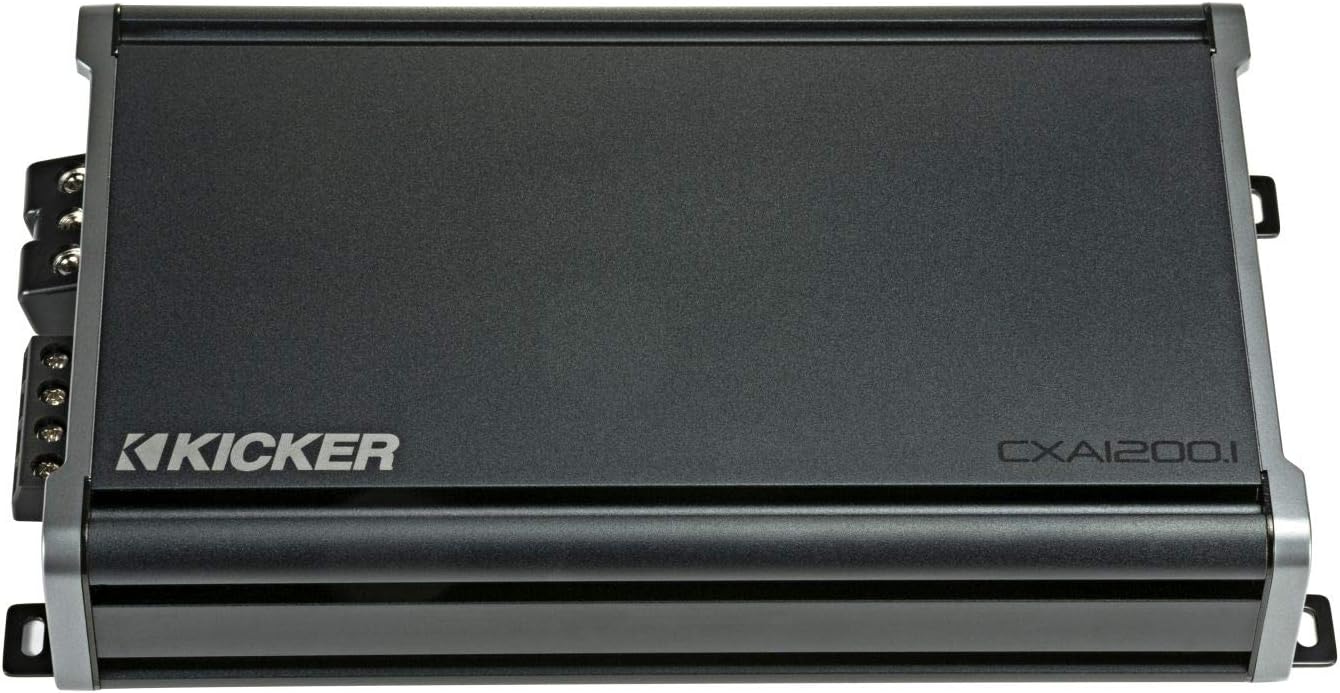
Gambar: Top view of the KICKER CX1200.1 Mono Amppangagung.

Image: Input and output connections of the KICKER CX1200.1 Mono Amppangagung.

Image: Power and speaker connections of the KICKER CX1200.1 Mono Amppangagung.
4.2 KICKER KISLOC2 Line Output Converter (Model: 46KISLOC2)
The KICKER KISLOC2 is a K-Series Stereo Line-Output Converter designed to integrate aftermarket amplifiers with factory or OEM head units that lack RCA outputs. It provides a clean, flat frequency response and includes a remote turn-on wire.

Gambar: Hareupeun view of the KICKER KISLOC2 Line Output Converter with wiring.

Gambar: Angled view of the KICKER KISLOC2 Line Output Converter with wiring.

Gambar: Sisi view of the KICKER KISLOC2 Line Output Converter with wiring.
5. Setup jeung Instalasi
Proper installation is crucial for optimal performance and safety. It is recommended to have this equipment installed by a professional car audio technician.
5.1 Pedoman Umum Kabel
- Kawat kakuatan: Connect directly to the positive terminal of the vehicle's battery. Use an appropriate fuse holder within 18 inches of the battery.
- Kawat taneuh: Connect to a clean, solid metal point on the vehicle's chassis, as close to the amplifier as possible. Ensure paint is scraped away for good contact.
- Kabel Pangaktipkeun Jarak Jauh: Connect to the head unit's remote output or the KISLOC2's remote output.
- Kabel Speaker: Use appropriate gauge speaker wire for your subwoofers.
5.2 KISLOC2 Line Output Converter Installation
- Identify the speaker wires from your factory head unit or amplifier that you wish to convert to RCA outputs.
- Connect the KISLOC2's input wires (typically color-coded) to the corresponding speaker wires.
- Connect the KISLOC2's 12-volt remote wire to the remote input of your CX1200.1 amplifier. The KISLOC2 provides a 100mA remote output.
- Connect RCA cables from the KISLOC2's output to the RCA input of the CX1200.1 amppangagung.
- The KISLOC2 features an LED indicator for DC offset turn-on, which will illuminate when it detects a signal and turns on.
5.3 CX1200.1 Mono AmpPamasangan lifier
- Gunung nu amplifier securely in a location that allows for adequate ventilation and is protected from moisture.
- Connect the power and ground wires as per the general guidelines, ensuring proper fusing.
- Connect the remote turn-on wire from the KISLOC2 or head unit to the ampinput jarak jauh lifier.
- Connect RCA cables from the KISLOC2 (or head unit if applicable) to the amplifier's input. The CX1200.1 features FIT+ technology, allowing it to accept input signals up to 40 volts, eliminating the need for a line-out converter in some cases.
- Sambungkeun subwoofer anjeun ka amplifier's speaker output terminals, observing correct polarity and impedance matching.
6. Parentah Operasi
6.1 Initial Power-Up and Gain Adjustment
- Saatos sadaya sambungan parantos dilakukeun, sambungkeun deui batré kendaraan.
- Hurungkeun unit sirah anjeun. The amplifier should power on (indicated by an LED).
- Nyetél amplifier's gain control to its minimum position.
- Play a familiar music track at a moderate volume level on your head unit.
- Lalaunan ningkatkeun teh amplifier's gain until you hear slight distortion, then back it off slightly. This sets the maximum clean output.
6.2 Crossover and Bass Boost Adjustment
- Aktif Crossover: The CX1200.1 features a variable 50Hz–200Hz, 12dB/octave low-pass crossover. Adjust this to filter out high frequencies from your subwoofer, typically set between 80Hz and 120Hz depending on your subwoofers and other speakers.
- Saringan Subsonik: A 25Hz @24dB/octave subsonic filter protects your subwoofer from damaging ultra-low frequencies. It is recommended to keep this engaged.
- KickEQ Boost: The variable 0-6dB @40Hz bass boost allows you to enhance low-frequency output. Use sparingly to avoid distortion and speaker damage.
- Kontrol Bass Jauh: If using an optional CXARC Remote Bass Control, connect it to the amplifier for convenient bass level adjustment from the driver's seat.
7. Pangropéa
Your KICKER components require minimal maintenance. Keep them clean and free from dust and debris. Use a soft, dry cloth for cleaning. Do not use harsh chemicals or solvents. Ensure all connections remain secure over time.
8. Cara ngungkulan
If you experience issues, refer to the following common problems and solutions:
| Masalah | Mungkin Cukang lantaranana | Solusi |
|---|---|---|
| Taya kakuatan pikeun amppangagung | Blown fuse, loose power/ground connection, no remote signal | Check fuse, verify power/ground connections, ensure remote wire is connected and receiving 12V. |
| Taya sora tina subwoofer | Loose RCA cables, incorrect gain setting, speaker wires disconnected, ampLifier dina modeu panyalindungan | Check RCA connections, adjust gain, verify speaker wiring, check amplifier status LED. |
| Sora distort | Gain set too high, incorrect crossover settings, damaged speaker | Reduce gain, adjust crossover, inspect speaker for damage. |
| KISLOC2 LED not on | No speaker level input, low input signal | Verify speaker wire connections from head unit, ensure head unit is on and playing audio. |
9. Spésifikasi
9.1 KICKER CX1200.1 Mono Amplifier (46CXA12001)
- Kaluaran kakuatan: 600x1 Watts RMS at 4 Ohms, 1200x1 Watts RMS at 2 Ohms, 1200x1 Watts RMS at 1 Ohm
- Tanggapan Frékuénsi: 25Hz - 200Hz
- Sensitipitas Input: 250mV-10V (Low Level), 1V-40V (High Level)
- Rasio Signal-to-Noise: > 95dB
- Aktif Crossover: Variable 50Hz–200Hz, 12dB/octave Low-Pass
- Saringan Subsonik: 25Hz @24dB/octave
- KickEQ Boost: Variable 0-6dB @40Hz
- Ukuran (L x W x H): 2-3/8" x 6-3/4" x 12"
- Beurat barang: 7.95 pon
9.2 KICKER KISLOC2 Line Output Converter (46KISLOC2)
- Tanggapan Frékuénsi: Datar
- Kaluaran jauh: 100mA, 12-volt
- Kasaluyuan Input: Nepi ka 55 watt
- Sinyal Kaluaran: Up to 8-volt
- Fitur: LED indicator for DC offset turn-on
10. Garansi jeung Rojongan
This KICKER product bundle is covered by a 1-Taun Garansi Produsén from the date of purchase. This warranty covers defects in materials and workmanship under normal use. For warranty service or technical support, please contact KICKER customer service or visit the official KICKER websitus kanggo syarat garansi anu lengkep sareng inpormasi kontak.
Pikeun pitulung salajengna, mangga buka di Toko KICKER di Amazon or the official KICKER websitus.


