Buku Panduan Pangguna Mesin Jahit Éléktronik Jaguar 190S
Modél: 190S
Bubuka
This manual provides comprehensive instructions for the safe and efficient operation, setup, and maintenance of your Jaguar 190S Electronic Sewing Machine. Designed for both beginners and experienced users, the Jaguar 190S offers a wide range of features for various sewing and quilting projects. Please read this manual thoroughly before using the machine to ensure optimal performance and longevity.
1. Setélan
1.1 Ngabongkar sareng Nempatkeun
- Taliti piceun mesin tina bungkusan na.
- Place the machine on a stable, flat surface. Ensure adequate space around the machine for comfortable operation.
- Connect the foot pedal and power cord to the machine and a suitable power outlet (220 Volts).

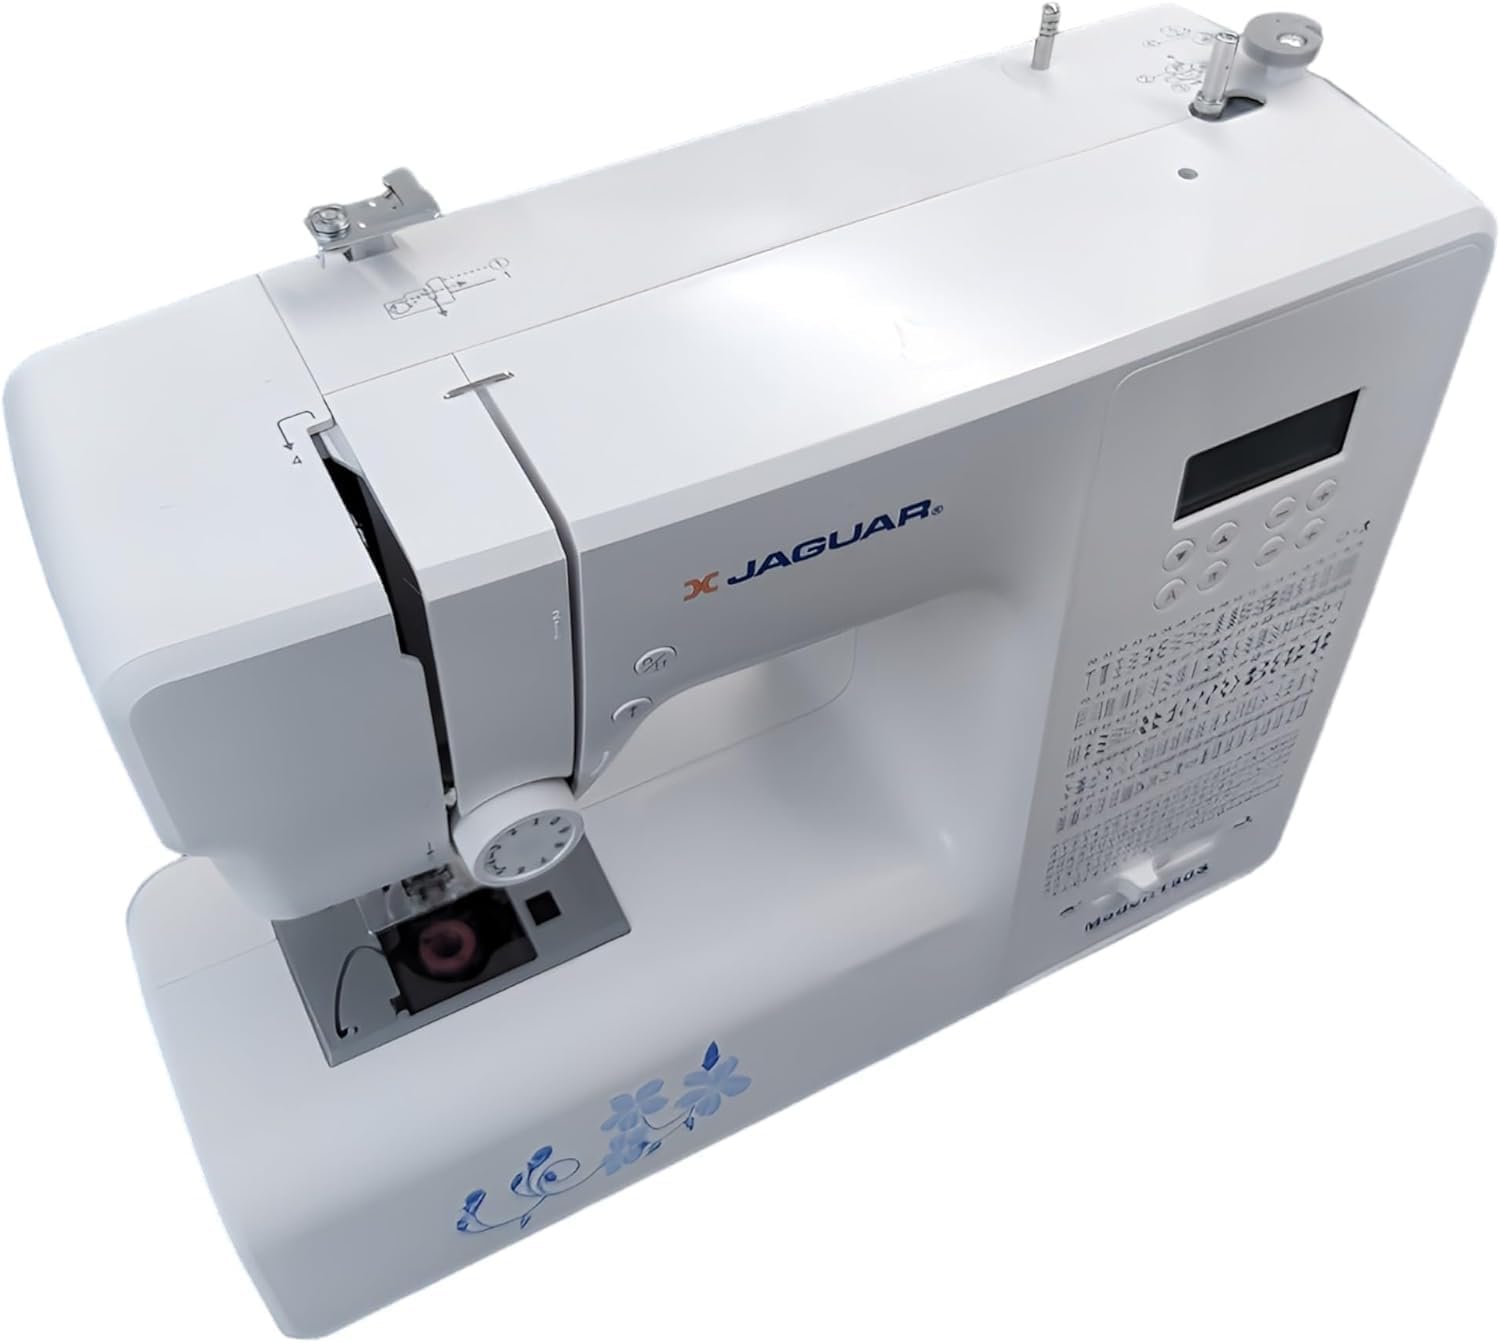
Gambar 1: Hareupeun view of the Jaguar 190S Electronic Sewing Machine. This image shows the main body of the machine, including the needle area, presser foot, stitch selection panel, and LCD screen.
1.2 Ngagulung Bobbin
- Pasang spool benang dina pin spool.
- Pituduh thread ngaliwatan pituduh thread luhur jeung sabudeureun disc tegangan pungkal bobbin.
- Teundeun bobbin kosong kana spindle winder bobbin.
- Wrap the thread clockwise a few times around the bobbin.
- Nyorong spindle winder bobbin ka katuhu.
- Start the machine (using the foot pedal or start/stop button) to wind the bobbin. Stop when the bobbin is full.
- Potong benangna teras dorong spindelna deui ka kénca.
1.3 Threading Mesin
- Angkat tuas suku presser.
- Teundeun spool thread dina pin spool.
- Turutan jalur ngasupkeun benang nu dinomeran anu dituduhkeun dina mesin, pastikeun benangna nembus sadaya pituduh sareng tuas panyerep.
- Use the automatic needle threader for quick and easy needle threading.
- Lebetkeun gulungan bobbin kana wadah bobbin, pastikeun benangna asup kalawan bener ngaliwatan pegas tegangan.
Gambar 2: Top-handap view of the Jaguar 190S, illustrating the upper threading path and bobbin winding area. This view helps in understanding how to correctly thread the machine.
1.4 Ngapasangkeun Jarum
- Hurungkeun roda leungeun pikeun ngangkat jarum ka posisi pangluhurna.
- Ngaleupaskeun jarum clamp sekrup.
- Insert the new needle with the flat side facing the back of the machine, pushing it up as far as it will go.
- Kencangkeun jarum clamp screw aman.
1.5 Attaching the Presser Foot
- Ngangkat angkat alat presser.
- Press the release button on the back of the presser foot holder to remove the current foot.
- Align the desired presser foot with the holder and lower the presser foot lifter until it snaps into place.
2. Parentah Operasi
2.1 Kadali Dasar
- Layar LCD: Displays selected stitch number, length, and width.
- Tombol Pilihan Jahitan: Use the '+' and '-' buttons to navigate through the 200 available stitches.
- Slider Kontrol Speed: Adjusts sewing speed from 150 to 700 stitches per minute.
- Tombol Start / Stop: Ngoperasikeun mesin tanpa pedal suku.
- Tombol Balikkeun: For reinforcing stitches at the beginning and end of seams.
- Tombol ka luhur/handap jarum: Positions the needle either fully up or fully down.
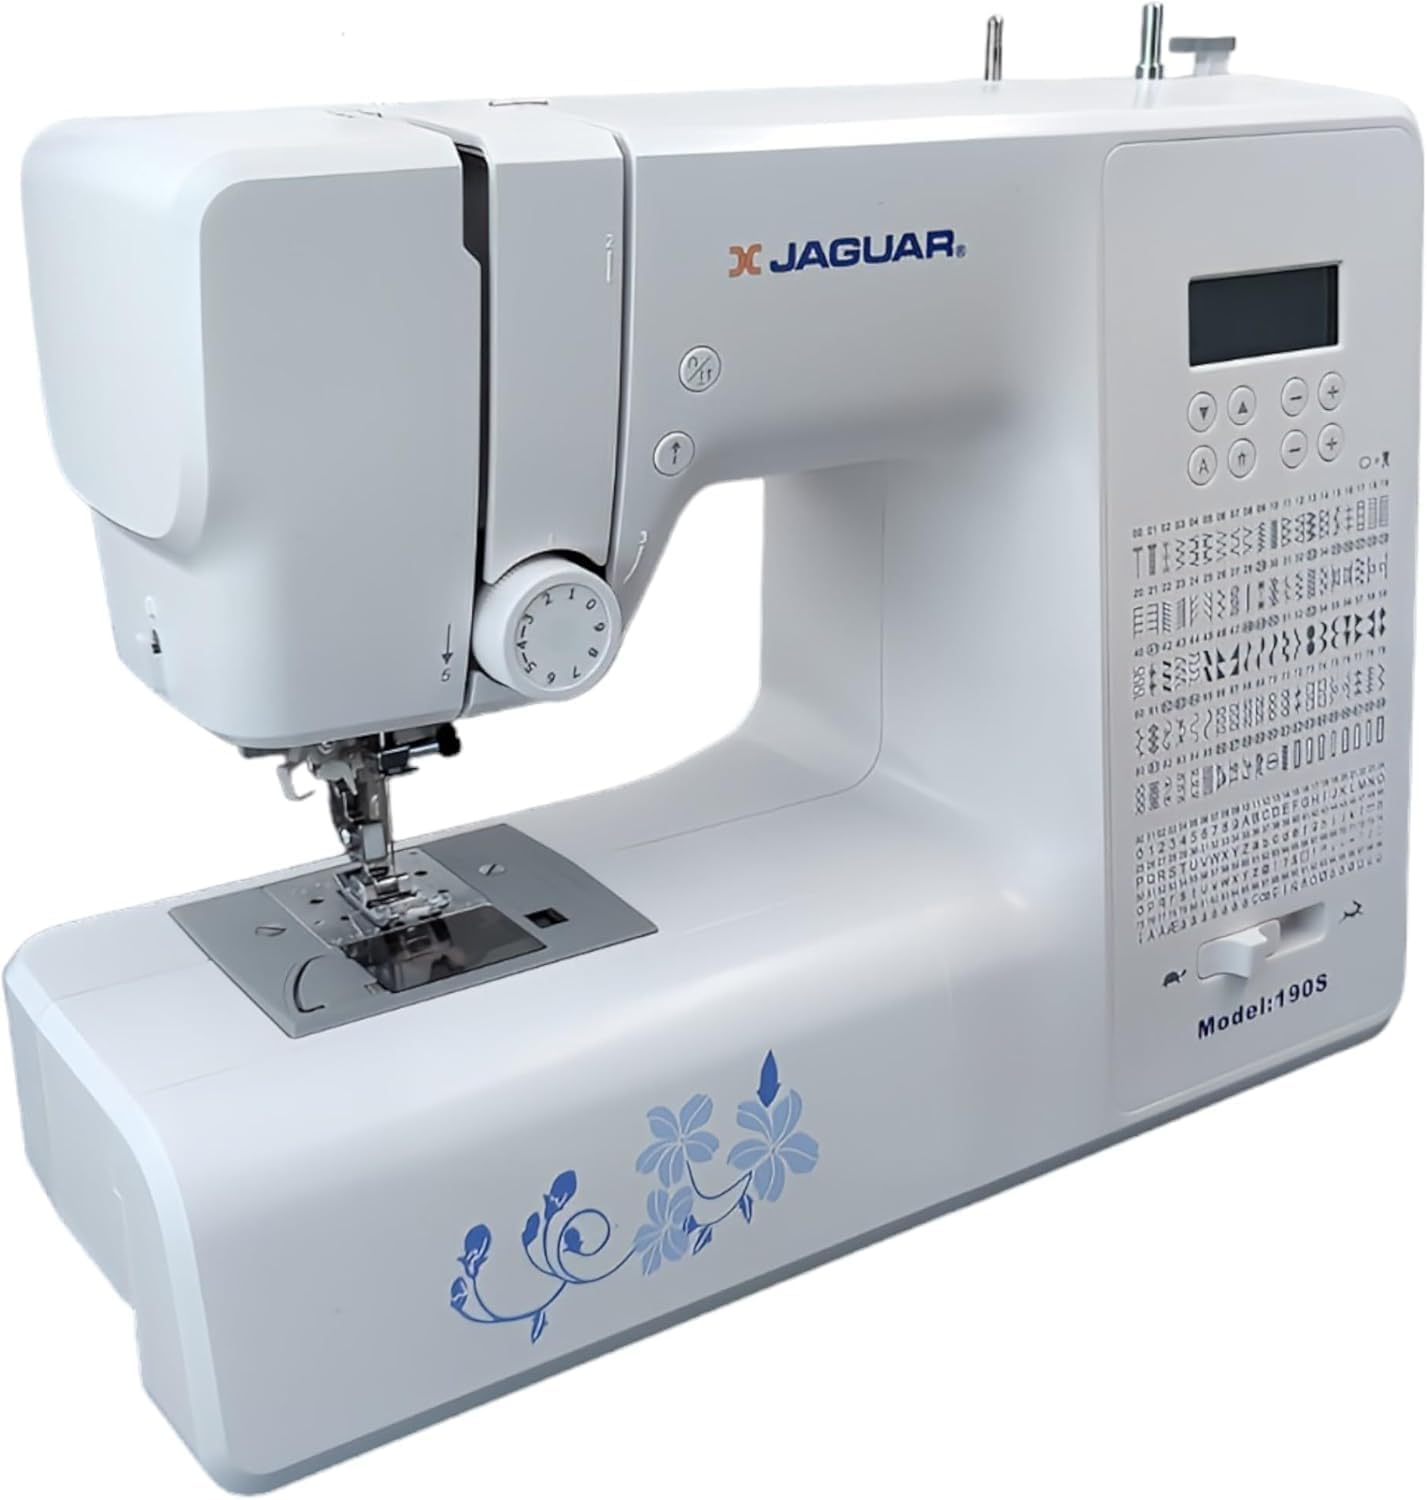
Figure 3: Close-up of the Jaguar 190S control panel and LCD screen. This image highlights the buttons for stitch selection, speed control, and needle positioning.
2.2 Pilihan sareng Pangaluyuan Jahitan
- Turn on the machine. The default stitch (usually a straight stitch) will appear on the LCD.
- Use the stitch selection buttons to choose from the 200 built-in stitches, including utility, decorative, and alphanumeric options.
- The machine automatically sets optimal stitch length and width for the selected stitch. These can be manually adjusted using dedicated buttons if desired (Length: 0-7mm, Width: 0-4.5mm).
2.3 Panyulam Jarum Otomatis
- Pastikeun jarum aya dina posisi pangluhurna.
- Lower the needle threader lever completely.
- Guide the thread as instructed by the markings near the needle.
- Release the lever slowly; a loop of thread will be pulled through the needle eye.
2.4 Automatic Buttonholes
- Pasangkeun suku liang kancing hiji léngkah.
- Place the button you intend to use into the buttonhole foot's size guide.
- Select one of the 8 automatic buttonhole styles from the stitch menu.
- Turunkeun uas tombol.
- Start sewing; the machine will automatically create the buttonhole to the correct size.
2.5 Free-Motion Sewing and Quilting
- To engage free-motion sewing or quilting, lower the feed dogs using the lever located at the back of the needle plate area.
- Attach a darning or free-motion quilting foot (not included, may be purchased separately).
- Manually guide the fabric to create your desired stitches.
2.6 Nyaluyukeun tegangan Thread
- The machine features an adjustable thread tension lever.
- Adjust the tension setting based on the fabric type and thread used. Correct tension results in balanced stitches on both sides of the fabric.
- Test on a scrap piece of fabric before sewing your project.
3. Pangropéa
3.1 Ngabersihan Mesin
- Salawasna cabut colokan mesin saméméh beberesih.
- Regularly clean lint and dust from the bobbin area, feed dogs, and needle plate using the provided brush.
- Lap bagian luar mesin ku lawon anu lemes sareng garing. Ulah nganggo bahan kimia anu keras.
3.2 Ngarobah Jarum
- Change the needle frequently, especially after 8-10 hours of sewing or if it becomes bent or dull. A dull needle can cause skipped stitches or fabric damage.
- Refer to section 1.4 for detailed instructions on attaching a new needle.
3.3 Panyimpenan
- Lamun teu dipake, nutupan mesin pikeun ngajaga tina lebu.
- Nyimpen di tempat anu garing, tiis jauh tina sinar panonpoé langsung.
4. Cara ngungkulan
Bagian ieu ngabahas masalah umum anu anjeun tingali. Pikeun masalah teu didaptarkeun di dieu, mangga ngahubungan rojongan customer.
4.1 Jahitan Anu Dilewati
- Ensure the needle is inserted correctly and is not bent or dull. Replace if necessary.
- Check that the machine is properly threaded, both upper and bobbin threads.
- Anggo jinis sareng ukuran jarum anu leres pikeun lawon anjeun.
4.2 Pegatna Utas
- Verify correct threading and bobbin winding.
- Adjust upper thread tension. Too high tension can cause thread breakage.
- Pariksa burrs atanapi bintik kasar dina piring jarum atawa bobbin kasus.
- Ensure the needle is not bent or dull.
4.3 Uneven Stitches / Poor Stitch Quality
- Check and adjust thread tension for both upper and bobbin threads.
- Ensure the machine is threaded correctly.
- Paké benang kualitas alus.
- Clean the bobbin area from lint and debris.
5. Spésifikasi
| Fitur | Rincian |
|---|---|
| merek | JAGUAR |
| Nomer modél | 190S |
| Program Jahitan | 200 (including 100 alphanumeric, 8 automatic buttonholes) |
| Jahitan Panjang | 0 mm - 7 mm |
| Jahitan Lebar | 0 mm - 4.5 mm |
| Threader Jarum | Otomatis |
| Sistem Bobbin | Quick-insert horizontal hook with automatic winding |
| tampilan | LCD backlit |
| Kontrol laju | Electronic, 150 to 700 stitches/minute |
| cahayaan | LED terpadu |
| Kakuatan | 35 Watt |
| Voltage | 220 volt |
| Ukuran (L x W x H) | 43 x 23 x 35 cm (kira-kira 16.9 x 9.1 x 13.8 inci) |
| Beurat | 5 Kilogram (kira-kira 11 lbs) |
| Bahan | palastik |
6. Kaasup Asesoris
The Jaguar 190S comes with a comprehensive set of accessories to get you started:
- Standard Zigzag Foot
- Suku Lubang Kancing Hiji Léngkah
- Satin Stitch Foot
- Buta Hem Foot
- Kancing Jahit Kancing
- Electronic Foot Pedal
- Needles (3 pieces)
- Jarum kembar
- Spol Cap
- Bobbin Holder
- Screwdrivers (small + for needle plate)
- Bobbins (4 total, one pre-installed)
- Pin Spool bantu
- Seam Ripper / Brush

Figure 4: A selection of the accessories included with the Jaguar 190S, such as various presser feet, bobbins, needles, and the foot pedal.
7. Garansi jeung Rojongan
Your Jaguar 190S Electronic Sewing Machine is covered by a garansi 1 taun for parts and manufacturing defects. Please retain your proof of purchase for warranty claims.
For technical assistance, troubleshooting beyond this manual, or warranty service, please contact your retailer or the official Jaguar customer support. Contact information can typically be found on the product packaging or the manufacturer's websitus.


