1. Bubuka
This manual provides detailed instructions for the installation, setup, and operation of your Bkiyougo 433MHz Remote Control Relay Light Switch. This device is designed for wireless control of various electrical equipment, offering convenience and flexibility in industrial, home, and security applications.
The system consists of a receiver unit and one or more remote transmitters. The receiver operates on AC85V-240V and features a 30A relay for high-power appliance control. The 433MHz RF wireless technology ensures stable performance with a reception sensitivity greater than -105dBm and a remote distance of 20-50 meters (up to 328 ft in open areas).
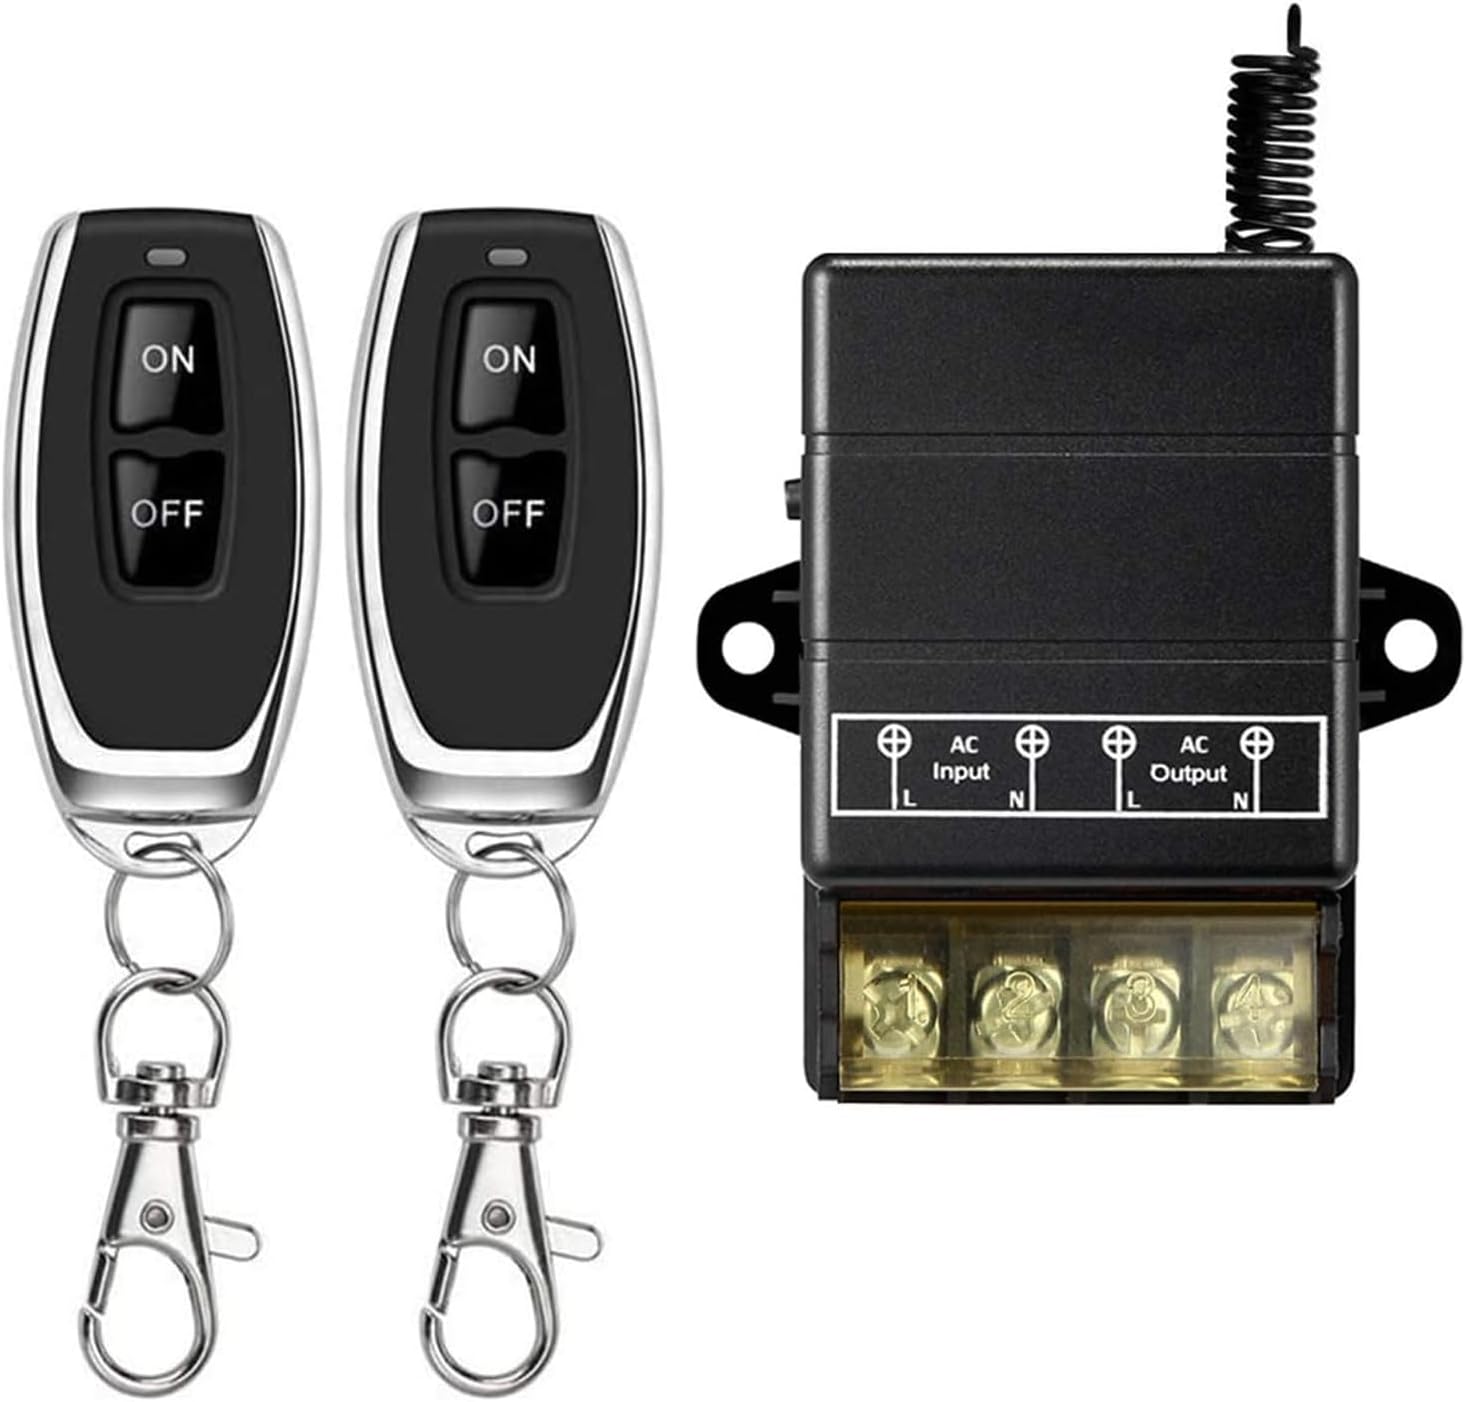
Image 1.1: The Bkiyougo 433MHz Remote Control Relay Light Switch system, showing the receiver unit and two remote control transmitters.
2. Spésifikasi
Unit panarima:
- Gawé Voltage: AC85V - 240V
- Quiescent Condition: Kirang ti 8mA
- Suhu gawé: -40°C nepi ka +80°C
- Sensitipitas panarima: > -105dBm
- Frékuénsi Gawé: 433MHz
- Kaluaran Voltage: Input = Kaluaran
- Max Beban Ayeuna: 30A
- ukuran: 105 x 51 x 30mm (kira-kira 4.13 x 2.01 x 1.18 inci)
- Beurat barang: 2.88 ons
Unit pamancar:
- Tombol: 2 Buttons (ON/OFF)
- Jarak Jauh: 20-50 meters (up to 328 ft in open areas)
Umum:
- Modeu operasi: Otomatis
- Jenis Kontak: Biasana Buka
- Protokol konektipitas: RF (433MHz)
- Métode kontrol: Jauh
- Sistem pangukuran: Kaisar, Métrik
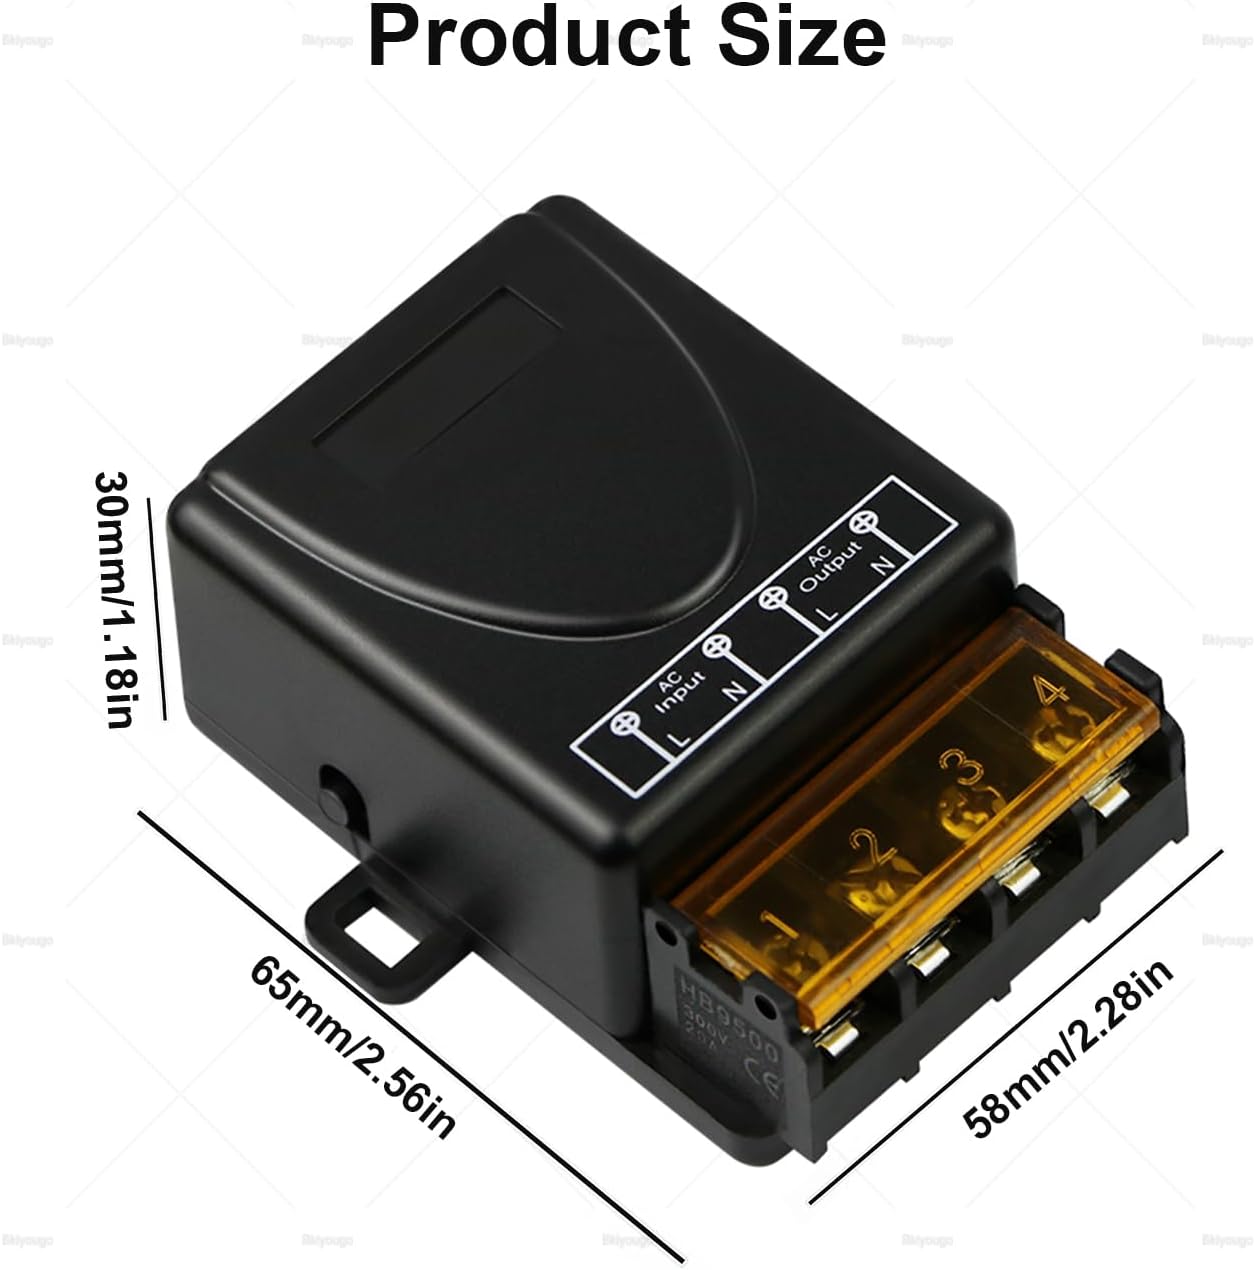
Image 2.1: Dimensions of the receiver unit, showing measurements of 65mm (2.56in) length, 58mm (2.28in) width, and 30mm (1.18in) height.
3. Setup and Learning Method
The receiver unit needs to be paired with the transmitter(s) to function. Follow these steps to program the desired operating mode. Ensure the receiver is powered with AC85V-240V before proceeding.

Gambar 3.1: Internal view of the receiver circuit board, highlighting the indicator light and the learning key (button).
3.1 Learning Operating Modes:
- Mode sakedapan:
- Press the Learning Button 1 waktos. The LED indicator will flash 1 time.
- Then, press a button on the transmitter. The LED indicator will flash 3 times, indicating successful learning.
- Operasi: Press and hold the transmitter button to turn ON; release to turn OFF.
- Modeu Togél:
- Press the Learning Button 2 kali. The LED indicator will flash 2 times.
- Then, press a button on the transmitter. The LED indicator will flash 3 times, indicating successful learning.
- Operasi: Press the transmitter button once to turn ON; press the same button again to turn OFF.
- Mode Dipasang: (Setélan standar)
- Press the Learning Button 3 kali. The LED indicator will flash 3 times.
- Then, press a button on the transmitter. The LED indicator will flash 3 times, indicating successful learning.
- Operasi: Press one transmitter button to turn ON; press another transmitter button to turn OFF. If using a 2-button remote, one button will be ON, the other OFF.

Image 3.2: Illustration of the self-locking (Toggle) learning method, where pressing the learning button twice and then a remote button pairs them for toggle operation.
- Delay Time Mode (5 Seconds):
- Press the Learning Button 4 kali. The LED indicator will flash 4 times.
- Then, press a button on the transmitter. The LED indicator will flash 3 times, indicating successful learning.
- Operasi: Press the remote control button; the relay actuates and remains ON for 5 seconds, then automatically turns OFF.
- Delay Time Mode (10 Seconds):
- Press the Learning Button 5 kali. The LED indicator will flash 5 times.
- Then, press a button on the transmitter. The LED indicator will flash 3 times, indicating successful learning.
- Operasi: Press the remote control button; the relay actuates and remains ON for 10 seconds, then automatically turns OFF.
- Delay Time Mode (15 Seconds):
- Press the Learning Button 6 kali. The LED indicator will flash 6 times.
- Then, press a button on the transmitter. The LED indicator will flash 3 times, indicating successful learning.
- Operasi: Press the remote control button; the relay actuates and remains ON for 15 seconds, then automatically turns OFF.
3.2 Clearing Method (Reset):
To clear all learned transmitters from the receiver's memory:
- Press and hold the Learning Button for approximately 8 detik.
- The receiver's LED indicator will flash 3 times and then turn OFF, signifying that all codes have been cleared successfully.
4. Wiring sarta Instalasi
Proper wiring is crucial for safe and effective operation. Always ensure power is disconnected before performing any wiring. The receiver supports AC85V-240V input and provides an output that matches the input voltage.
4.1 Basic Connection Diagram:
The receiver has clearly labeled terminals for AC Input (L, N) and AC Output (L, N). Connect your power source to the AC Input terminals and the appliance you wish to control to the AC Output terminals.
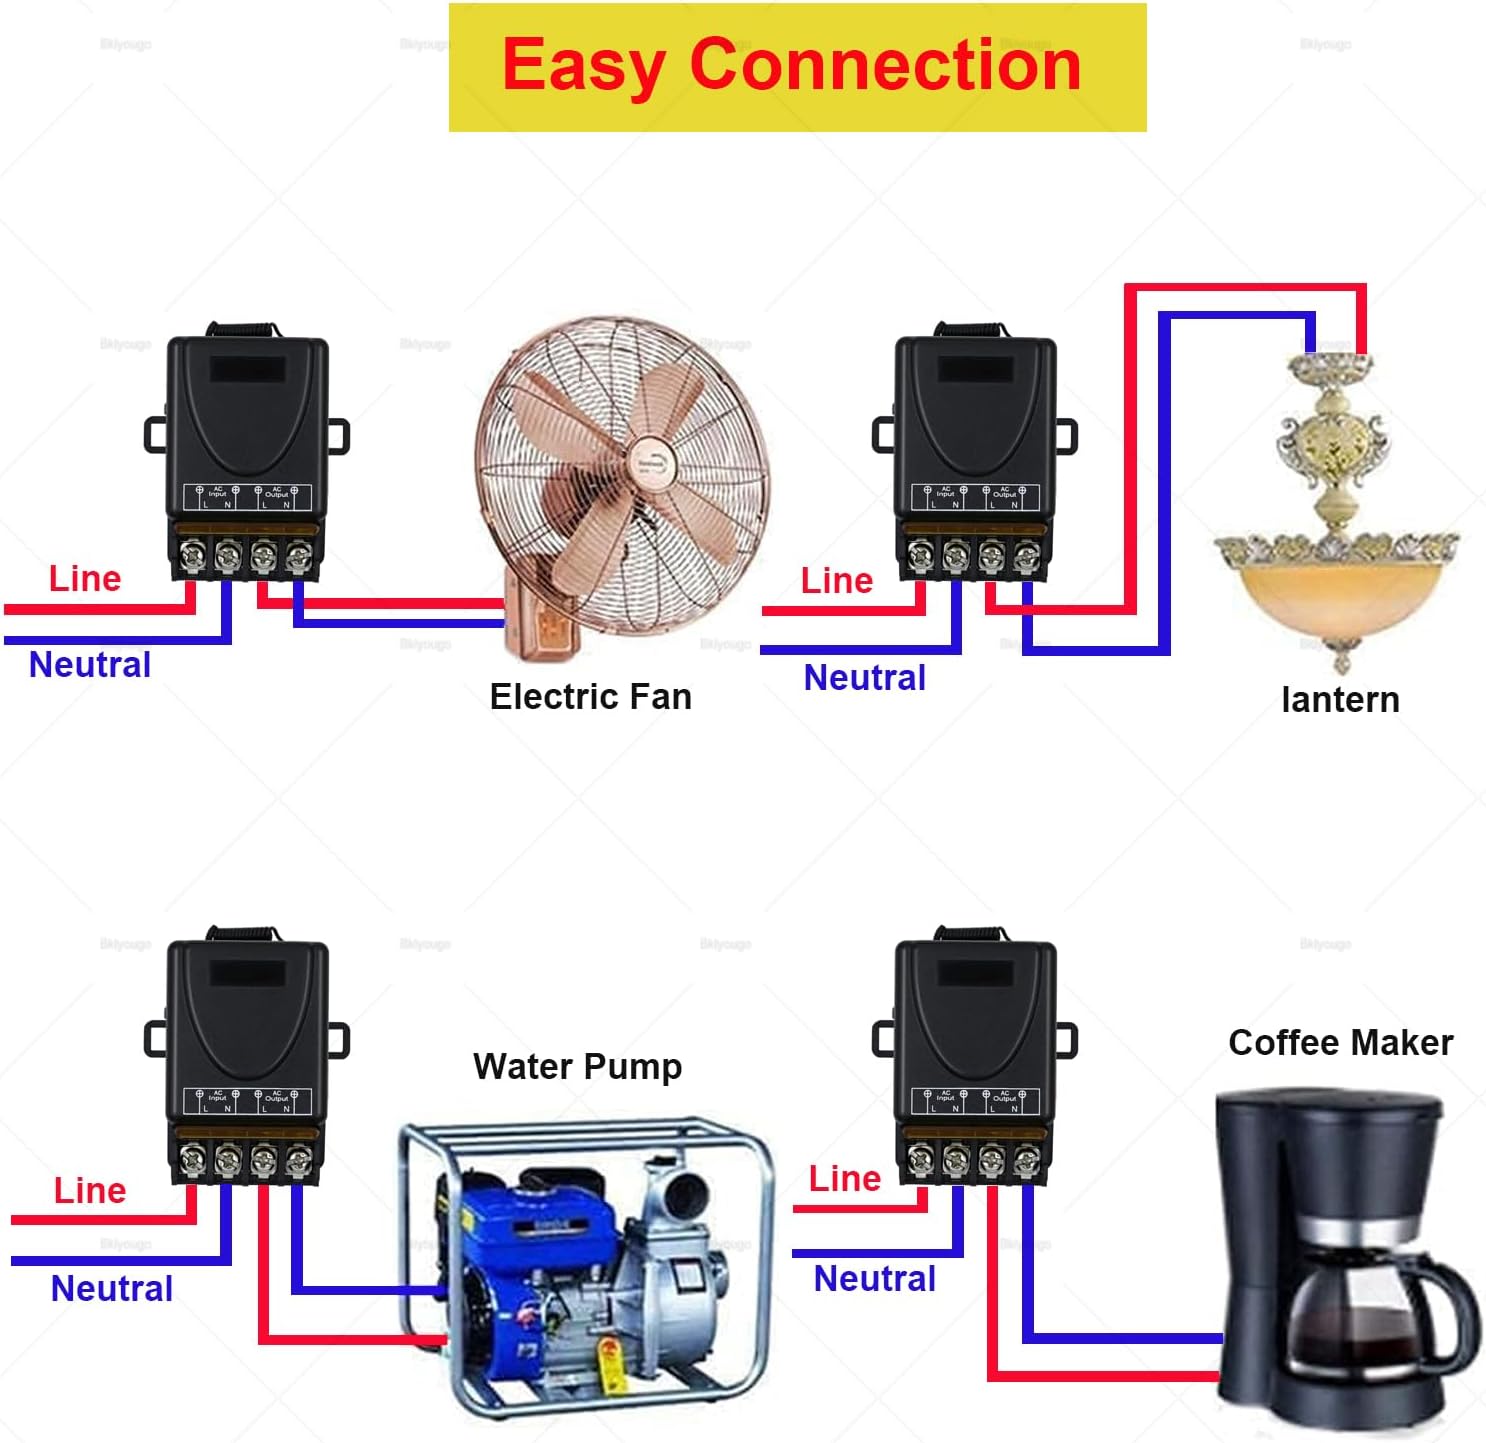
Gambar 4.1: Examples of easy wiring connections for common household appliances such as electric fans, lanterns, water pumps, and coffee makers. The diagram shows connecting the Line (L) and Neutral (N) wires from the power source to the receiver's input, and then from the receiver's output to the appliance.
4.2 Motor Wiring (Inductive Loads):
For inductive loads, such as pump motors larger than 600W, it is recommended to use an AC contactor. This helps manage the large starting current and voltage fluctuations associated with motors, protecting the relay switch.

Image 4.2: Wiring diagram for controlling an electrical motor. It illustrates connecting the receiver's output to an AC contactor, which then controls the motor, especially for motors exceeding 600W.
4.3 Various Applications:
The remote control relay switch can be integrated into various systems for wireless control. Examples ngawengku:
- Controlling lighting fixtures.
- Operating exhaust fans or other ventilation equipment.
- Managing water pumps for irrigation or water storage.
- Controlling industrial machinery within its power limits.
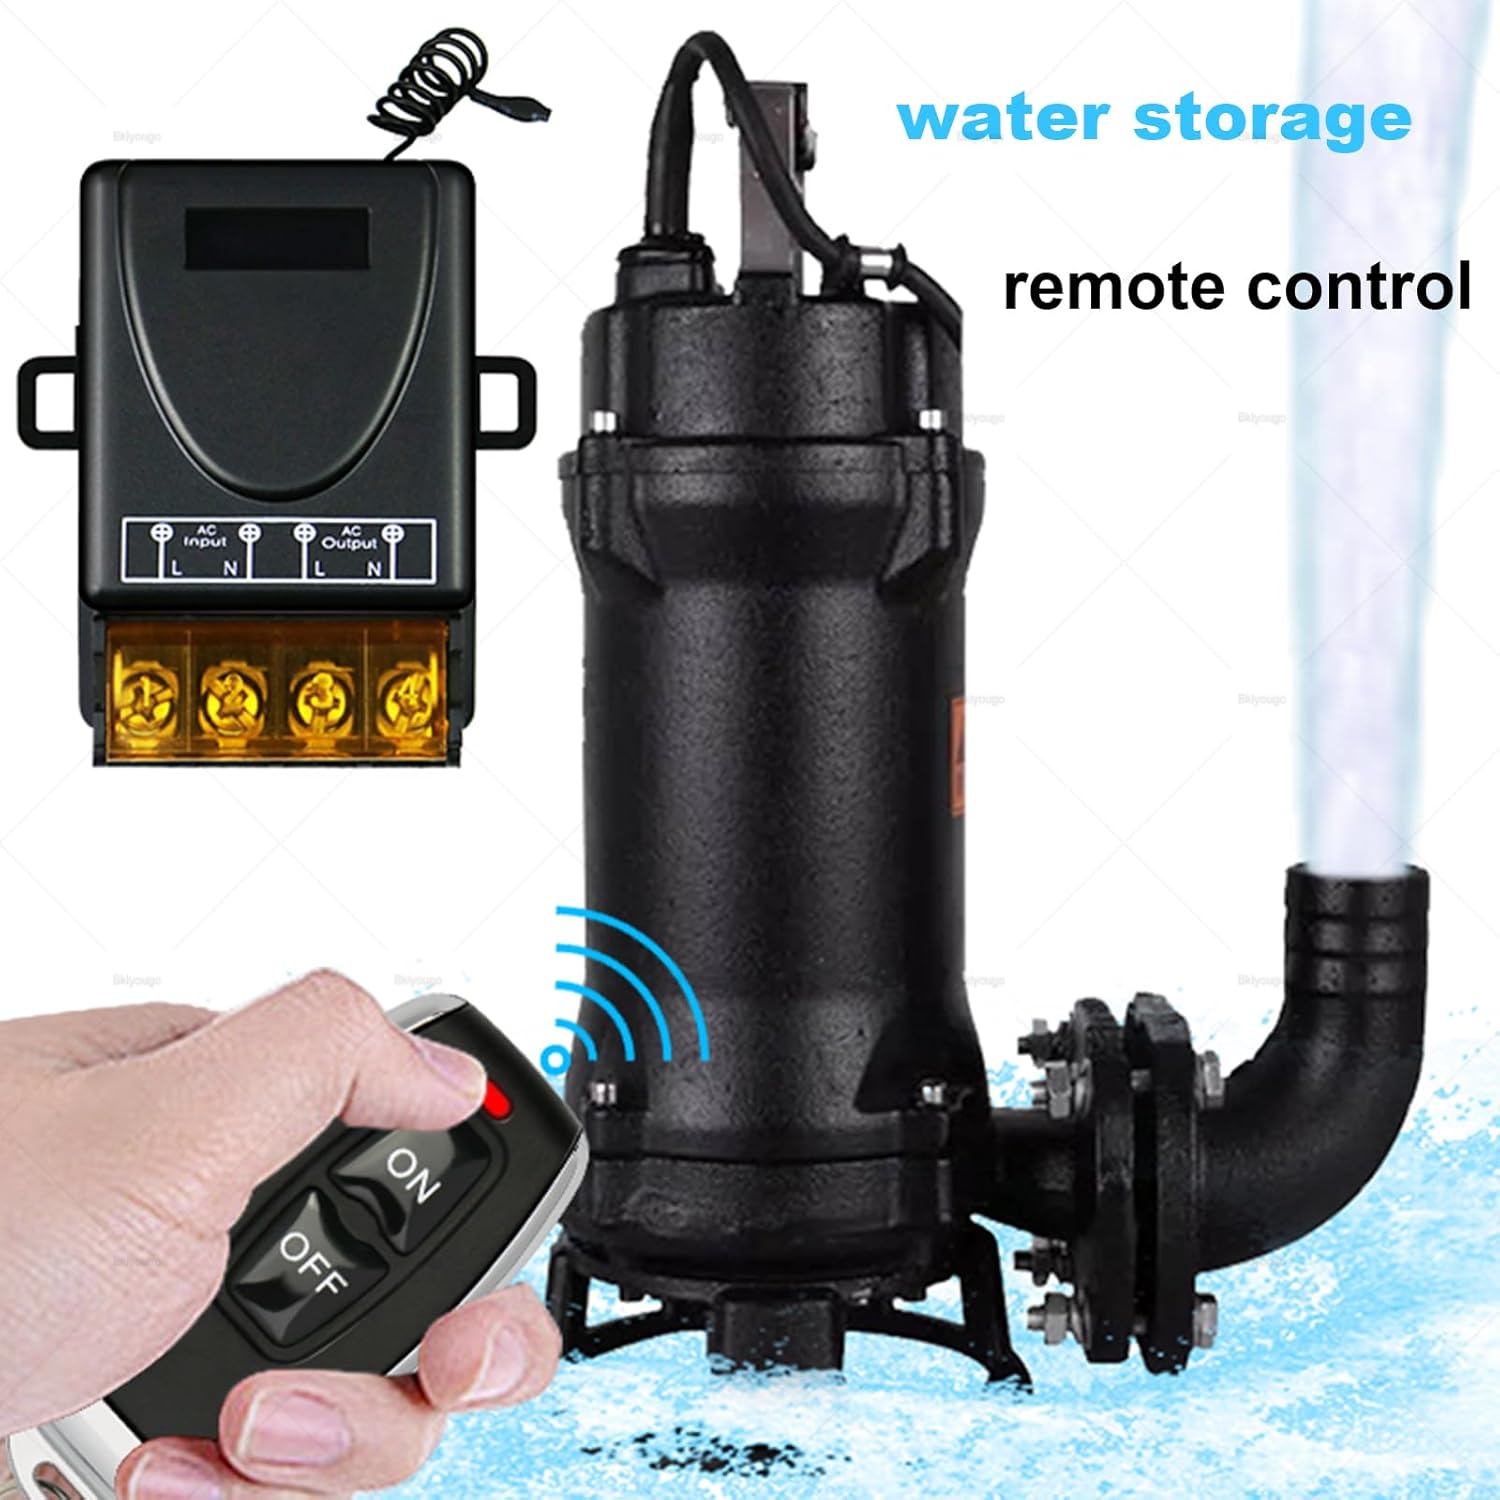
Image 4.3: A hand holding the remote control, operating a water pump, demonstrating a practical application of the system for water storage control.

Image 4.4: Diverse applications of the receiver, including controlling a router, an exhaust fan, pump watering systems, general lighting, and industrial machinery.
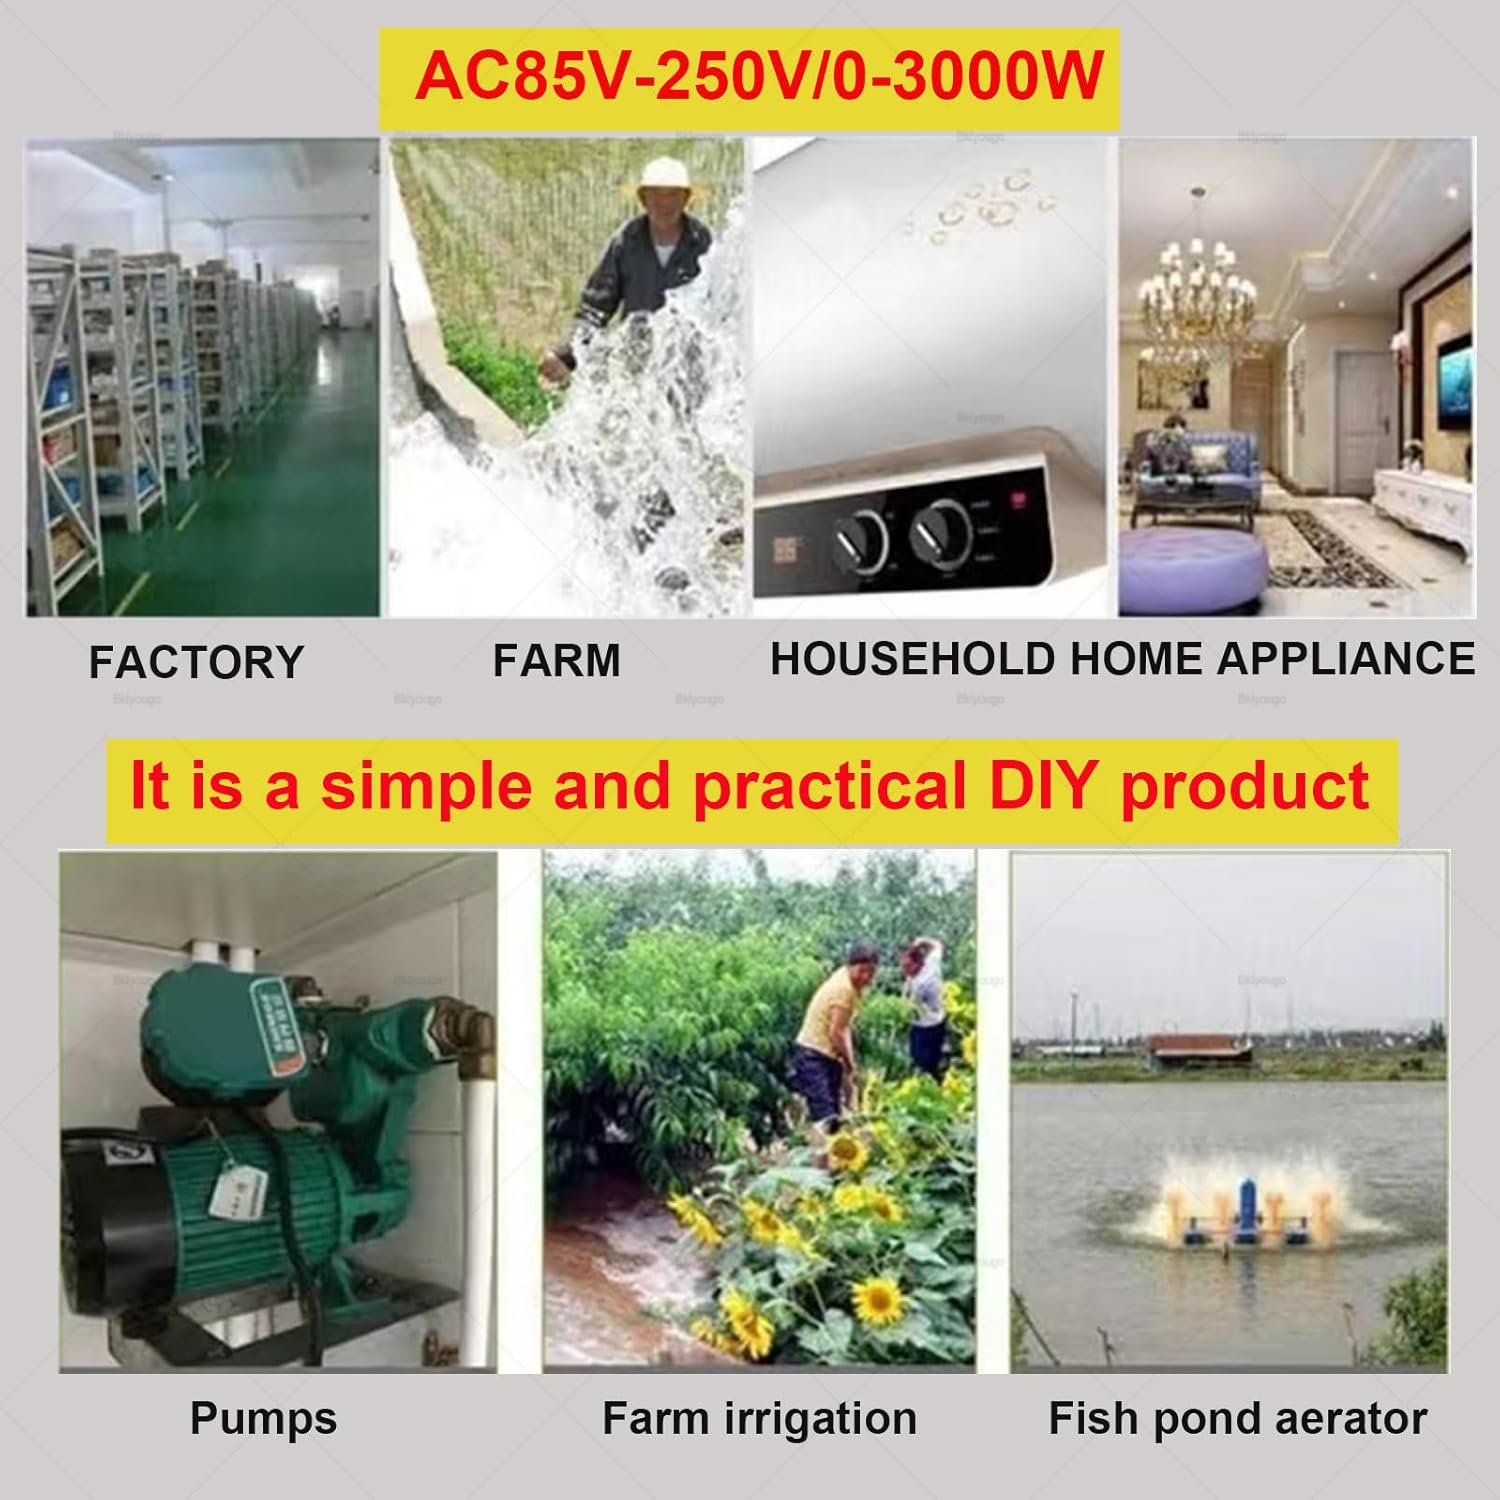
Gambar 4.5: Visual examples of the product's versatility in various settings: factory, farm, household appliances, pumps, farm irrigation, and fish pond aerators.
5. Parentah Operasi
Once the receiver is wired and paired with the transmitter(s) in the desired mode, operation is straightforward.
- Mode sakedapan: Press and hold the remote button to activate the connected device. Release the button to deactivate.
- Modeu Togél: Press the remote button once to activate the connected device. Press the sarua tombol deui pikeun nganonaktipkeun.
- Mode Dipasang: Press one remote button (e.g., "ON") to activate the connected device. Press another remote button (e.g., "OFF") to deactivate. (Note: This requires a remote with at least two distinct buttons for ON/OFF functionality).
- Delay Time Mode: Press the remote button once to activate the connected device. The device will remain active for the pre-set delay time (5, 10, or 15 seconds) and then automatically deactivate.
The default operating mode is Latched. If your remote has "ON" and "OFF" buttons, the "ON" button will turn the device on, and the "OFF" button will turn it off in Latched mode.
6. Pangropéa
To ensure the longevity and reliable operation of your Bkiyougo Remote Control Relay Light Switch, follow these simple maintenance guidelines:
- Tetep garing: Protect the receiver unit from moisture and water exposure.
- Kabersihan: Periodically clean the exterior of the receiver and transmitters with a dry, soft cloth. Avoid using harsh chemicals or abrasive cleaners.
- Pariksa sambungan: Occasionally inspect wiring connections to ensure they are secure and free from corrosion.
- Panggantian Batré (Pemancar): If the remote control range decreases or becomes unreliable, consider replacing the battery in the transmitter. (Battery type not specified in product data, typically small coin cell or A23 type).
7. Cara ngungkulan
If you encounter issues with your Bkiyougo Remote Control Relay Light Switch, refer to the following common troubleshooting steps:
- Alat Teu Ngabales:
- Check if the receiver unit is receiving power (AC85V-240V).
- Ensure the connected appliance is functioning correctly when directly powered.
- Verify that the transmitter's battery is not depleted.
- Confirm that the transmitter and receiver are properly paired according to the "Setup and Learning Method" section. Try re-pairing if necessary.
- Jarak Jauh Anu Dikirangan:
- Ganti batré pamancar.
- Ensure there are no significant obstructions (thick walls, metal structures) between the transmitter and receiver.
- Check if the receiver's antenna is extended and positioned for optimal reception.
- Avoid placing the receiver near strong electromagnetic interference sources.
- Operasi intermittent:
- Pariksa sadaya sambungan kabel naha aya anu kendor atanapi korosi.
- Ensure the receiver is not overheating.
- Masangkeun deui pamancar sareng panarima.
8. Pangrojong sareng Jaminan
For further assistance or if troubleshooting steps do not resolve your issue, please contact Bkiyougo customer support. Bkiyougo is committed to providing excellent after-sales service and will assist in resolving any problems you may encounter.
While specific warranty details are not provided in this manual, Bkiyougo strives to ensure customer satisfaction. Please refer to your purchase documentation or the seller's information for warranty terms and conditions.
You can often find support information on the brand's official websitus atawa ngaliwatan pangecér mana produk ieu dibeuli.


