1. Bubuka
This manual provides comprehensive instructions for the installation, setup, and operation of the Cuifati Mini Relay Switch Remote Control system. This system is designed for various applications requiring remote control of electrical circuits, such as computer mainframes, automatic doors, and other low-voltage devices. Please read this manual carefully before use to ensure proper functionality and safety.
2. Émbaran Kasalametan
- Pastikeun catu daya parantos dicabut sateuacan ngalakukeun pemasangan kabel atanapi pamasangan naon waé.
- Pariksa yén vol operasitage of your application matches the specifications of this relay switch.
- Do not exceed the maximum load current specified for the relay.
- Keep the device away from moisture, extreme temperatures, and corrosive environments.
- Pamasangan kedah dilakukeun ku tanaga anu mumpuni upami anjeun teu yakin ngeunaan kabel listrik.
3. Eusi Paket
pakét ngawengku item handap:
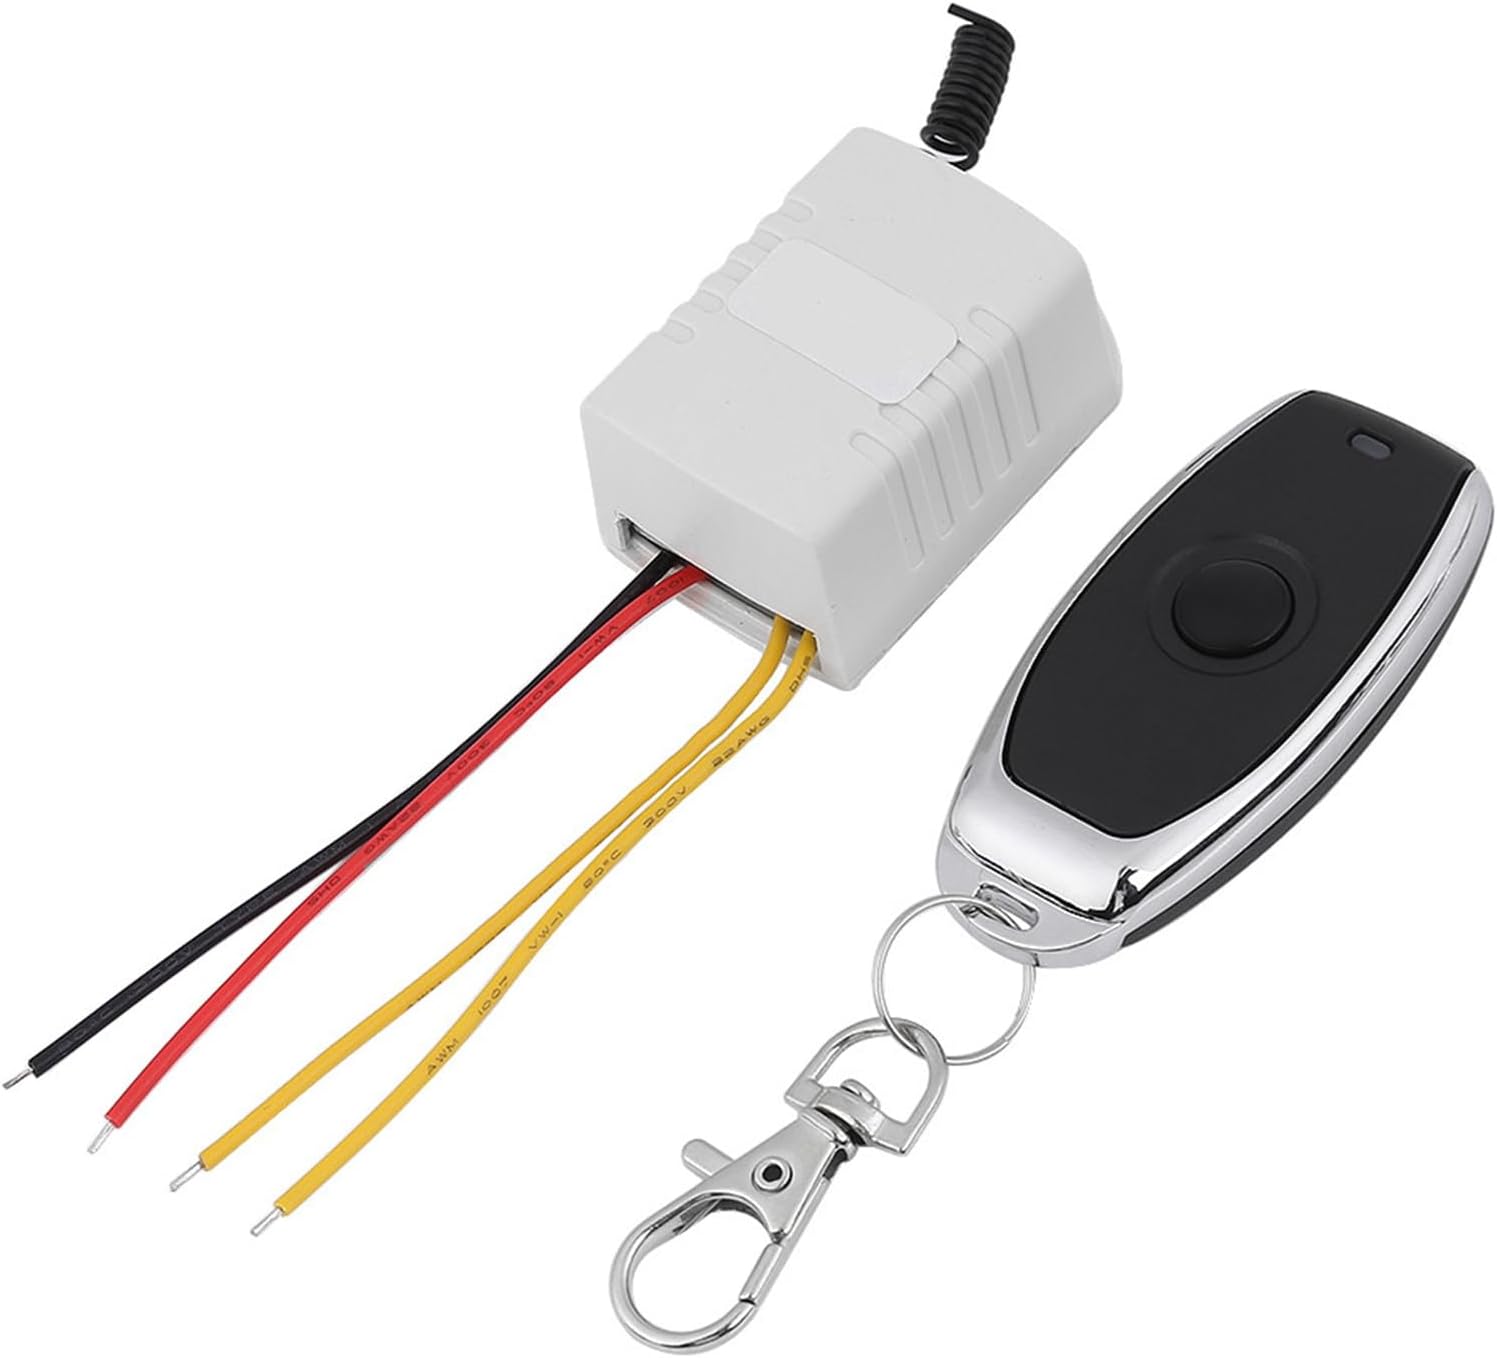
- 1 x Relay Remote Control Switch (Receiver)
- 1 x Transmitter (Remote Control)
Note: Other items shown in product images are not included.
4. Produk Langkungview
The Cuifati Mini Relay Switch system consists of a compact receiver unit and a handheld remote control transmitter. The receiver unit houses the relay and learning button, while the transmitter sends wireless signals to control the relay's state.
5. Spésifikasi
| Parameter | Nilai |
|---|---|
| Gawé Voltage | DC 4V - 12V (DC4V 4.5V 5V 6V 7.4V 9V 12V) |
| Arus sayaga | 7-9mA |
| Gawé Ayeuna | 70-130mA |
| Relay Standard | 20A (14VDC 12A / 120VAC 7A) |
| Disarankeun Beban | Kirang ti 7A |
| Kodeu Diajar | Learning Button to add Transmitter |
| Modeu Gawé | Momentary / Toggle (adjusted by Jumper) |
| Ukuran panarima | Approx. 43 x 30 x 22mm (1.69 x 1.18 x 0.87inch) |
| Ukuran Jauh | Approx. 60 x 30 x 12mm (2.36 x 1.18 x 0.47inch) |
| Item Beurat | 1.76 ons |
| Tipe Panyambung | Terminal screw |
| Tipe Pamasangan | Permukaan Gunung |
6. Setélan
6.1 Diagram Kabel sareng Sambungan
The receiver unit features screw terminals for power input and relay output. Refer to the diagram below for proper connections.

- GND: Input Ground (Negative power supply).
- VCC: Masukan Voltage (Positive power supply, DC 4V-12V).
- NC: Normally Close (Relay contact is closed when inactive, opens when activated).
- COM: Common (Common terminal for the relay contact).
- NO: Normally Open (Relay contact is open when inactive, closes when activated).
6.2 Modeu operasi
The relay switch supports two operating modes: Momentary and Toggle. These modes are typically adjusted by a jumper on the receiver board (refer to the product's physical jumper settings if available, as specific jumper details are not provided in the data).
- Mode sakedapan: Press and hold the remote button to turn the relay ON. Release the button to turn the relay OFF.
- Modeu Togél: Press the remote button once to turn the relay ON. Press it again to turn the relay OFF.
6.3 Clearing Stored Codes
To clear all previously learned remote control codes from the receiver:
- Locate the learning button on the receiver board.
- Press and hold the learning button for approximately 5 seconds.
- The receiver's LED indicator will turn ON and then OFF, signifying that all codes have been successfully cleared.

6.4 Learning New Codes (Pairing Transmitter)
To pair a new remote control transmitter with the receiver:
- Press the learning button on the receiver. The receiver's LED indicator will flash slowly, indicating it is in learning mode.
- Press the desired button on the transmitter (remote control).
- The receiver's LED indicator will flash quickly twice, then flash slowly again. This confirms successful learning.
- Press the learning button on the receiver again to exit learning mode and turn off the LED indicator.
7. Ngoperasikeun Alat
Once the transmitter is paired and the receiver is wired correctly, you can operate your connected device wirelessly.
- If configured for Modeu sakedapan, press and hold the remote button to activate the relay. Release the button to deactivate.
- If configured for Togél Mode, press the remote button once to activate the relay. Press it again to deactivate.

8. Pangropéa
The Cuifati Mini Relay Switch is designed for low maintenance. To ensure optimal performance and longevity:
- Keep the receiver and transmitter clean and free from dust. Use a soft, dry cloth for cleaning.
- Avoid exposing the devices to water or high humidity.
- Replace the battery in the remote control when its range decreases or it stops responding. (Battery type not specified, typically small coin cell or A27/A23 type for similar remotes).
9. Cara ngungkulan
- Device not responding to remote:
- Check if the receiver is powered correctly (VCC and GND connections).
- Ensure the remote control's battery is not depleted.
- Verify that the remote is properly paired with the receiver (refer to Section 6.4).
- Check for any obstructions or excessive distance between the remote and receiver.
- Relay teu bisa diaktipkeun:
- Confirm that the load connected to the relay does not exceed the specified maximum current (7A recommended).
- Inspect the wiring to the COM, NO, and NC terminals for secure connections.
- rentang pondok:
- Ensure the receiver's antenna is not obstructed or damaged.
- Ganti batré kadali jauh.
- Ngaleutikan gangguan ti alat nirkabel séjén.
10. Garansi jeung Rojongan
Specific warranty information for the Cuifati Mini Relay Switch is not provided in this manual. Please refer to the product packaging, your point of purchase, or the manufacturer's official websitus kanggo detil ngeunaan panutup garansi sareng dukungan palanggan.
For technical assistance or further inquiries, please contact Cuifati customer service through the channels provided with your purchase.