Produk Leuwihview
The Canarm Preston III 52-Inch Ceiling Fan is designed to enhance the comfort and style of your living space. Featuring a brushed nickel finish and five reversible blades (walnut/silver oak), this fan offers versatile aesthetics to complement various interior designs. It includes an integrated light kit with an opal glass shade for ambient illumination and operates via pull chains for fan speed and light control. The downrod mount ensures stable installation, making it suitable for medium to large rooms.
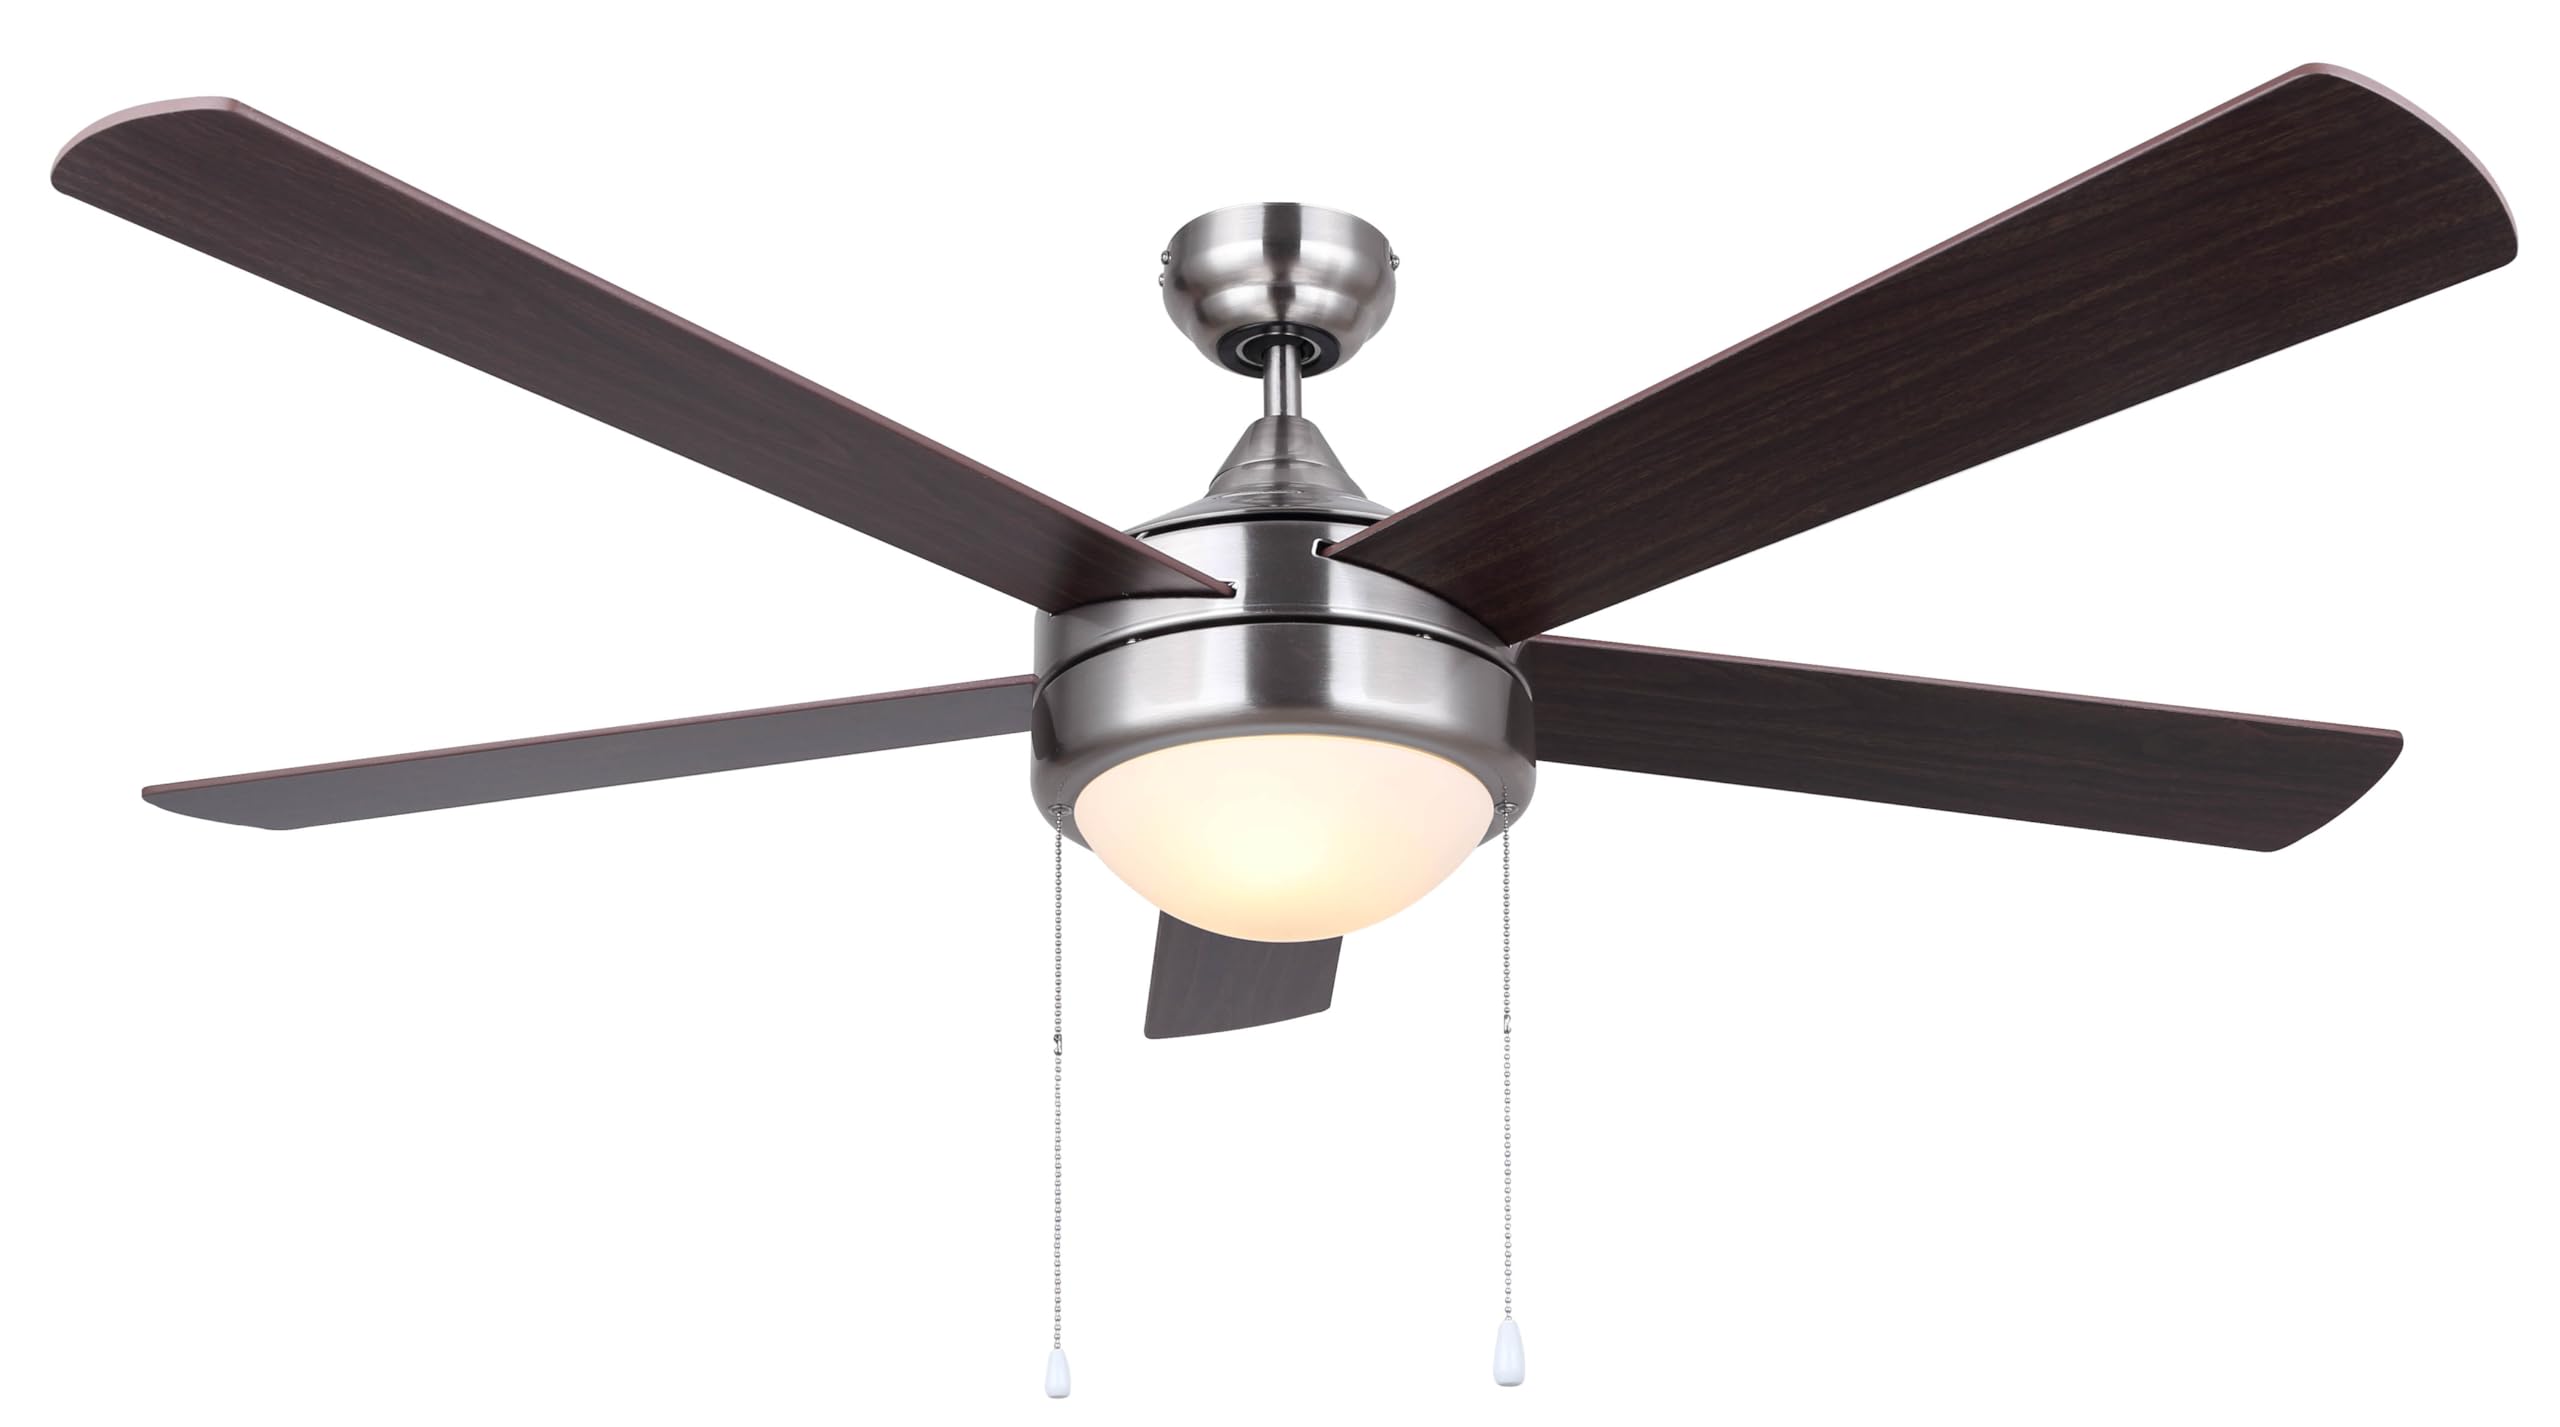
Image: Canarm Preston III 52-Inch Ceiling Fan with walnut blades installed in a modern living room setting.
Émbaran Kasalametan
Before beginning installation, read all instructions carefully. Ensure all electrical connections comply with local codes and ordinances. Disconnect power at the main circuit breaker before working on the fan. Consult a qualified electrician if you are unfamiliar with electrical wiring. Do not install the fan on a sloped ceiling without appropriate adapter kits. Ensure the mounting structure can support the fan's weight.
Eusi pakét
Verify that all components are present before starting assembly. If any parts are missing or damaged, contact customer support.
- Majelis Perumahan Motor
- Fan Blades (5, reversible walnut/silver oak)
- Kurung sabeulah
- Downrod
- Kanopi
- Ningkatna Kurung
- Light Kit Assembly with Opal Glass Shade
- Light Bulbs (included)
- Ranté Tarik (pikeun kecepatan kipas sareng cahaya)
- Paket Hardware (screws, washers, mur kawat)
- Instruksi Manual
Setup sareng Instalasi
Professional installation is recommended for safety and optimal performance. Ensure the power is OFF at the circuit breaker before starting.
- Pamasangan bracket dipasang: Pasangkeun braket pemasangan kana kotak sambungan lalangit. Pastikeun kotak sambungan dipasang pageuh kana struktur wangunan sareng tiasa nahan beurat kipas.
- Majelis Downrod: Insert the downrod through the canopy and motor housing. Secure with the provided pin and screw.
- Wiring: Connect the fan's electrical wires to the household wiring according to the wiring diagram in the full manual. Use appropriate wire nuts.
- Pamasangan Kanopi: Lift the fan assembly and hang it on the mounting bracket. Secure the canopy to the mounting bracket with screws.
- Lampiran sabeulah: Attach each of the five fan blades to the blade brackets using the provided screws. Ensure they are firmly secured.
- Pamasangan Kit Lampu: Connect the light kit wiring to the fan motor wiring. Secure the light kit assembly to the bottom of the fan motor housing.
- Kap Kaca sareng Bohlam: Install the included light bulbs into the sockets. Attach the opal glass shade by twisting or securing it into place.
- Pull Chain Attachment: Attach the decorative pull chains for fan speed and light operation.

Gambar: Detil view of the brushed nickel motor housing and downrod connection, showing the sturdy construction.

Image: The fan assembly with the light kit and pull chains visible, ready for blade attachment.
Parentah Operasi
Once installed and power is restored, operate the fan using the pull chains.
- Kontrol Laju Kipas: Pull the chain with the fan icon (or shorter chain) to cycle through fan speeds (High, Medium, Low, Off).
- Kontrol cahaya: Pull the chain with the light bulb icon (or longer chain) to turn the light On or Off.
- Blades anu tiasa dibalikkeun: The blades are reversible, offering walnut on one side and silver oak on the other. To change the blade finish, remove the blades, flip them, and reattach.
- Seasonal Operation: Most ceiling fans have a reverse switch on the motor housing. In warm weather, set the switch to circulate air downwards (counter-clockwise rotation) for a cooling effect. In cool weather, set the switch to circulate air upwards (clockwise rotation) to redistribute warm air from the ceiling.
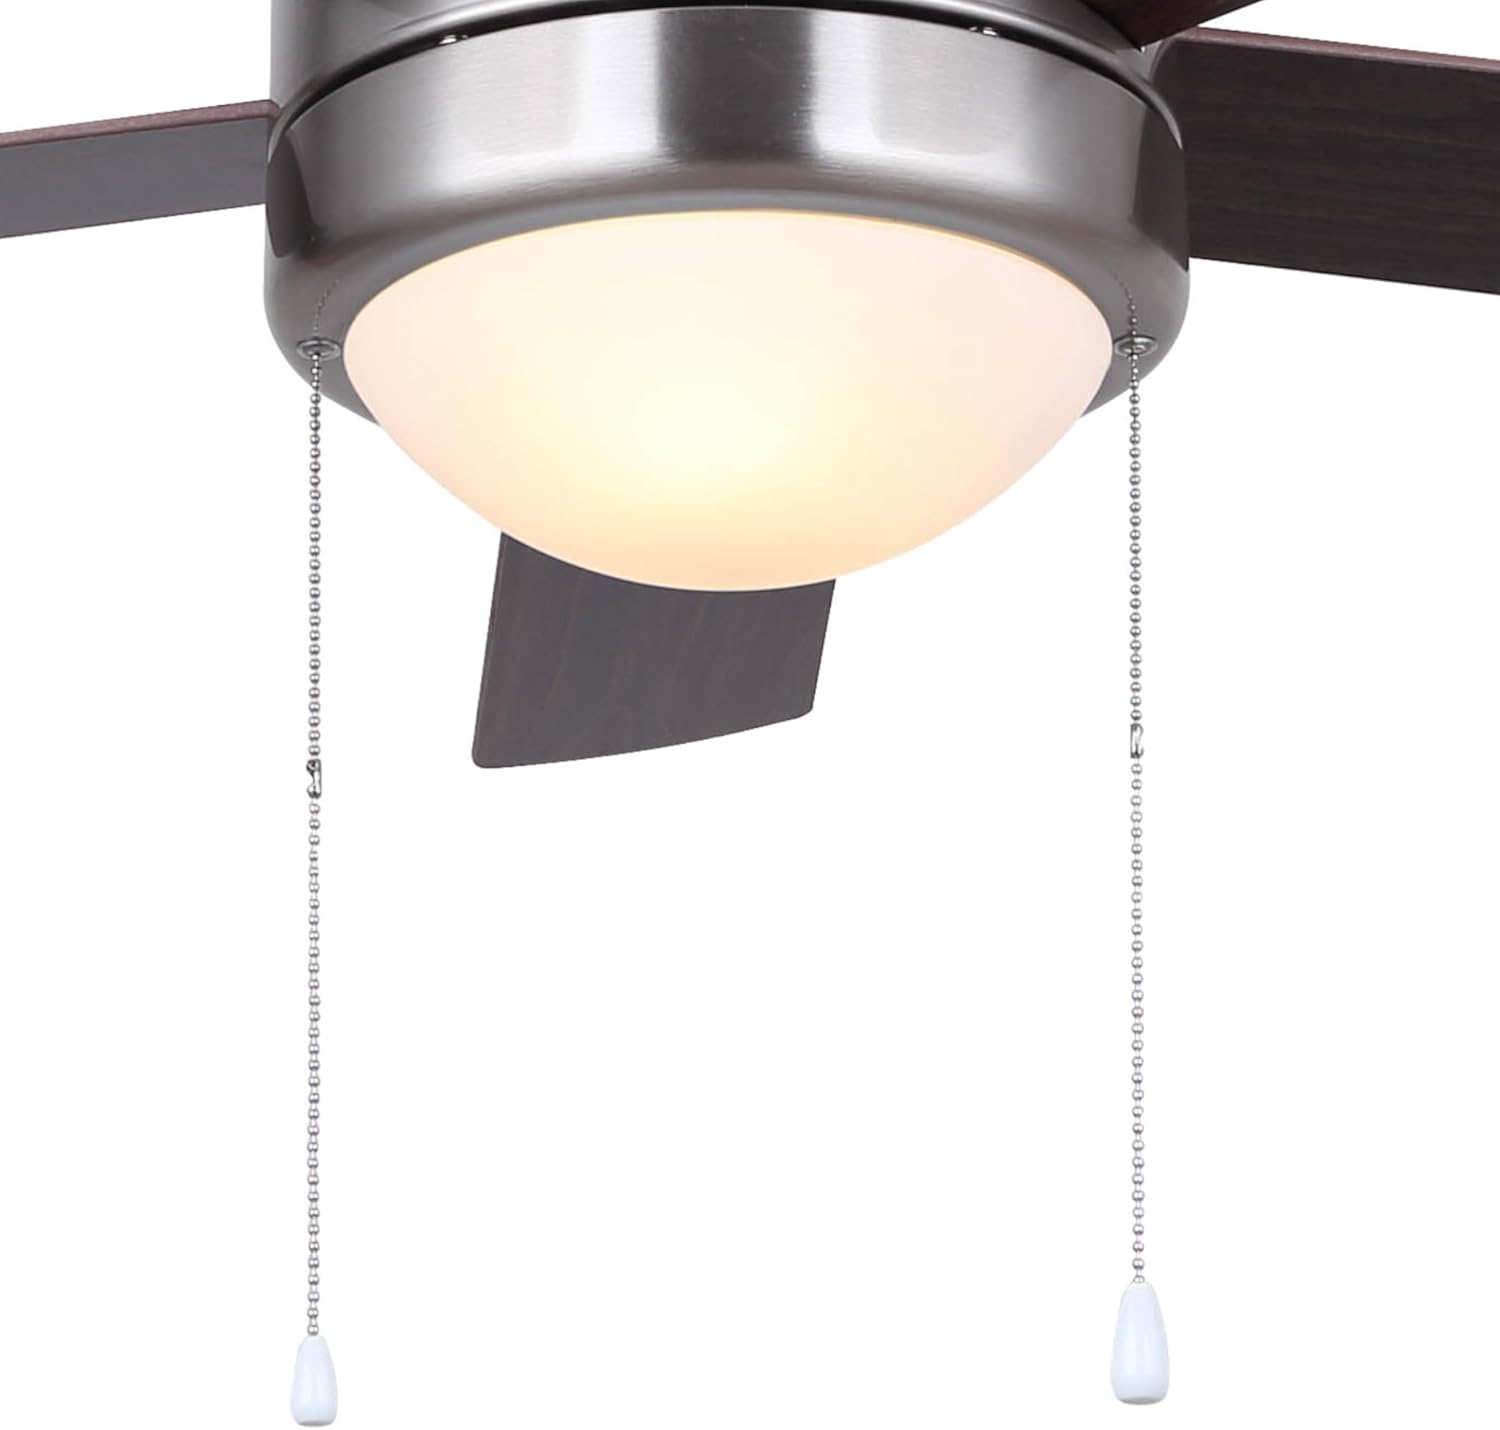
Image: The two pull chains for controlling the fan speed and the integrated light kit.
Pangropéa
Regular maintenance ensures long-lasting performance and safety.
- beberesih: périodik ngabersihan wilah kipas na perumahan motor kalayan lemes, damp lawon. Ulah make cleaners abrasive atawa pangleyur.
- Kateguhan Bilah: Check blade screws periodically to ensure they are tight. Loose blades can cause wobbling and noise.
- Ngagantian bohlam lampu: When replacing bulbs, ensure the power is off. Use bulbs of the same type and wattage as specified in the full manual or on the fixture.
- Akumulasi lebu: Dust can accumulate on the blades and motor, potentially affecting performance. Clean regularly.
Pamérésan masalah
Upami anjeun ngalaman masalah, tingali solusi umum ieu:
- Kipas Teu Bisa Dihirupkeun:
- Pariksa naha circuit breaker ON.
- Pastikeun sadaya sambungan kabel aman.
- Verify the pull chain for the fan is in the ON position.
- Lampu Teu Gawé:
- Check if the light pull chain is in the ON position.
- Ensure light bulbs are correctly installed and not burnt out.
- Verify wire connections to the light kit.
- Guncangan kipas:
- Ensure all blade screws are tight.
- Check that the downrod is securely fastened to the mounting bracket and motor housing.
- Verify the mounting bracket is securely attached to the ceiling.
- Operasi bising:
- Check for loose screws on the blades or motor housing.
- Ensure the fan is properly balanced.
- Allow a break-in period for new fans; some noise may diminish over time.
Pikeun masalah pengkuh, kontak rojongan customer.
spésifikasi
| merek | Canarm |
| Ngaran modél | PRESTONIII 52 inch Ceiling Fan |
| Nomer modél | CF52PR35BN |
| Ukuran | 52 inci |
| Bérés | Brushed Nickel (matte) |
| Bahan Sabeulah | Oak (reversible Walnut/Silver Oak) |
| Jumlah wilah | 5 |
| Kit Lampu | Integrated with Opal Glass Shade, 2 Light Sources |
| Dasar Bulb | E26 |
| Métode kontrol | Tarik Ranté |
| Tipe Pamasangan | Downrod Gunung |
| Pamakéan jero rohangan / outdoor | jero rohangan |
| Item Beurat | 18.7 pon |
| Dimensi produk | 52 x 52 x 16 inci |
Garansi sareng Rojongan
Kanggo inpormasi garansi atanapi dukungan téknis, mangga tingal resmi produsén websitus atanapi ngahubungan departemén layanan palanggan maranéhna. Simpen resi pameseran anjeun pikeun klaim jaminan.
Pabrikan: Canarm
Toko merek: Canarm Store on Amazon


