1. Bubuka
This manual provides essential information for the safe and effective use of your Leica M (Typ 240) Digital Rangefinder Camera, model 10770. The Leica M is engineered for superior image quality, precise focusing, and robust performance, featuring a 24-megapixel CMOS sensor and the Leica Maestro image processor.
fitur konci ngawengku:
- High-resolution 24-megapixel CMOS sensor for exceptional detail.
- Fast Leica Maestro image processor for rapid image handling.
- Hirup View with 10x magnification and Focus Peaking for precise focusing.
- Splash-proof camera body for enhanced durability.
- 3-inch TFT LCD screen with 920,000 pixels and Corning Gorilla glass protection.
- Full 1080p HD video recording capabilities.
2. Setélan
2.1 Ngabongkar jeung Mariksa Eusi
Carefully unpack your camera and verify that all components are present. The standard package for model 10770 includes the camera body only. Inspect the camera for any signs of damage before proceeding.
2.2 Pamasangan batré
The Leica M (Typ 240) uses one Lithium Metal battery (included). To install the battery:
- Locate the battery compartment cover, typically on the bottom of the camera.
- Open the cover by turning the locking mechanism.
- Pasangkeun batréna numutkeun indikator polaritas di jero kompartemenna.
- Tutup panutup kompartemen batré aman.
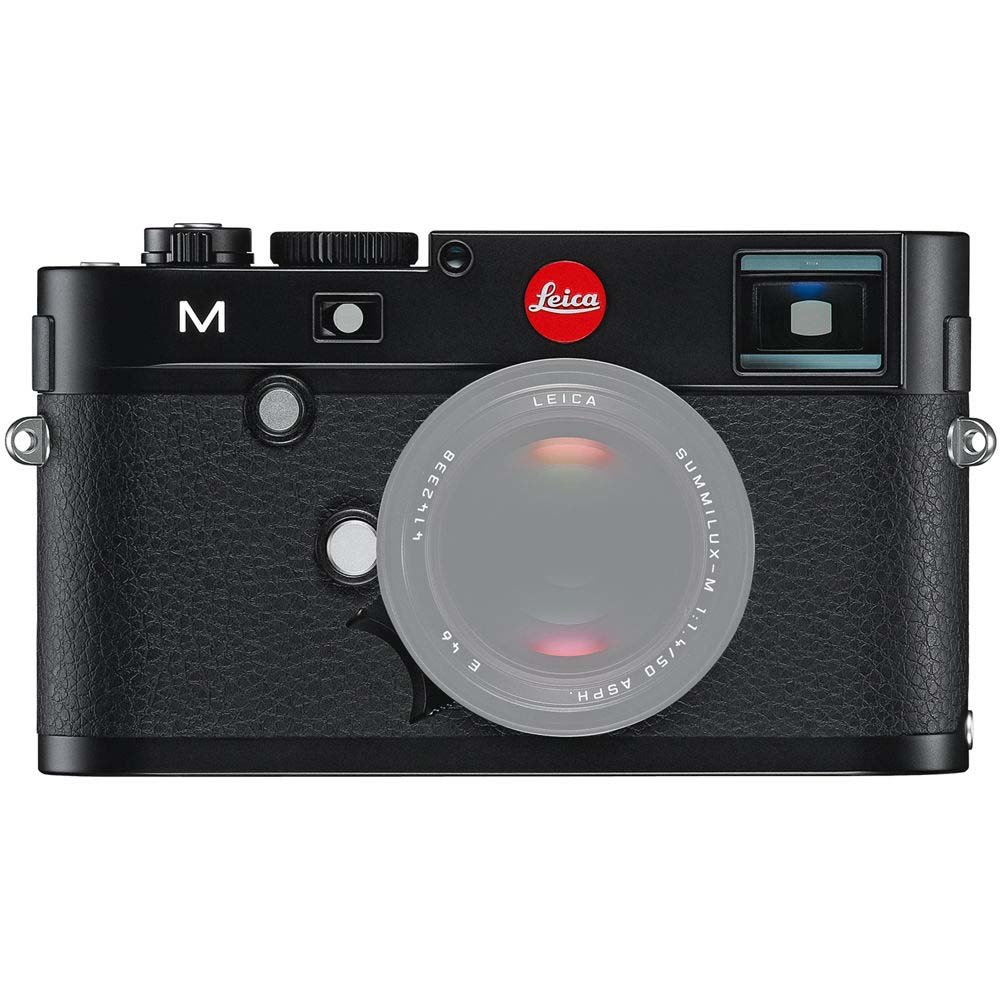
Hareupeun view of the Leica M (Typ 240) Digital Rangefinder Camera, showing the lens mount and body design. This image illustrates the camera's exterior, which houses the battery compartment and other controls.
2.3 Selapkeun Card Mémori
Insert a compatible SD card into the memory card slot. Ensure the card is inserted in the correct orientation until it clicks into place. Refer to the camera's display for confirmation of card recognition.
2.4 Kantétan lénsa
The Leica M (Typ 240) uses the Leica M mount. To attach a lens:
- Cabut tutup awak tina kaméra sareng tutup pungkur tina lensa.
- Sejajarkeun titik beureum dina lénsa sareng titik beureum dina lénsa kaméra.
- Gently insert the lens into the mount and turn it clockwise until it locks into place.
2.5 Daya Awal sareng Setélan Dasar
After installing the battery and memory card, turn on the camera using the power switch. The first time you power on, you may be prompted to set the date, time, and language. Follow the on-screen instructions to configure these basic settings.
3. Ngoperasikeun kaméra
3.1 Kontrol Leuwihview
The Leica M (Typ 240) features a classic rangefinder design with intuitive controls. Familiarize yourself with the shutter speed dial, aperture ring (on the lens), focus ring (on the lens), and the various buttons and dials on the camera body for menu navigation and function selection.
3.2 Pokus
The camera offers multiple focusing methods:
- Rangefinder System: The classic method for precise manual focusing. Align the split or superimposed images in the viewanu mendakan
- Hirup View Zum: When using Live View on the LCD screen, you can magnify the image up to 10x for critical focus assessment.
- Hirup View Puncak Fokus: This feature automatically highlights sharp contours in red on the Live View display, providing visual confirmation of focus.
3.3 Setélan Paparan
The Leica M (Typ 240) provides comprehensive control over exposure. You can manually set aperture (via the lens), shutter speed (via the top dial), and ISO sensitivity. The camera also offers various metering modes, including Center Weighted, to assist in achieving correct exposure.
3.4 Shooting Still Images
To capture a still image:
- Nyusun shot anjeun ngagunakeun viewpanyungsi atanapi Live View.
- Adjust focus using one of the methods described above.
- Set your desired exposure parameters (aperture, shutter speed, ISO).
- Press the shutter button halfway to activate the meter, then fully to capture the image.
3.5 Ngarékam Pidéo
The Leica M (Typ 240) supports 1080p full-HD video recording. To record a video:
- Switch the camera to video mode (if applicable, refer to the camera's menu).
- Compose your shot and adjust focus.
- Press the dedicated video recording button or the shutter button (depending on configuration) to start and stop recording.
3.6 Gambar Playback
Pikeun ulangview gambar sareng pidéo anu dicandak:
- Pencét tombol Playback.
- Use the navigation controls to scroll through your media.
- The 3-inch TFT LCD screen provides a clear display for reviewdina nembak Anjeun.
4. Pangropéa
4.1 Ngabersihan Kaméra
- Awak kaméra: Anggo kaén anu lembut sareng garing pikeun ngusap awak kaméra. Pikeun kokotor nekad, a rada damp lawon bisa dipaké, tapi ulah nepi ka kakeunaan cai anu kaleuleuwihi.
- Lensa: Use a lens brush or air blower to remove dust, then gently clean with a microfiber lens cloth and a specialized lens cleaning solution if necessary.
- Sénsor: Beberesih sénsor kudu dilaksanakeun kalawan ati-ati pisan. Upami aya bintik-bintik lebu dina gambar, disarankeun pikeun nyuhunkeun sénsor dibersihkeun sacara profésional ku pusat layanan resmi.
- Layar LCD: Use a soft, lint-free cloth. Avoid harsh chemicals.
4.2 Panyimpenan
When not in use, store the camera in a cool, dry place away from direct sunlight, high humidity, and extreme temperatures. Use a desiccant pack if storing in humid environments. Remove the battery if the camera will not be used for an extended period.
4.3 Perawatan Batré
Charge the battery fully before first use. For optimal battery life, avoid completely discharging the battery regularly. Store batteries in a cool, dry place. If storing for extended periods, charge them to approximately 50% capacity.
5. Cara ngungkulan
5.1 Kaméra Henteu Hurung
- Pastikeun batréna leres diselapkeun sareng dicas pinuh.
- Pariksa yen kontak batréna beresih.
- Cobi batré anu tos dicas béda upami sayogi.
5.2 Images Are Out of Focus
- Verify that the lens is correctly attached and the focus ring is being adjusted properly.
- Ensure you are using the rangefinder or Live View focusing aids correctly.
- Check the diopter adjustment on the viewfinder if images appear blurry through it.
5.3 Image Quality Issues (e.g., Noise, Color Cast)
- Bising: High ISO settings can introduce noise. Try lowering the ISO or using a brighter aperture/slower shutter speed.
- Warna Cast: Check the white balance settings. Adjust to match the lighting conditions. Firmware updates may also address color rendition issues.
- Dust Spots: If dark spots appear on images, especially at smaller apertures, the sensor may require cleaning.
5.4 Memory Card Errors
- Ensure the memory card is fully inserted.
- Try formatting the card in the camera (note: this will erase all data).
- Uji nganggo kartu mémori anu béda sareng cocog.
6. Spésifikasi
| Fitur | Rincian |
|---|---|
| merek | Leica |
| Nomer modél | 10770 |
| Dimensi produk | 5.47 x 1.65 x 3.15 inci |
| Item Beurat | 1.29 pon |
| Batré | 1 batré Litium Metal (kaasup) |
| Mountings cocog | Leica M |
| Téhnologi Sénsor Poto | CMOS |
| Dirojong File Formatna | JPEG, RAW |
| Stabilisasi Gambar | Digital |
| Zoom optik | 1x |
| Aperture maksimum | 3.5 Millimeters (Note: This refers to the camera body's internal specification, actual lens aperture varies.) |
| Ngalegaan ISO Minimum | 100 |
| Katerangan Pangukuran | Pusat Ditimbang |
| Tanggal Kahiji Sadia | Pébruari 2, 2010 |
7. Garansi jeung Rojongan
For detailed warranty information, please refer to the warranty card included with your product or visit the official Leica websitus. Simpen bukti pameseran anjeun pikeun klaim garansi.
For further assistance, technical support, or service, please contact Leica customer service or visit an authorized Leica service center. You can find more information and resources on the Toko Leica di Amazon.