STELLAR Line8 Power Socket System
ASSEMBLY / MOUNTING INSTRUCTIONS
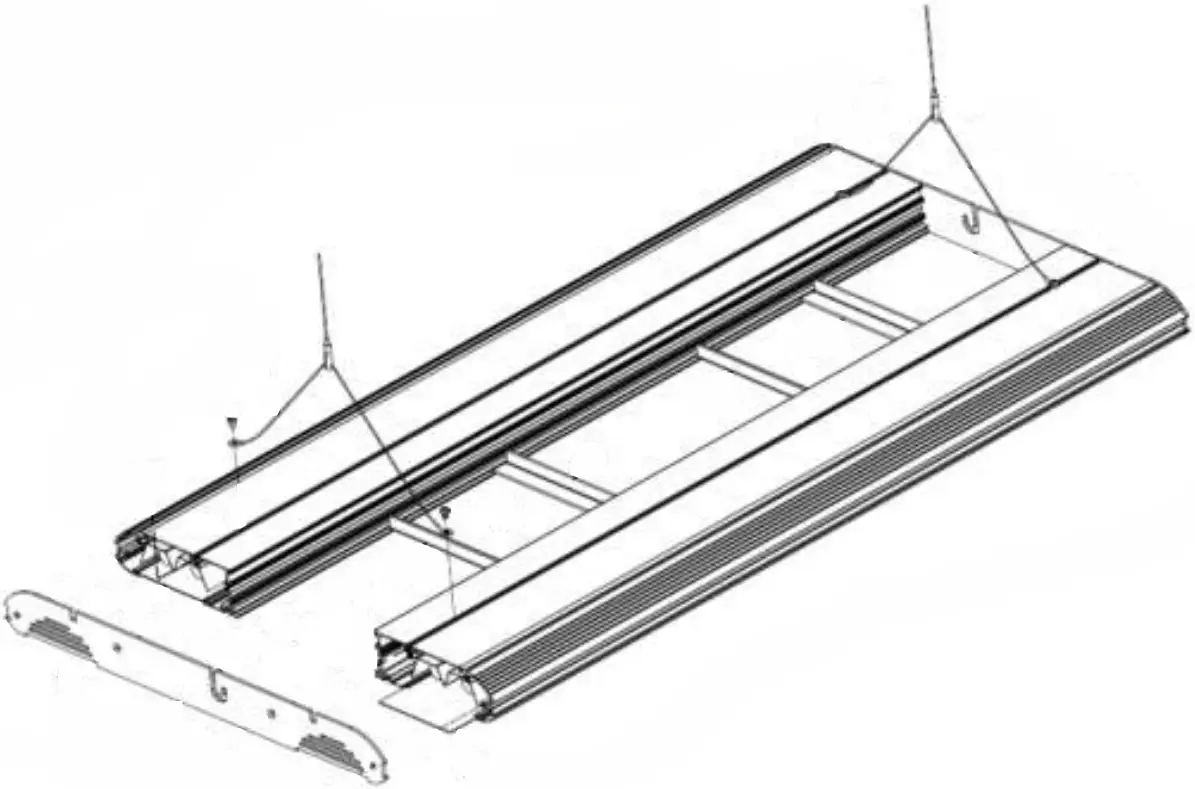
- Insert the retaining nuts for the suspension kit into the grooves of the lighting body.

- Slide the splash shields into the grooves of the lighting body.

- Screw the rear endplate to the fixture body. When doing so, make sure that the smaller 2.9 mm screws are screwed into the outer threaded holes and the 3.5 mm screws into the inner threaded holes.

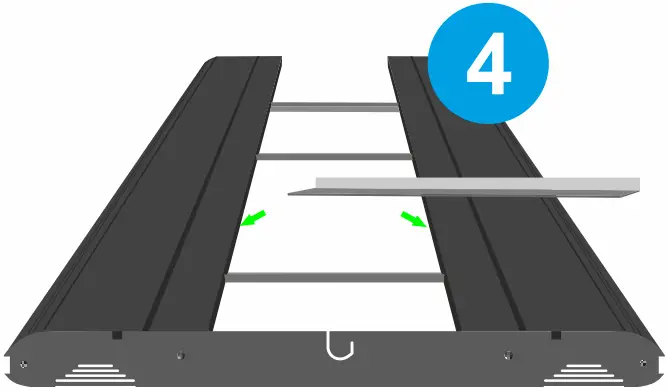
- Now fit the supplied LED light holders (mounting brackets). These are simply pushed into the grooves provided.
- Screw the front housing cover to the lighting body. Make sure that the thinner screws are used for the outer holes and the larger screws for the inner holes.

Now slide the mounting brackets or your LED fixture in the desired position or add another pair of mounting brackets for additional LED fixtures.
 For safety reasons, we strongly recommend that you remove the protective film from the adhesive tapes and only then place your lights on the mounting brackets.
 - The cables of your LED lights can be routed out of the central J slot of the endplates.

Customer Support
Giesemann Aquaristic GmbH Burdestr. 74 D,_47334 Nettetal
Tel. +49 – 2757 / 87 29 90
Fax +49 – 2157 / 87 29 99
www.giesemann.de
info@giesemann.de


Documents / Resources
 |
STELLAR Line8 Power Socket System [pdf] Instruction Manual Line8 Power Socket System, Line8, Power Socket System, Socket System |