Q-TRAN UX8 DMX Controller

INSTALLATION Accessories – UX8
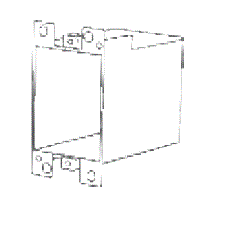
- Install the junction box into the wall.
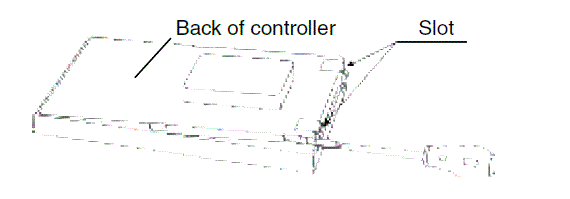
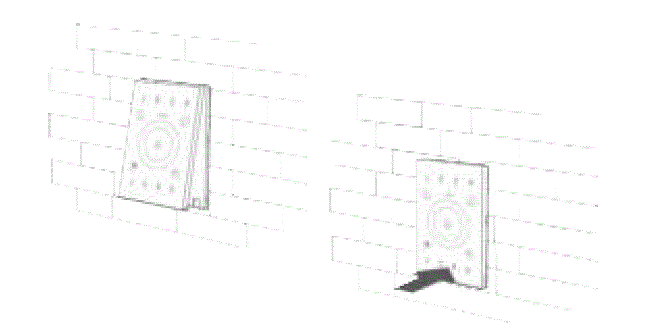
- Use a flathead screwdriver to pry the baseplate as shown:
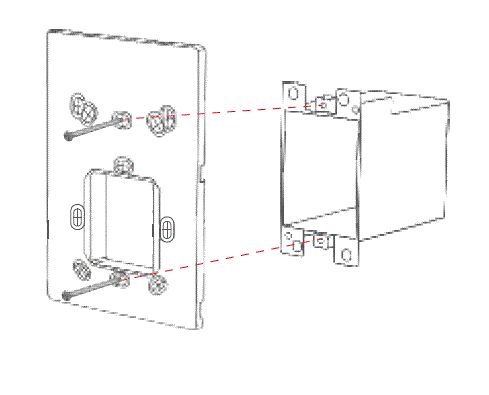
- Screw the baseplate to the junction box in the wall firmly.
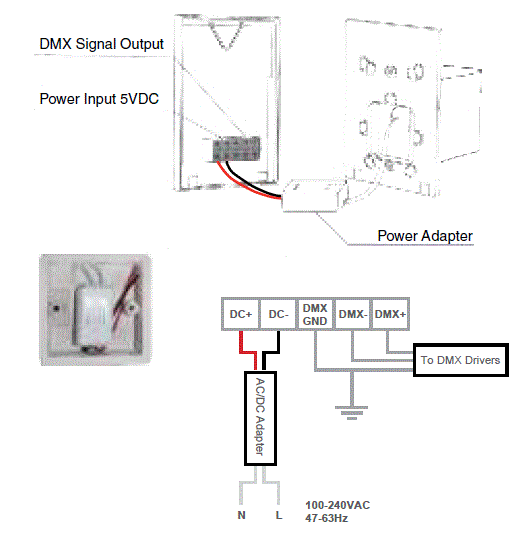
- Connect all components and put the power adapter into the junction box. Connect DMX GND to earth GND.
- Snap the upper portion of the touch panel into the baseplate and then snap the bottom into place.
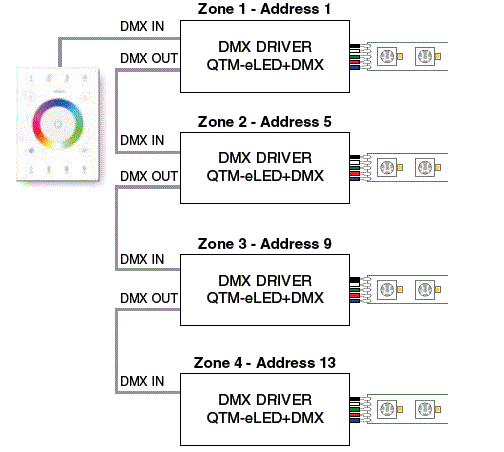
- Program the zones.
© 2022 Q-Tran Inc. All rights reserved | 155 Hill St. Milford, CT 06460 | 203-367-8777 | sales@q-tran.com | www.q-tran.com
Documents / Resources
 |
Q-TRAN UX8 DMX Controller [pdf] Installation Guide UX8 DMX Controller, UX8, DMX Controller, Controller |


