JEYI I9-Seal
JEYI I9-Seal M.2 NVMe SSD Enclosure User Manual
Model: I9-Seal
Вовед
This manual provides comprehensive instructions for the installation, operation, and maintenance of your JEYI I9-Seal M.2 NVMe SSD Enclosure. This device converts an NVMe M.2 solid-state drive into a portable external storage solution with high-speed USB 3.2 Gen 2 connectivity.
Содржина на пакетот
Ве молиме проверете дали сите артикли наведени подолу се вклучени во вашиот пакет:
- JEYI M.2 NVMe SSD Enclosure
- Термички влошки
- Шрафцигер
- USB-A to USB-C Cable (10Gbps)
- USB-C to USB-C Cable (10Gbps)
- Ланјард

Инструкции за поставување
Follow these steps to install your NVMe M.2 SSD into the JEYI I9-Seal enclosure:
- Подгответе го куќиштето: Gently slide open the enclosure to reveal the internal PCB.
- Нанесете термо-подлога: Peel off the protective films from both sides of a thermal pad and carefully place it onto the NVMe SSD chip area. This aids in heat dissipation.
- Insert NVMe SSD: Align your NVMe M.2 SSD (2280 form factor only) with the M-Key slot on the PCB. Insert the SSD firmly but gently into the slot at an angle.
- Обезбедете го SSD-то: Once inserted, gently push down the SSD and secure it with the provided screw using the included screwdriver. Ensure the SSD is flat and securely fastened.
- Затворете го куќиштето: Carefully slide the enclosure cover back into place until it clicks securely.


Упатства за работа
Once your NVMe SSD is securely installed, connect the enclosure to your device:
- Поврзете се со уред: Use either the provided USB-C to USB-C cable or the USB-A to USB-C cable to connect the enclosure to a compatible USB port on your computer, smartphone, tablet, or game console.
- Индикатор за моќност: A small LED indicator on the enclosure will illuminate, signifying that the device is powered on and connected.
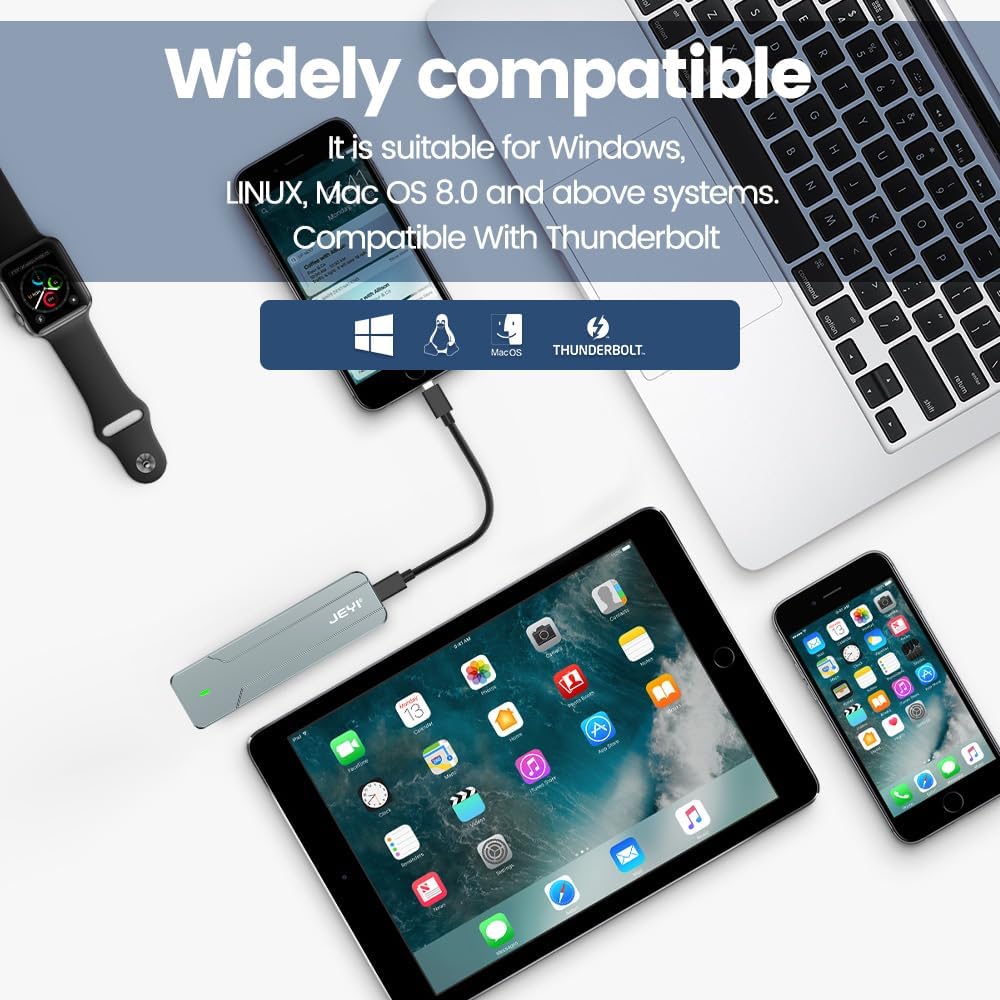
- Препознавање на диск: Your operating system (Windows, macOS, Linux, Android, iOS) should automatically detect the new storage device. If it's a new SSD, you may need to initialize and format it through Disk Management (Windows) or Disk Utility (macOS) before use.
- Пренос на податоци: You can now perform data backup, file transfers, disk upgrades, data recovery, or use it for storage expansion. The enclosure supports USB 3.2 Gen 2 speeds up to 10Gbps.

Одржување
To ensure optimal performance and longevity of your JEYI I9-Seal enclosure:
- Управување со топлина: Алуминиумската цasing and thermal pads are designed for efficient heat dissipation. During prolonged high-speed data transfers, the enclosure may become warm to the touch. This is normal and indicates effective heat transfer from the SSD.
- Чистење: Користете мека, сува крпа за чистење на надворешноста на куќиштето. Избегнувајте употреба на течни средства за чистење или растворувачи.
- Складирање: Кога не е во употреба, чувајте го куќиштето на ладно и суво место, подалеку од директна сончева светлина и екстремни температури.
- Грижа за кабел: Handle the USB cables carefully. Avoid sharp bends or excessive pulling to prevent damage.
Решавање проблеми
| Проблем | Можна причина | Решение |
|---|---|---|
| Компјутерот не го откри куќиштето. |
|
|
| Бавни брзини на пренос на податоци. |
|
|
| Enclosure gets very hot. |
|
|
Спецификации
| Карактеристика | Детал |
|---|---|
| Модел | I9-Seal |
| Бренд | JEYI |
| Хардверски интерфејс | USB 3.2 Gen 2 (USB-C) |
| Стапка на пренос на податоци | До 10 Gbps |
| Компатибилен тип на SSD | NVMe M.2 (PCI-E M-Key) |
| Supported SSD Form Factor | 2280 (80mm) only |
| Максимален капацитет за складирање | 4 ТБ |
| Чипсет | JMS583 A3 |
| Карактеристики | UASP Support, TRIM Support, Win to Go (WTG) Support |
| Материјал | Алуминиумска легура |
| Боја | Сребрена |
| Димензии на производот | 4.06 x 1.02 x 0.39 инчи (103 x 26 x 10 мм) |
| Тежина на ставката | 0.317 унци (9 грама) |
| Компатибилни оперативни системи | Windows, macOS, Linux, iOS, Android |

Гаранција и поддршка
For warranty information or technical support, please refer to the official JEYI webвеб-страницата или директно контактирајте ја нивната служба за корисници. Деталите во врска со специфичните гарантни периоди и каналите за поддршка обично се дадени со вашата документација за купување или на производителот. webсајт.
Производител: JEYI
Webсајт: Visit the JEYI Store on Amazon
Ask a question about this manual
Ask about setup, troubleshooting, compatibility, parts, safety, or missing instructions. Manuals+ will review the question and use this page’s manual context to help answer it.