Braun Cruzer 6 Type 5417 Battery Replacement
Disassemble trimmer and change batteries in the Braun Cruzer 6 - Model: 5417
Written By: Zweikeks
Introduction
Use this guide to remove and replace the batteries in the Braun Cruzer 6 - Beard and Hair Trimmer, Model: 5417.
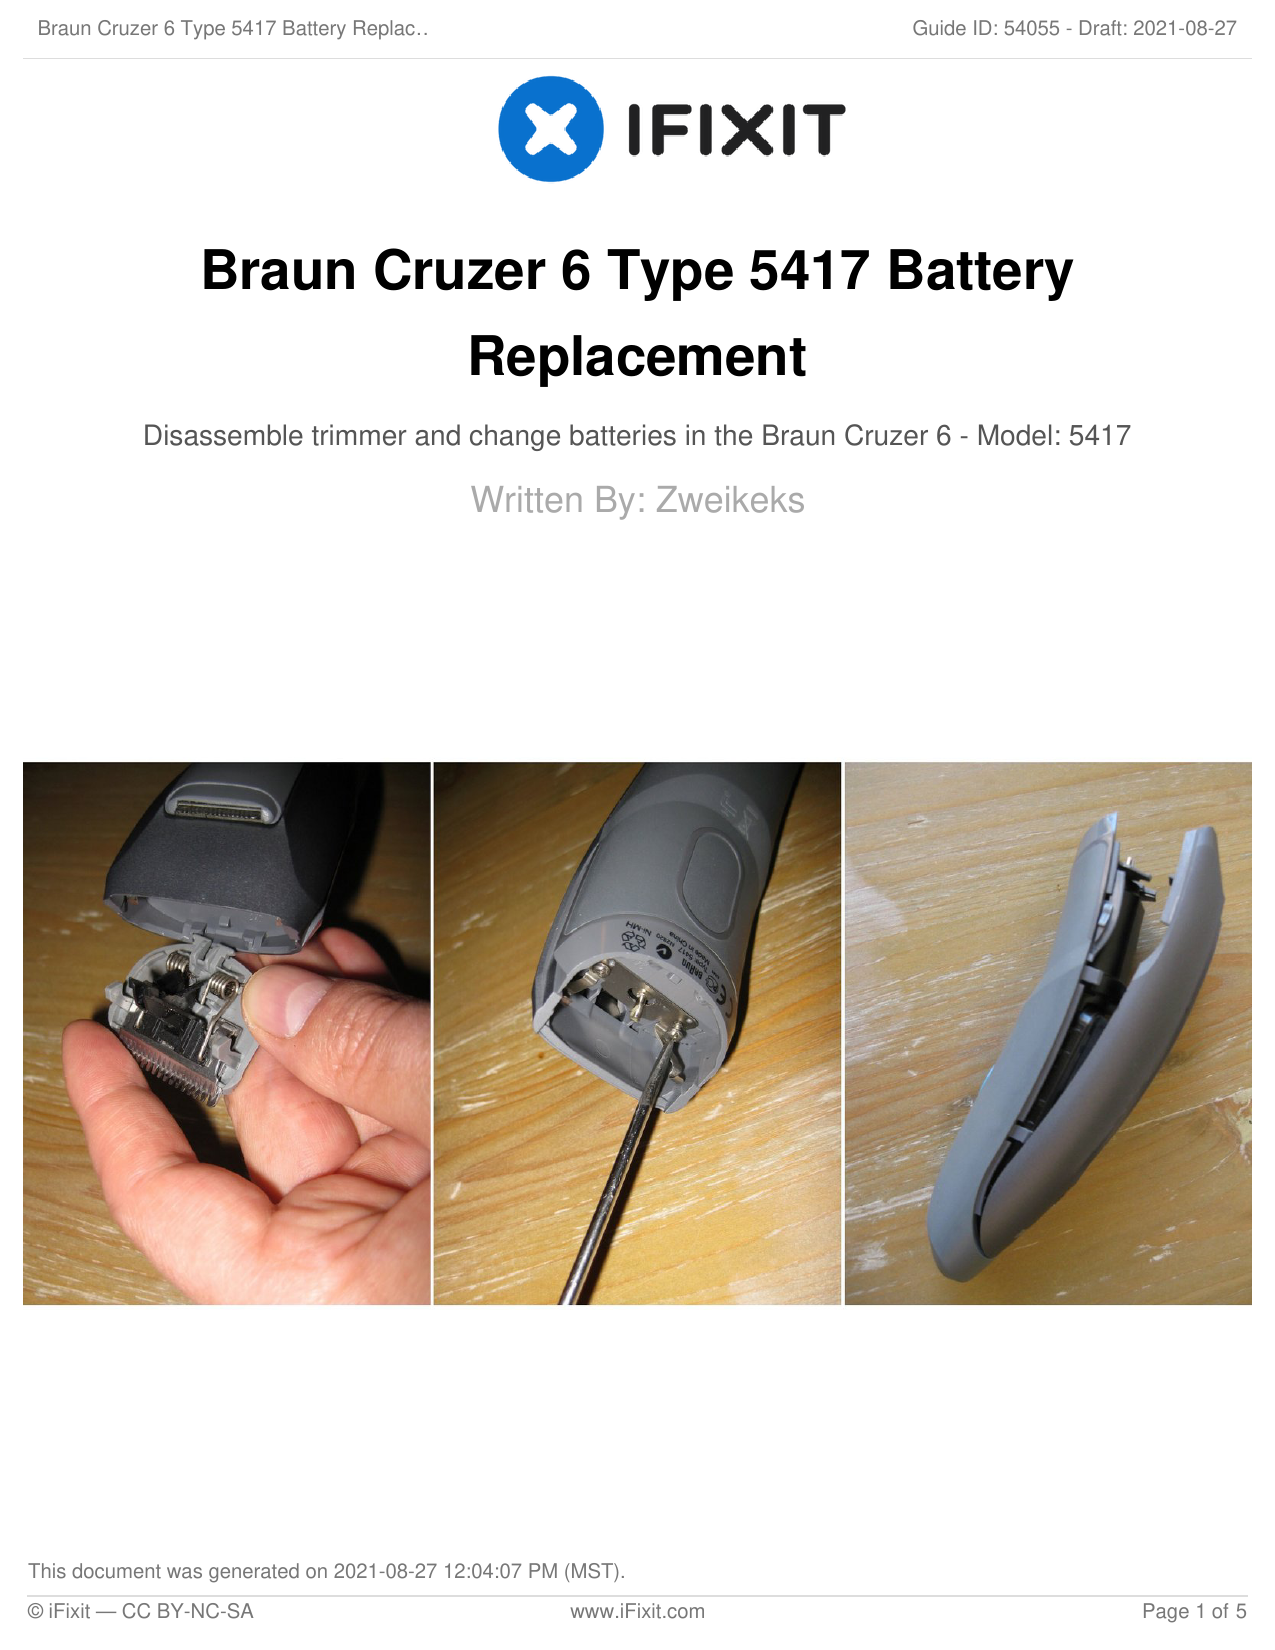
Step 1 - Braun Cruzer 6 Type 5417 Battery Replacement
Description of visuals:
- Image 1: A hand is shown carefully removing the trimmer head.
- Image 2: The main body of the trimmer is shown, with a screwdriver being used to remove a screw.
- Image 3: The disassembled casing of the trimmer is laid out.
Procedure:
- Remove the trimmer head.
- Remove the two screws securing the cover to the handpiece. These screws are either Torx T5 or slotted.
- Remove the cover.
- This is an opportune moment to clean the interior of the device. Accumulated hair can obstruct the battery contacts.
Step 2
Description of visuals:
- Image 1: The back cover of the trimmer is removed, revealing internal components.
- Image 2: The power board is shown held in place by a screw.
- Image 3: Compressed air is used to clean the motor, and lubrication is applied.
- Image 4: A soldering iron and desoldering pump are used to remove the batteries.
Procedure:
- Remove the back cover.
- Using a flat head screwdriver, remove the screw that holds the power board in place.
- Use compressed air to clean the motor. It is also recommended to lubricate the trimmer with an anti-rust spray or WD-40 during this step.
- Remove the two AAA batteries by desoldering them using a soldering iron and a desoldering pump.
- Bend the terminals of the new batteries to match the orientation of the old ones and solder them back into place.
- If the new batteries have some charge, briefly press the power button to confirm the motor is functioning.
- Reinsert the power board, ensuring the side with the motor is inserted first.
Step 3
Description of visuals:
- Image 1: The trimmer body with the upper cover removed.
- Image 2: A closer view of the trimmer body with the upper cover removed, showing internal components.
- Image 3: A hand is shown holding the disassembled trimmer.
Procedure:
- This step involves the removal of the upper cover. Cleaning and lubricating this area can also enhance the performance of the beard trimmer.
To reassemble your device, follow the above steps in reverse order.


