
Lumens HDL410 Coordinate Nureva Device User Guide
Introduction to HDL410 coordinate
- The coordinate setting guide in this document only works with firmware v1.7.18.
- Instead of using solely mist technology in coverage map, zones will be used.
- CamConnect directs camera (s) when voice sources are detected in Nureva zones.
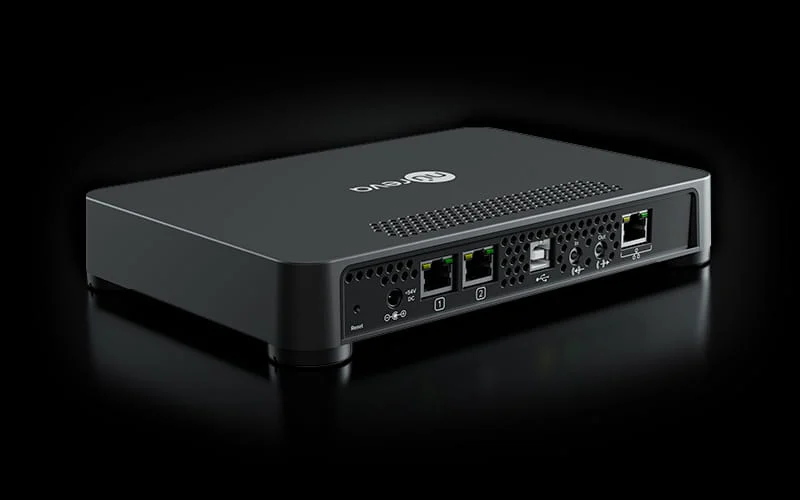
- This guide assumes familiarity with HLD410 setup and room level setup if not please see below first;
https://www.mylumens.com/Download/Nureva%20HDL410%20Setting%20Guide%202023-1128.pdf
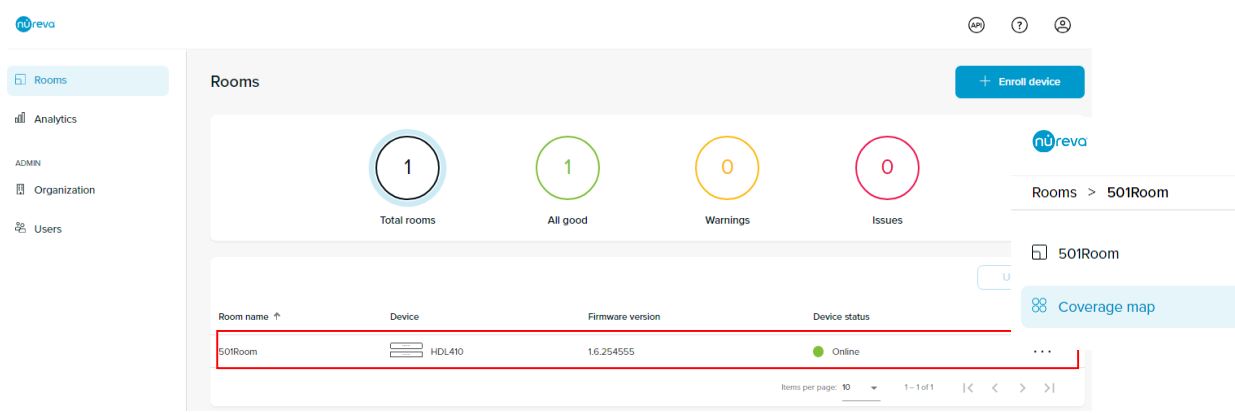
Step1: Login Nureva Console to set coverage map.
- Login your Nureva device.
- Select HDL410 device to set coverage map.
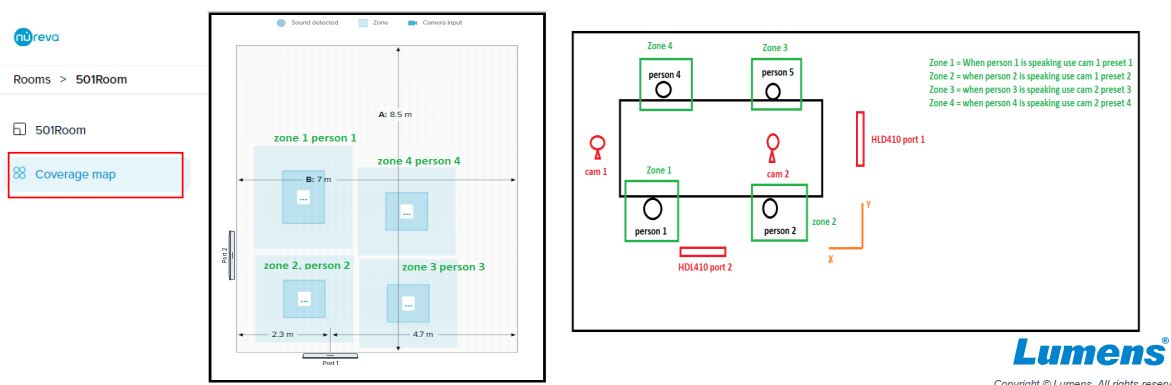
Step2: Define plan in HLD410 coverage map.
- Adjust the default dimensions within the coverage map to accurately define your room size.
- Create and position zones to be used with local integrations.
Below is an example (for depiction purpose only):
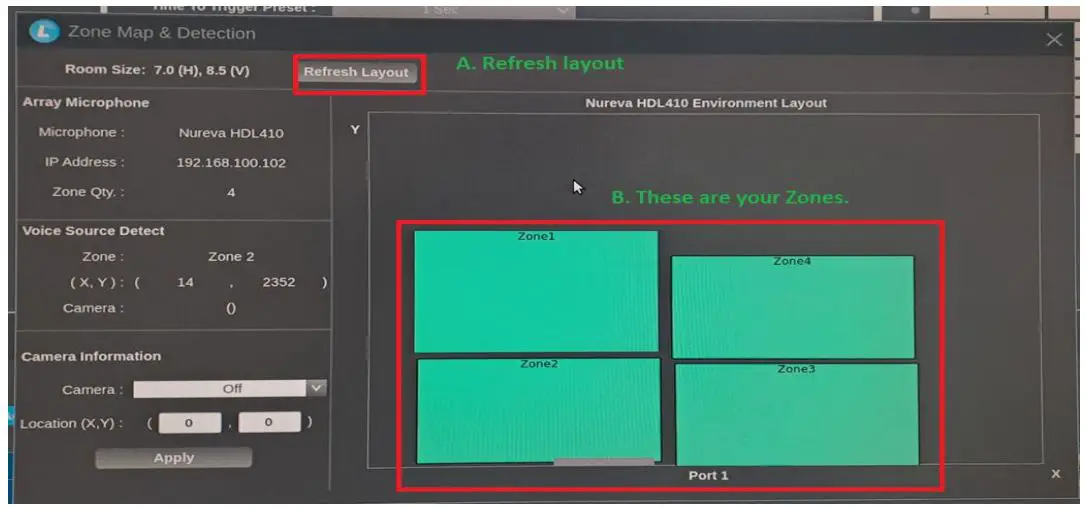
Step3. Operating and setting up CamConnect’s zone map
- Connect “HLD410 (coordinate)” microphone. When microphone and cameras are connected (HDMI interface)
- Click “Zone Map” to the setting page of zone map. Clink “Refresg Layout” to import and syncing Nureva zones into CamConnect.
Note: Due to the system limitation, the Zone name may not be changed if the zone renames on Nureva.
Step4. Set the Preset No. by Zone No.
- Make sound to trigger the HDL410 microphone and set up the preset No. according to the Zone No.

Best Practices
1. Operate HDL410 coordinate ONLY in HDMI interface of CamConnect.
2. Do Not place zones too close to each other.
3. Avoid zones overlap.
4. Do not place zones too close to room wall.
5. Avoid using real size (dimension) of room, instead imagine a virtual dimension around
your area of interest.
6. If there are random jumping or pick up of voice source (green LED in HDMI), fine tune
your audio trigger level.
7. After defining “virtual room dimension and zones” go to Nureva and recalibrate your
HDL410.
8. Read carefully HDL410 Nureva`s recommendation when setting up a room.

Read More About This Manual & Download PDF:
Documents / Resources
 |
Lumens HDL410 Coordinate Nureva Device [pdf] User Guide HDL410, HDL410 Coordinate Nureva Device, Coordinate Nureva Device, Nureva Device, Device |