Intermatic DT121C Programmable Digital Timer User Manual
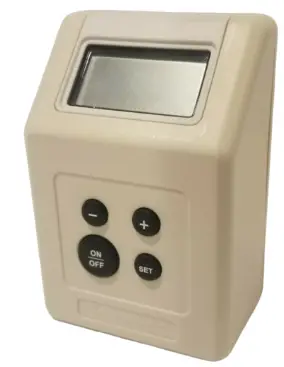
Thank you for purchasing the DT121C Digital Timer.
Features
- Easy set up
- 2 on /2 off settings
- The minimum setting interval is 1 minute
- Can be used for incandescent lights up to 300 Watts
- Manual Override
Setup
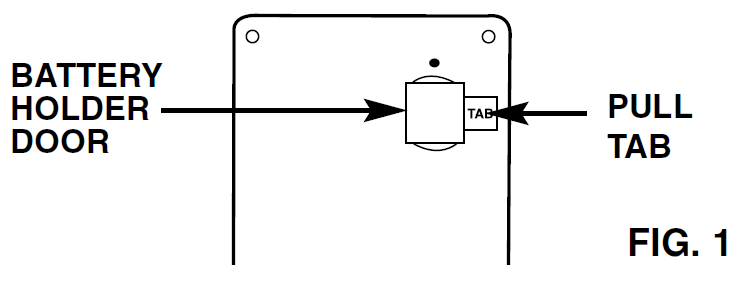
Batteries Activation- The timer is shipped with 2 batteries (L1154/SR44/LR44) installed. Pull the protective strip from the battery carrier (See Fig 1). The display will flash midnight.
(Note: To conserve battery power, if the timer is not plugged in and no button is pushed, the display will go blank. To restore, press any button.
Clock (See Fig 2)
- Press the SET button once. The display will advance to TIME mode, and the time will be flashing.
- Press the + or – button until the time of day is displayed. Holding either button down will increase the speed of the setting.
On/Off Time
- After the time is set, press the SET button once. The display will now show EVENT 1 ON mode. EVENT 1 ON will be flashing with a blank display. (See Fig. 3)
- Press + or – to advance to the ON time.
- Once the ON time is set, press the SET button once. The display will now show EVENT 1 OFF. (See Fig 4)
- Press + or – to advance to the OFF time.
- Repeat Steps 1-4 for the 2nd ON/OFF setting.
- When timer events are completed, press SET once. This will put the timer in RUN mode. The display will show the time of day entered, with the colon flashing.
Note: To clear an event time, push the and – buttons at the same time while in the ON or OFF mode that you want to clear.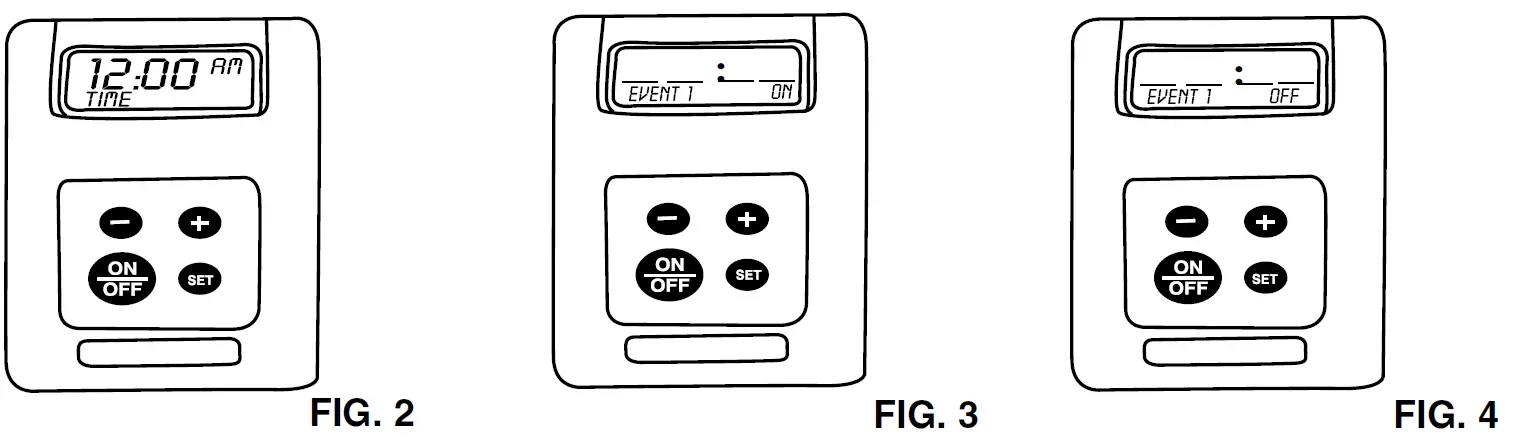
Lamp Connection
- Turn the lamp switch to the ON position.
- Plug a lamp into the receptacle on the side of the timer.
- Plug the timer into the wall outlet.
Manual Override
To override the ON or OFF settings, press the ON/OFF button. The override setting will change at the next timed event.
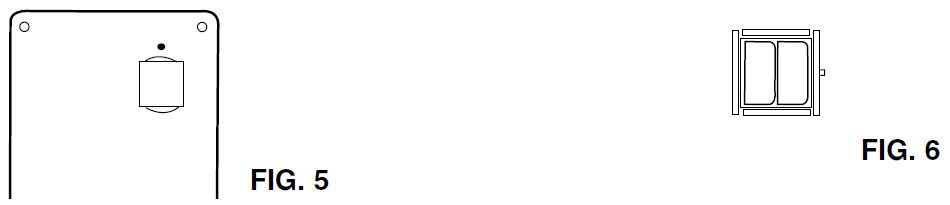
Battery Replacement (See Fig 5 and 6)
When the batteries are running out, LO will be displayed.
- Remove the timer from the wall socket.
- Using a small flat screwdriver, pry the battery holder open. The DT121C uses 2 model L1154, SR44 or LR44 batteries.
- Remove the old batteries (you have one minute to replace the batteries once the old batteries are removed without losing the existing programs) and replace the new batteries with the + facing the terminals.
- When the batteries are in place, press the battery holder back into its original position.
- Plug the timer into the wall socket.
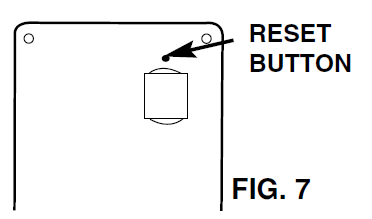
Reset (See Fig 7):
Quickly delete the time and event settings at one time, using the point of a pencil. Press the RESET button found above the battery holder on the rear of the timer.
Ratings
8.3-Amp Resistive and Inductive 300-Watt Tungsten, 120VAC, 60Hz.
WARNINGS:
DO NOT USE THE TIMER TO TURN OFF POWER FOR MAINTENANCE (repairs, removing broken bulbs, etc.). ALWAYS TURN POWER OFF AT THE SERVICE PANEL BY REMOVING A FUSE OR CIRCUIT BREAKER BEFORE DOING ANY CIRCUIT REPAIRS.
LIMITED ONE-YEARWARRANTY
If, within one (1) year from the date of purchase, this product fails due to a defect in material or workmanship, Intermatic Incorporated will repair or replace it, at its sole option, free of charge. This warranty is extended to the original household purchaser only and is not transferable.
This warranty does not apply to (a) damage to units caused by accident, dropping or abuse in handling, acts of God or any negligent use; (b) units which have been subject to unauthorized repair, opened, taken apart or otherwise modified; (c) units not used by instructions; (d) damages exceeding the cost of the product; (e) sealed lamps and/or lamp bulbs, LED’s and batteries; (f) the finish on any portion of the product, such as surface and/or weathering, as this is considered normal wear and tear; (g) transit damage, initial installation costs, removal costs, or reinstallation costs.
INTERMATIC INCORPORATED WILL NOT BE LIABLE FOR INCIDENTAL OR CONSEQUENTIAL DAMAGES. SOME STATES DO NOT ALLOW THE EXCLUSION OR LIMITATION OF INCIDENTAL OR CONSEQUENTIAL DAMAGES, SO THE ABOVE LIMITATION OR EXCLUSION MAY NOT APPLY TO YOU.
THIS WARRANTY IS INSTEAD OF ALL OTHER EXPRESS OR IMPLIED WARRANTIES. ALL IMPLIED WARRANTIES, INCLUDING THE WARRANTY OF MERCHANTABILITY AND THE WARRANTY OF FITNESS FOR A PARTICULAR PURPOSE, A RE HEREBY MODIFIED TO EXIST ONLY AS CONTAINED IN THIS LIMITED WARRANTY AND SHALL BE OF THE SAME DURATION AS THE WARRANTY PERIOD STATED ABOVE. SOME STATES DO NOT ALLOW LIMITATIONS ON THE DURATION OF AN IMPLIED WARRANTY, SO THE ABOVE LIMITATION MAY NOT APPLY TO YOU.
This warranty gives you specific legal rights, and you may also have other rights, which vary from state to state. Warranty service is available by mailing postage prepaid to: Intermatic Incorporated/After Sales Service/7777 Winn Rd., Spring Grove, IL 60081- 9698/815-675-7000 http://www.intermatic.com. Please be sure to wrap the product securely to avoid shipping damage.
INTERMATIC INCORPORATED
SPRING GROVE, ILLINOIS 60081-9698
Download PDF: Intermatic DT121C Programmable Digital Timer User Manual